
DNS: Domain Name System
To translate the numerical IP addresses like 208.80.152.201 into domain names, which can be easily memorized by humans like “milesight.org”.
DDNS: Dynamic DNS or DynDNS
To translate changing IP addresses into a constant domain name. This is used to provide a persistent domain name for a resource that may change address on the network.
DDNS provider: ddns.milesight.com, dyndns.org, freedns.afraid.org, www.no-ip.com, www.zoneedit.com
2.How to Set DDNS
So far, Milesight cameras can support 5 DDNS servers, as shown in Figure 1:
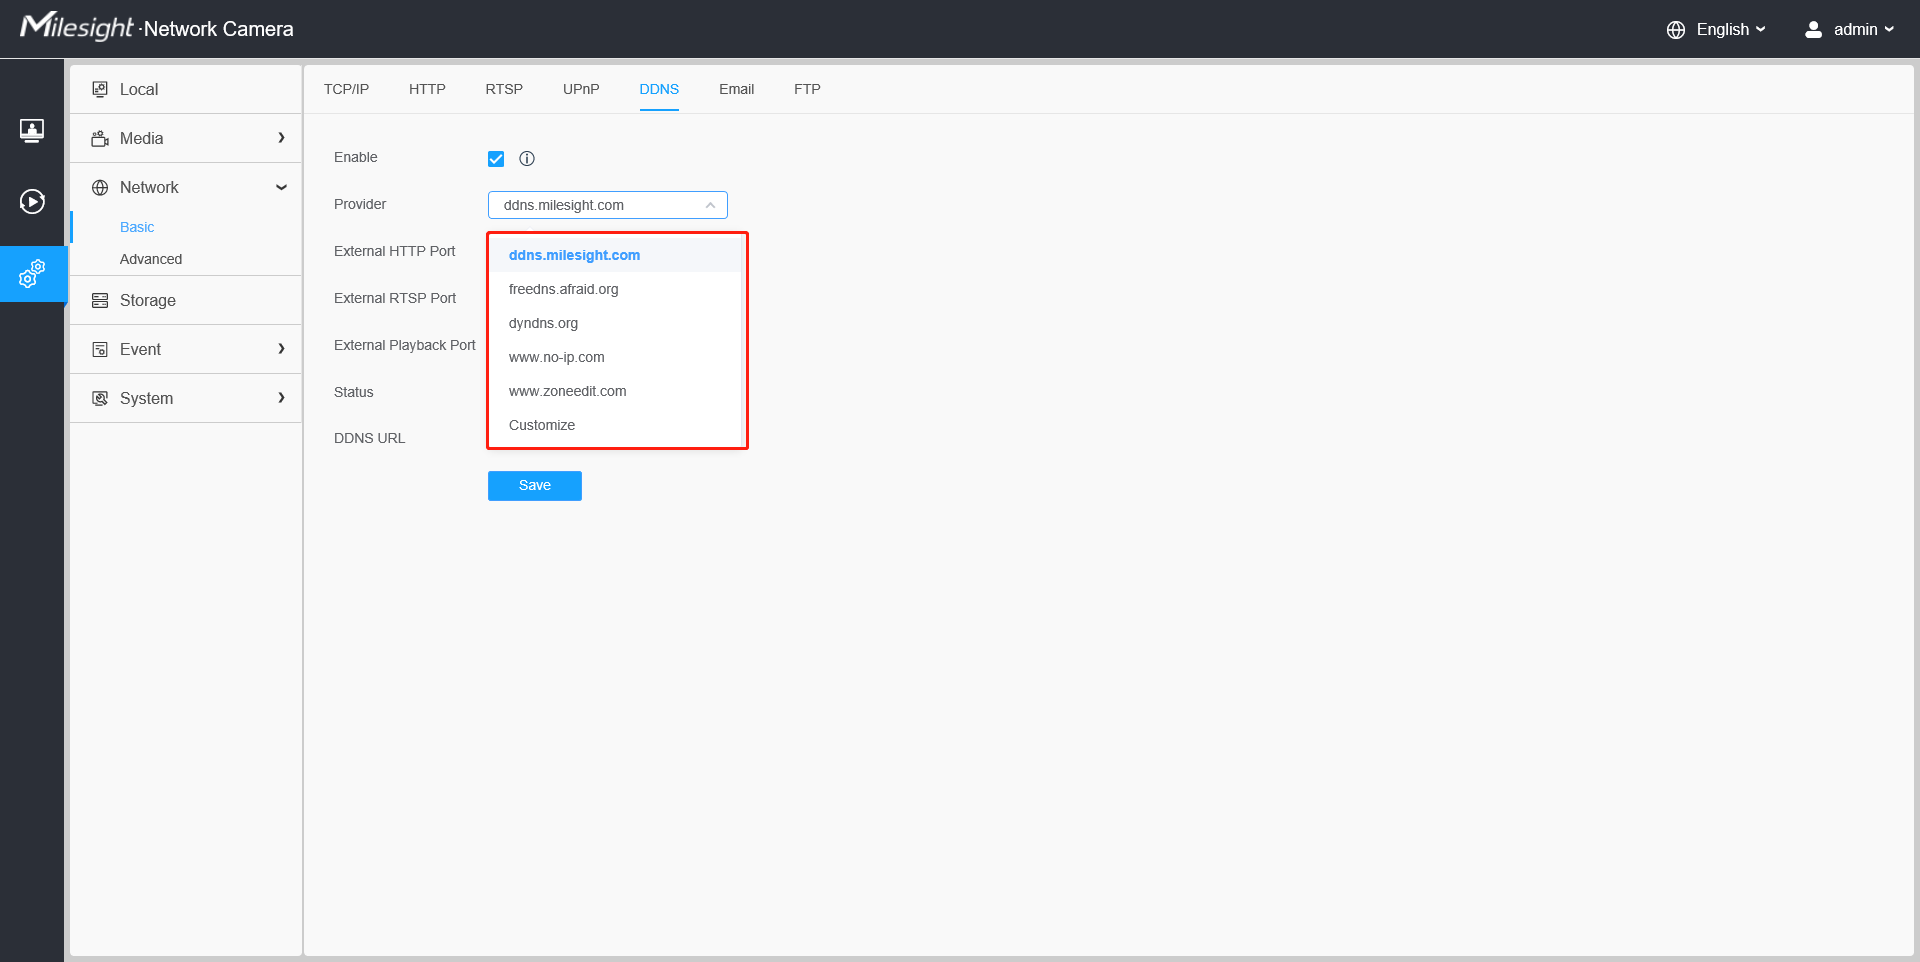
Figure 1 DDNS Server
Before using DDNS, you need to map HTTP Port and RTSP Port to External HTTP Port and External RTSP Port firstly. If you need to use the playback function via DDNS, you also need to map Playback Port to External Playback Port.
It is recommended to enable UPnP, which will automatically map HTTP Port, RTSP Port and Playback Port to External HTTP Port, External RTSP Port and External Playback Port.
Note: If you want to use UPnP, the router needs to support UPnP function firstly.
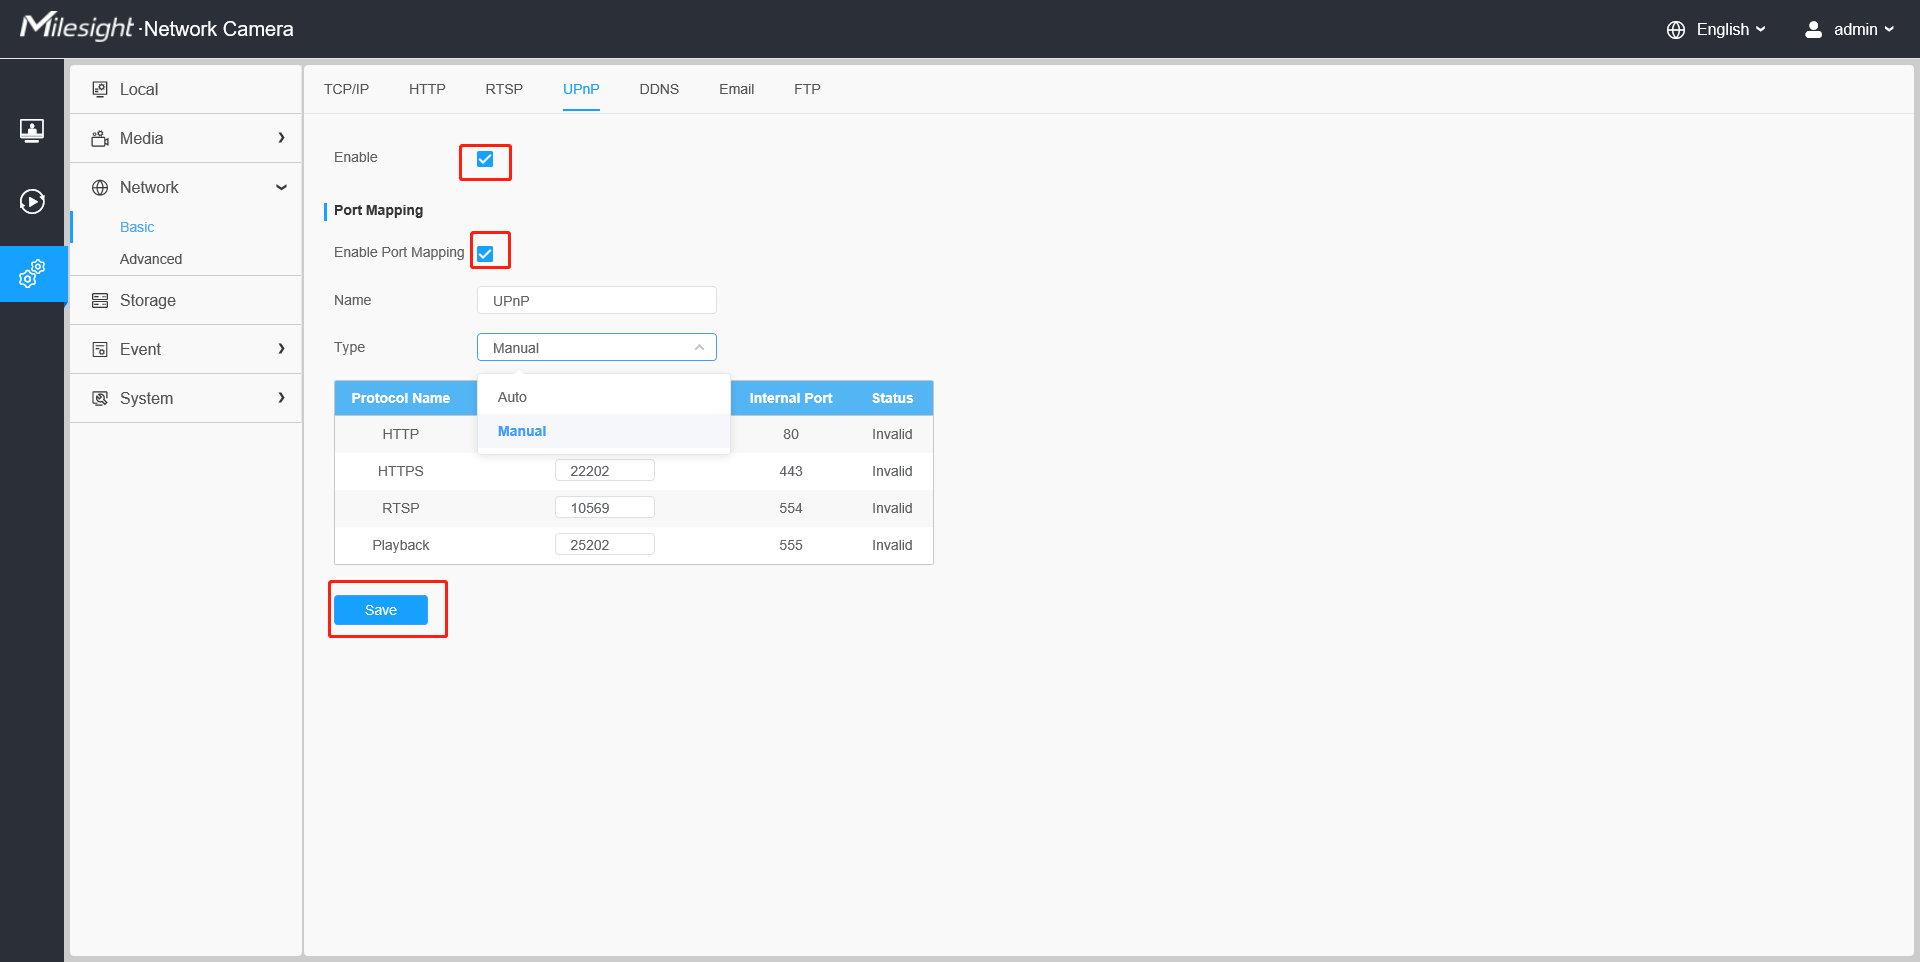
Figure 2 UPnP
2.1 Milesight DDNS
Step1: Enable DDNS, choose “ddns.milesight.com” as the provider, fill in the port mapped in advance.
Step2: Click”Save” to see the “Status” is “running” as shown in Figure 3:
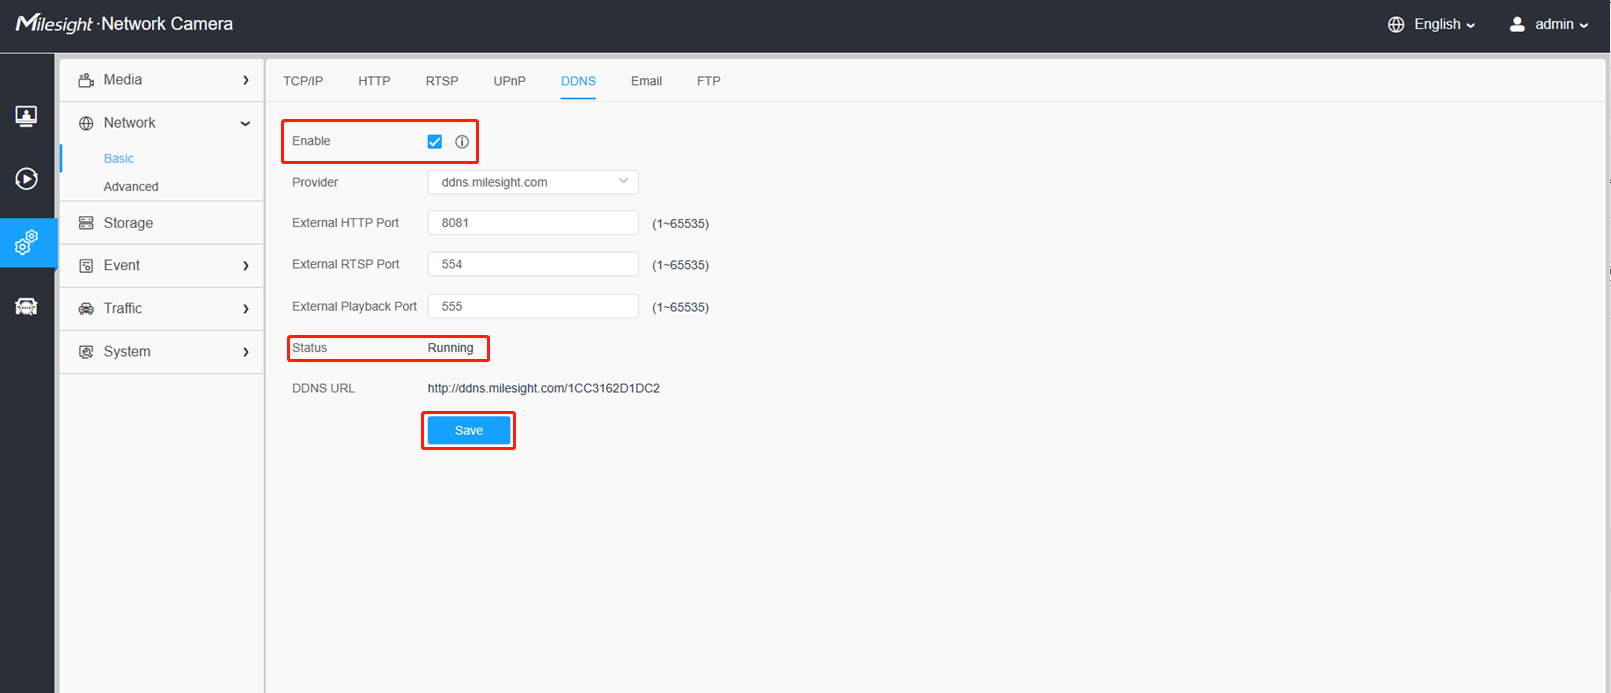
Figure 3
Step3: When the“DDNS is running”, you can access the camera by DDNS URL.
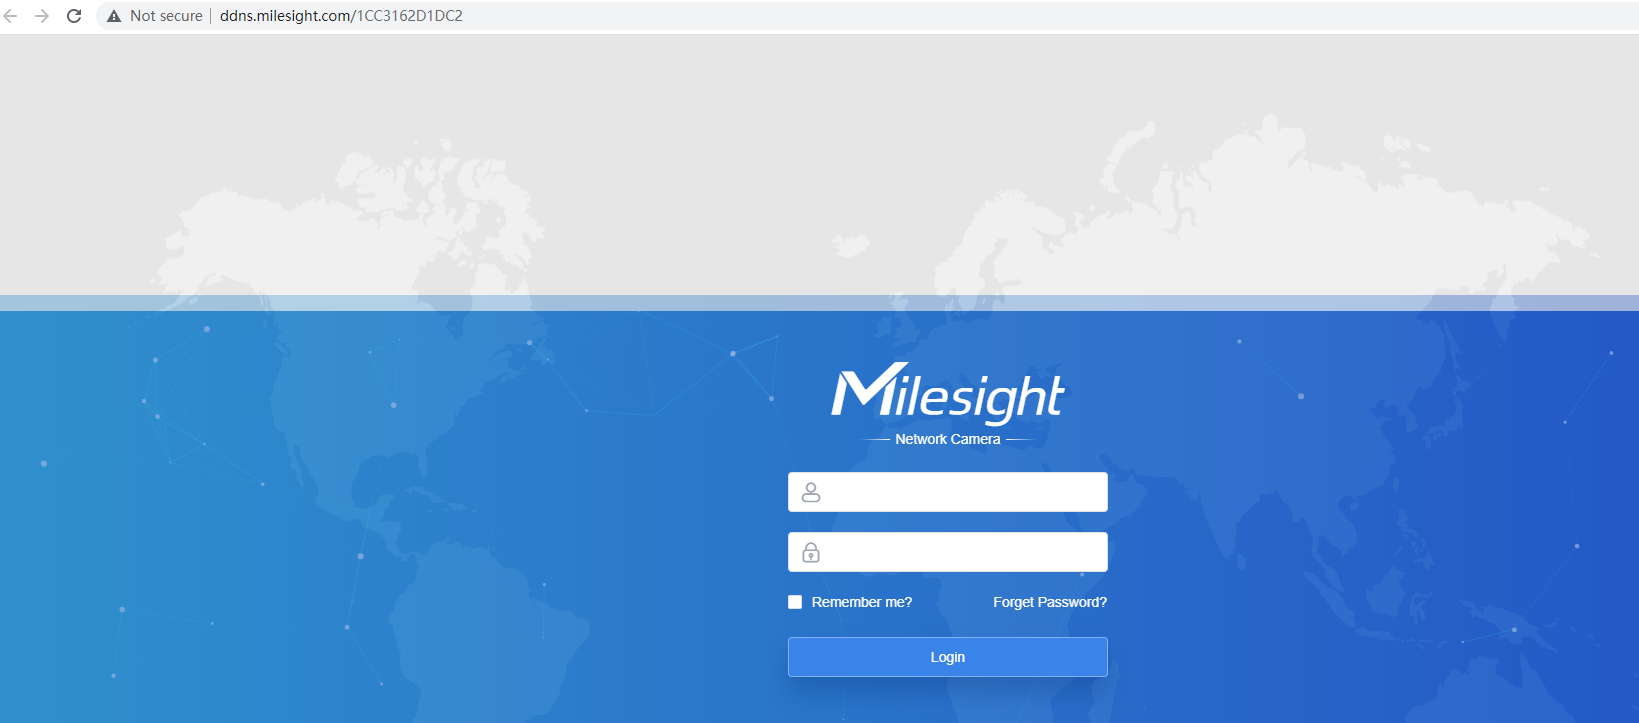
Figure 4
Note: If your camera’s firmware version is 61.8.0.4-r5 or earlier, MPlayer Plugin does not support playing Live View stream via Milesight DDNS URL, so the DDNS interface will not show the "ddns.milesight.com" option if MPlayer Plugin is installed.
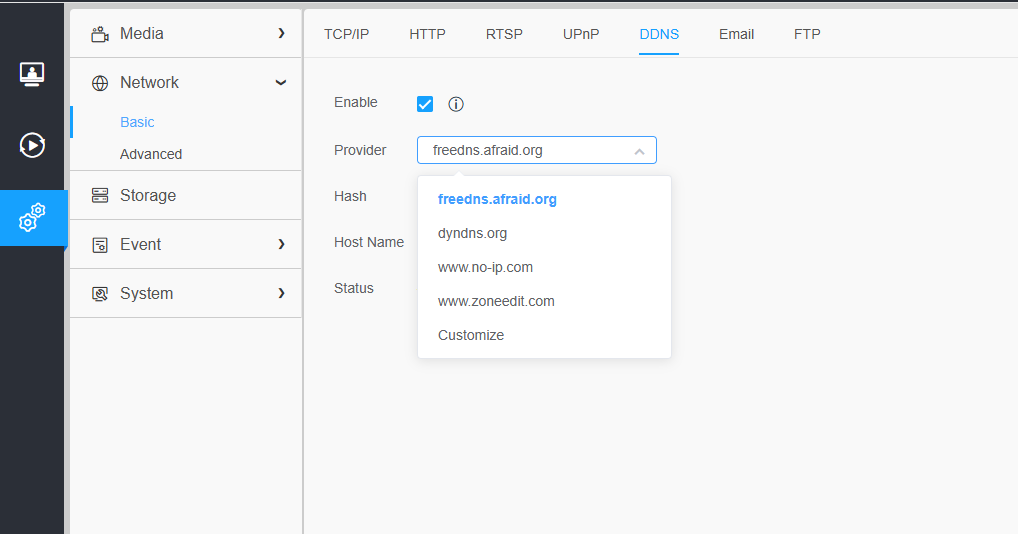
Figure 5
If your camera’s firmware version is 61.8.0.4-r6 or above, the "ddns.milesight.com" option will be shown on DDNS interface.
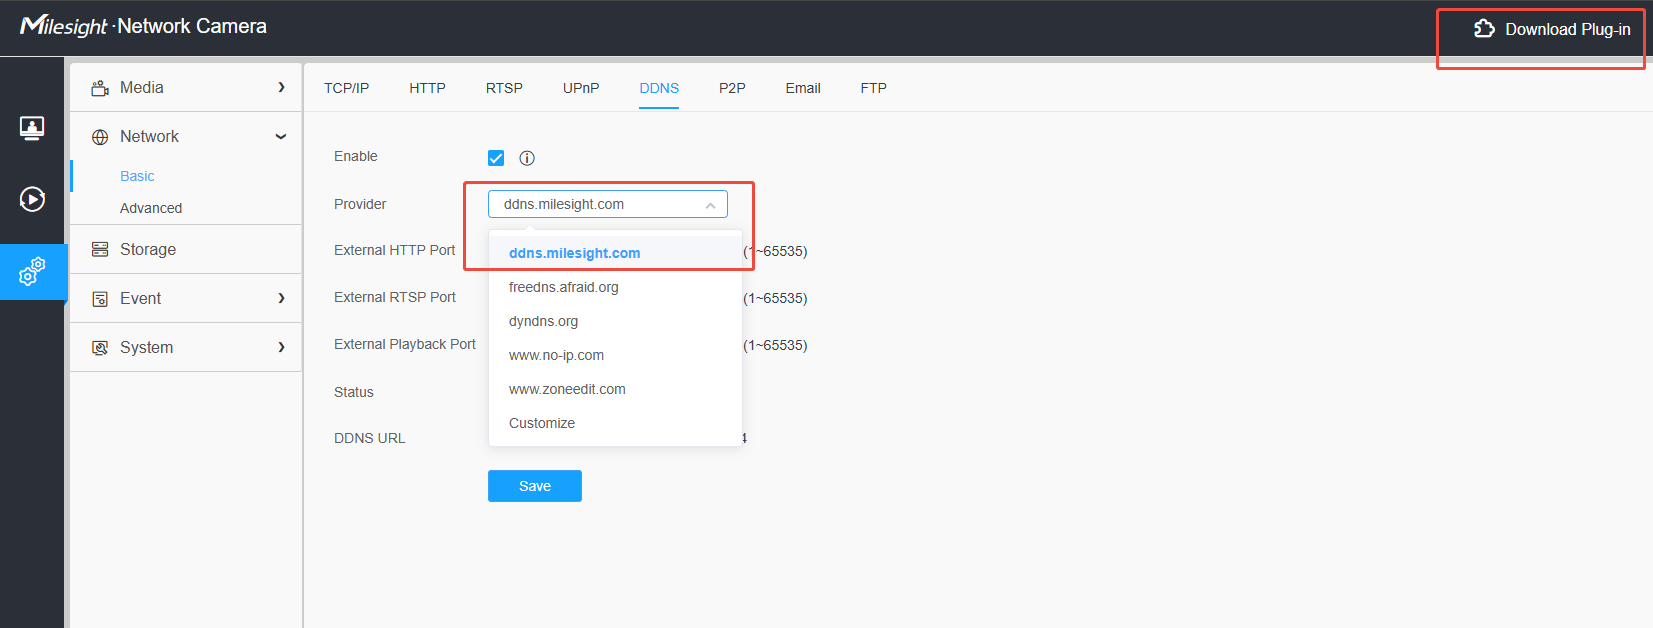
Figure 6
But when you use this option, please do not open the same DDNS web page repeatedly on the same browser, otherwise the image of live view will be misaligned. As shown below:
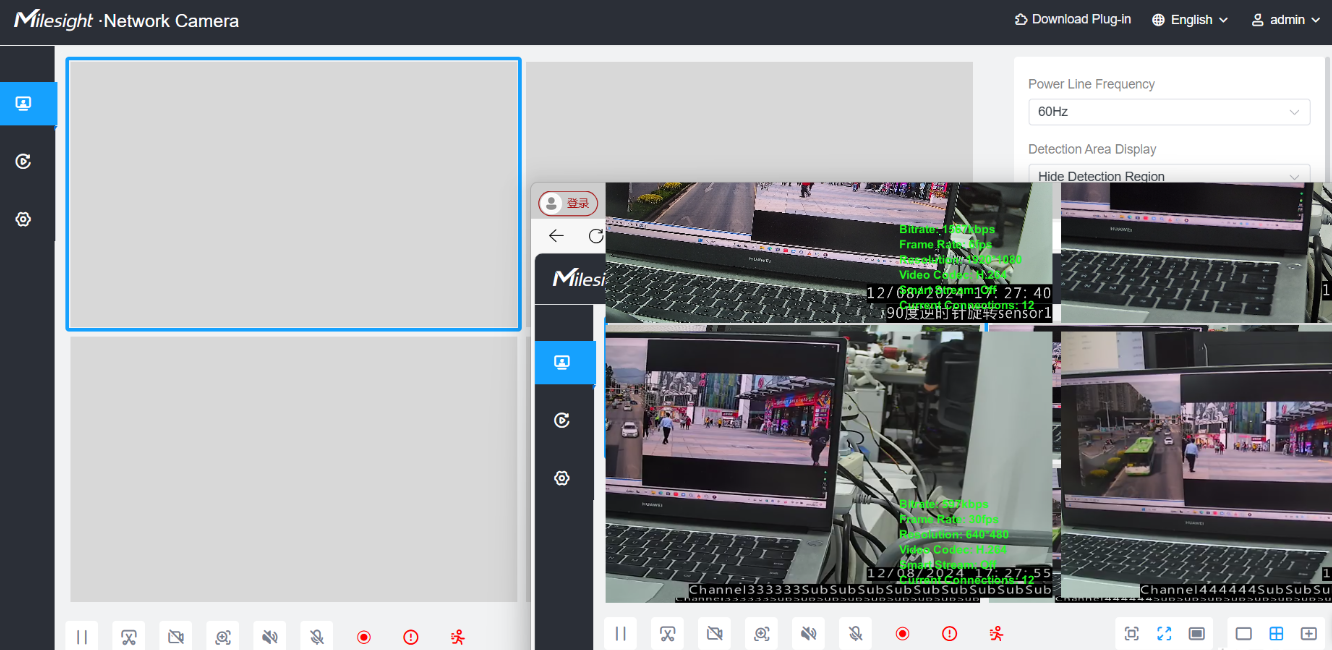
Figure 7
2.2 Third party as provider for DDNS
Take freedns.afraid.org as an example:
Step1: Log in http://freedns.afraid.org .
Step2: Click on the “Sigh Up!”.
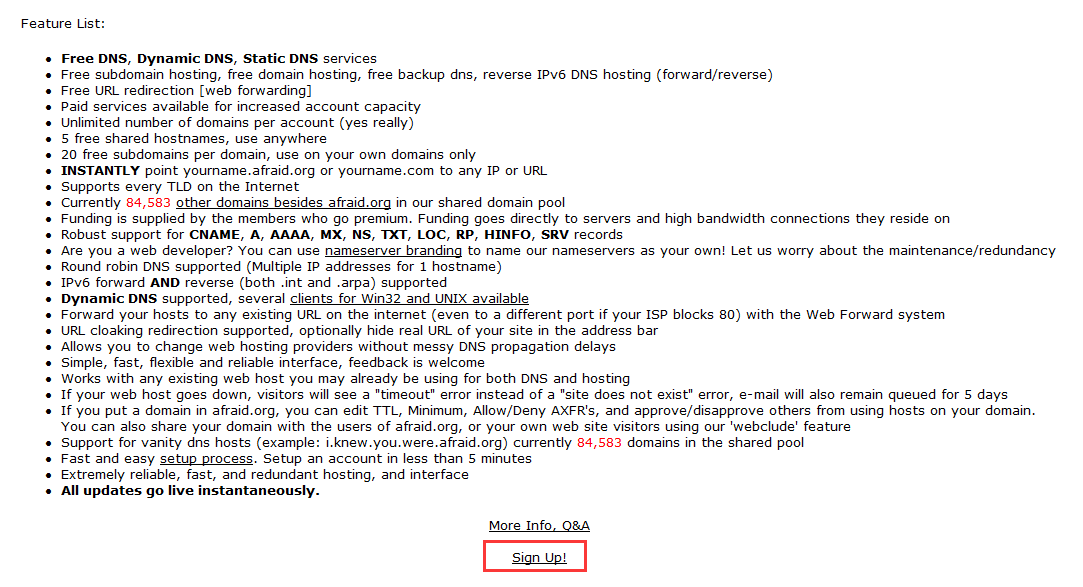
Figure 8 Sign Up
Step3: Create a new account under server.
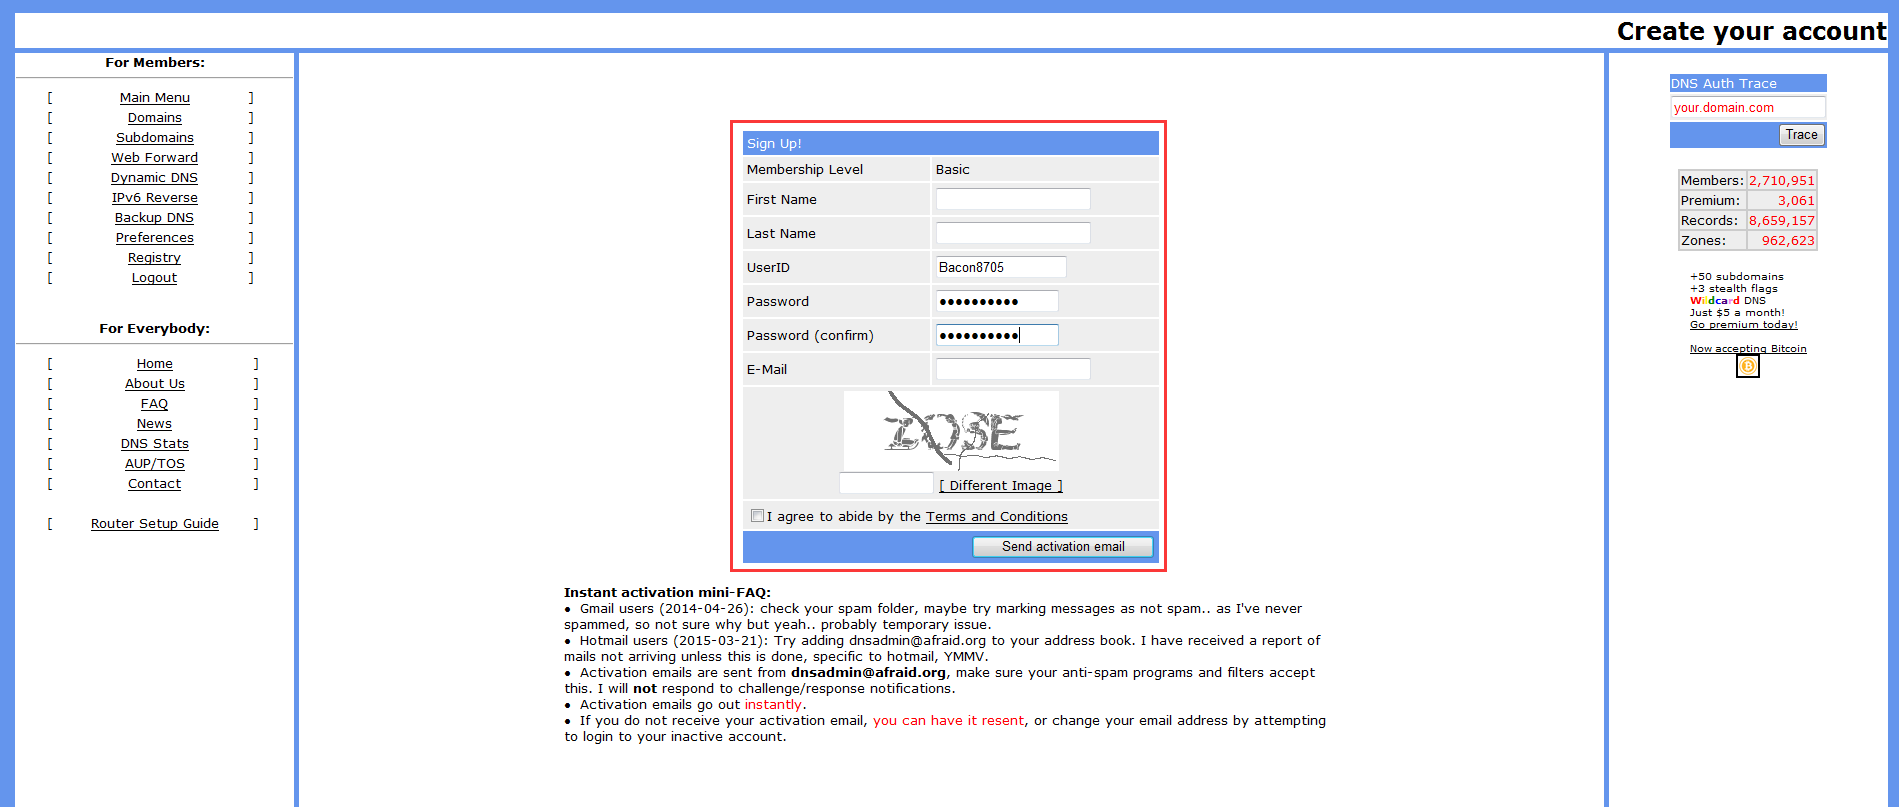
Figure 9 Add a new account
Step4: After registering successfully, please activate the Email and then choose to add a new subdomain.
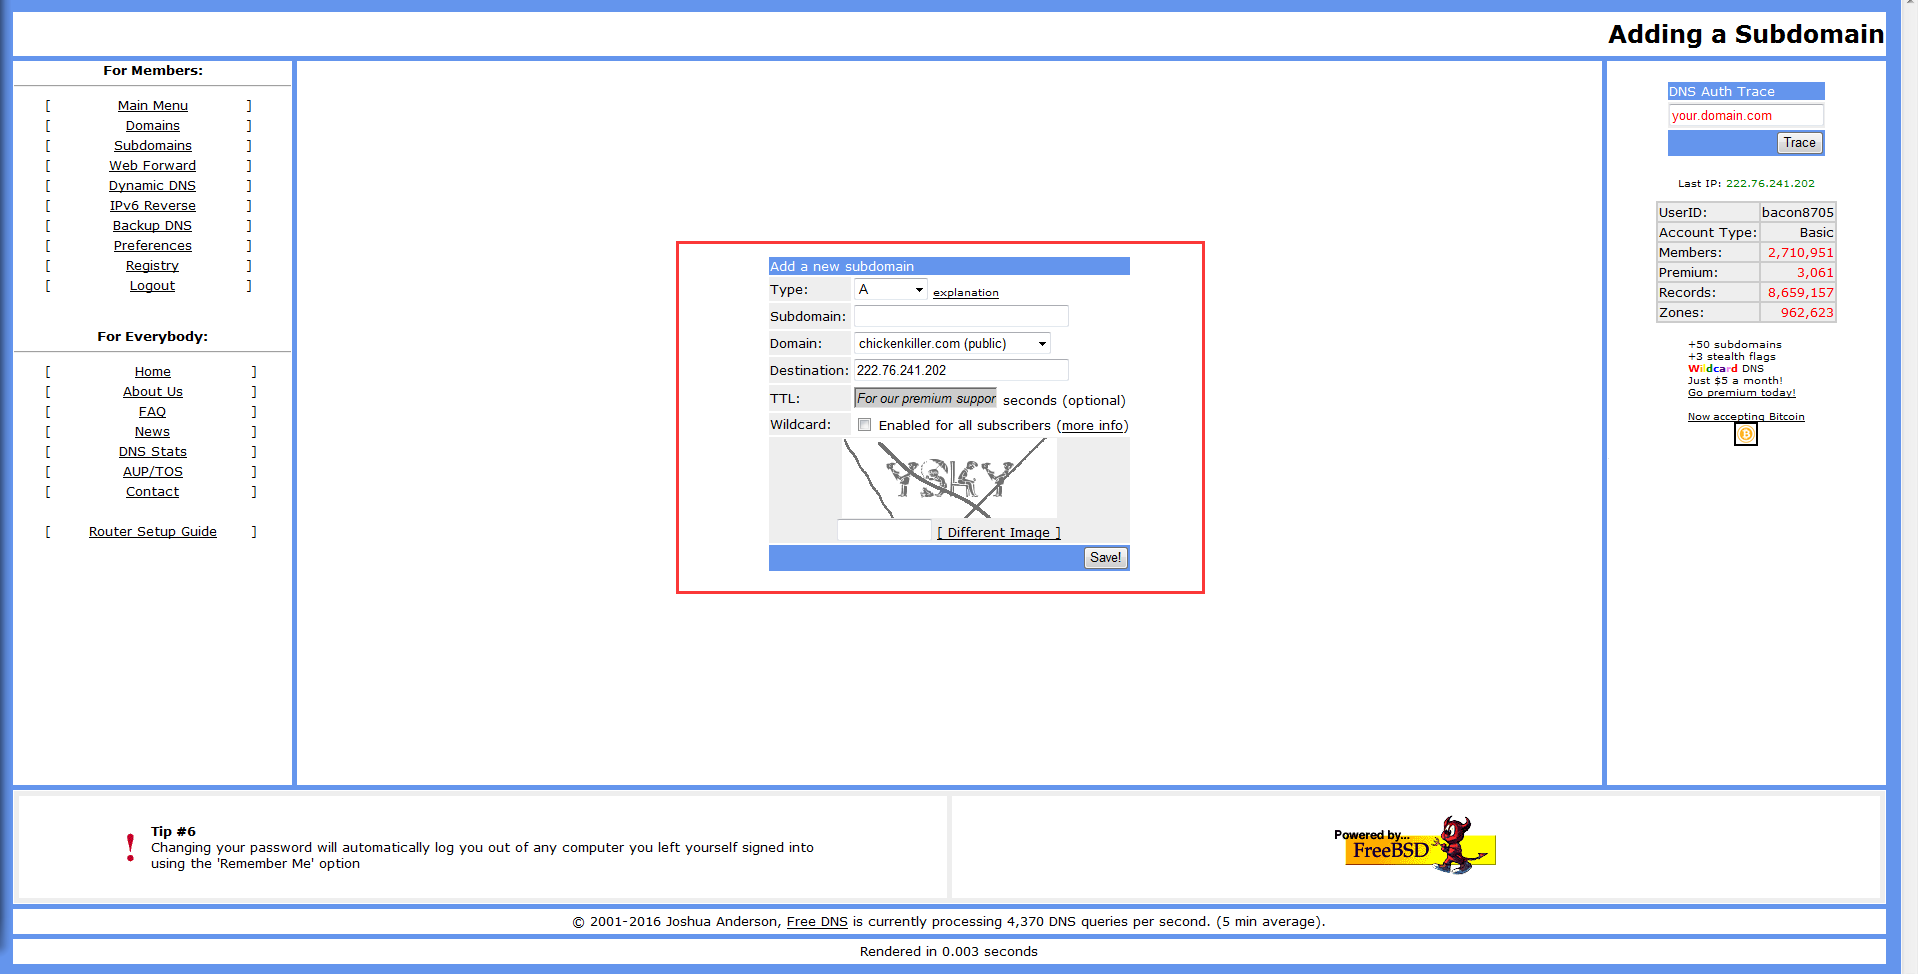
Figure 10 Add a new subdomain
Step5: After adding a subdomain, please check the HASH for this account. Click on "Dynamic DNS” option, window will pop up as below:
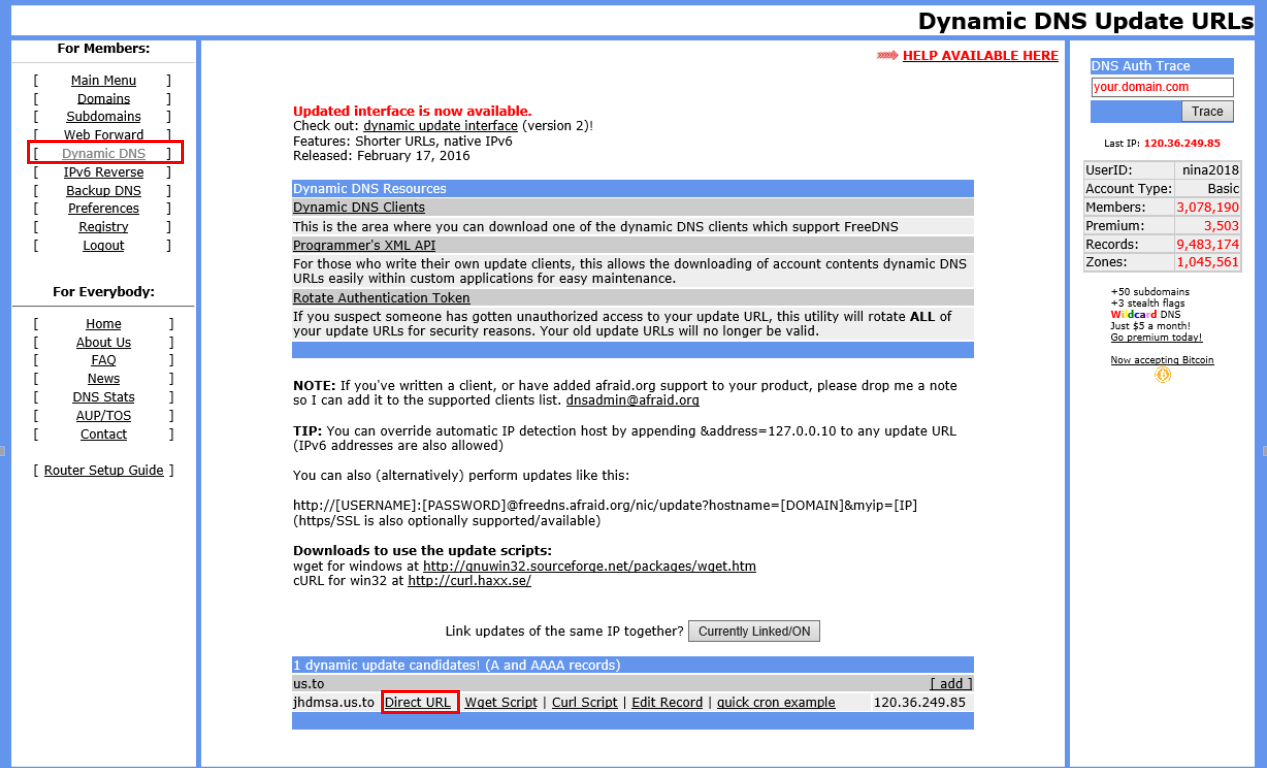
Figure 11 Direct URL
Step6: Click on the “Directly URL”.
You can check HASH from the following address:
“https://freedns.afraid.org/dynamic/update.php?em1zb2cyTnllclZuU3p3Z1NvZ2tNNnJJOjIwMzk1NTY3

Figure 12 HASH
Stpe7: Enter the information on the web, and the status would show like this:
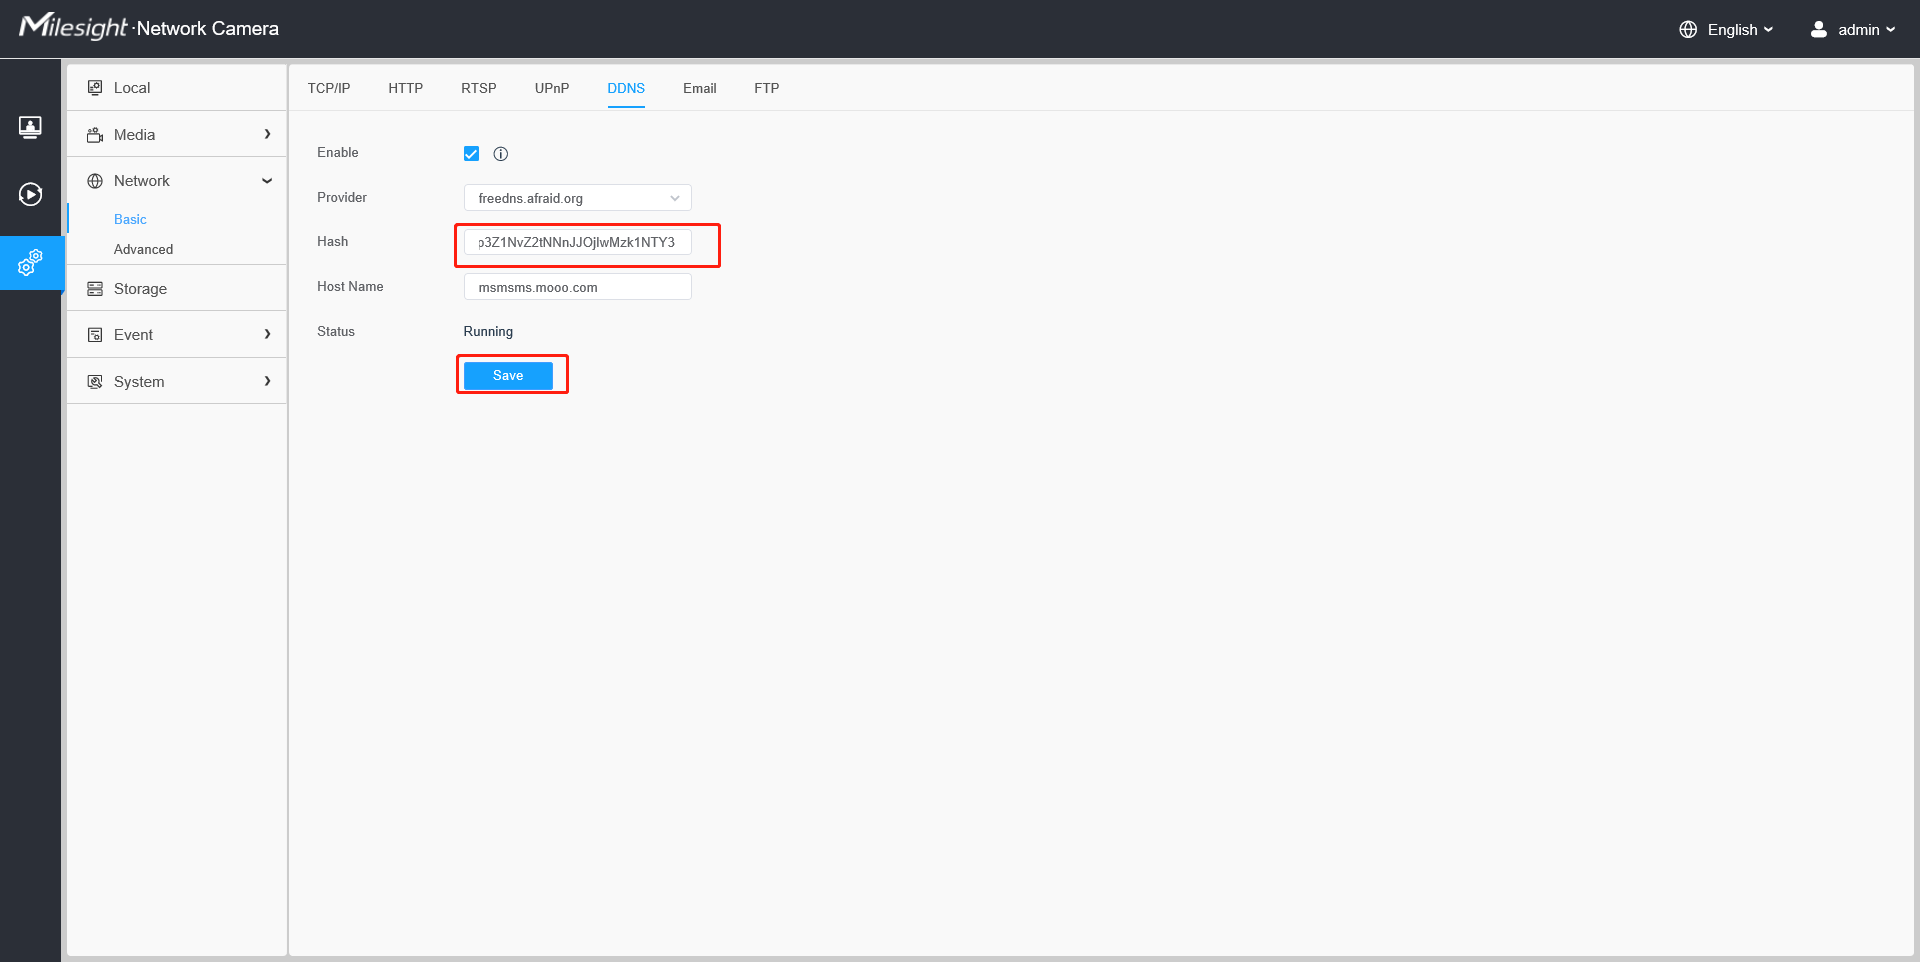
Figure 13 DDNS Status
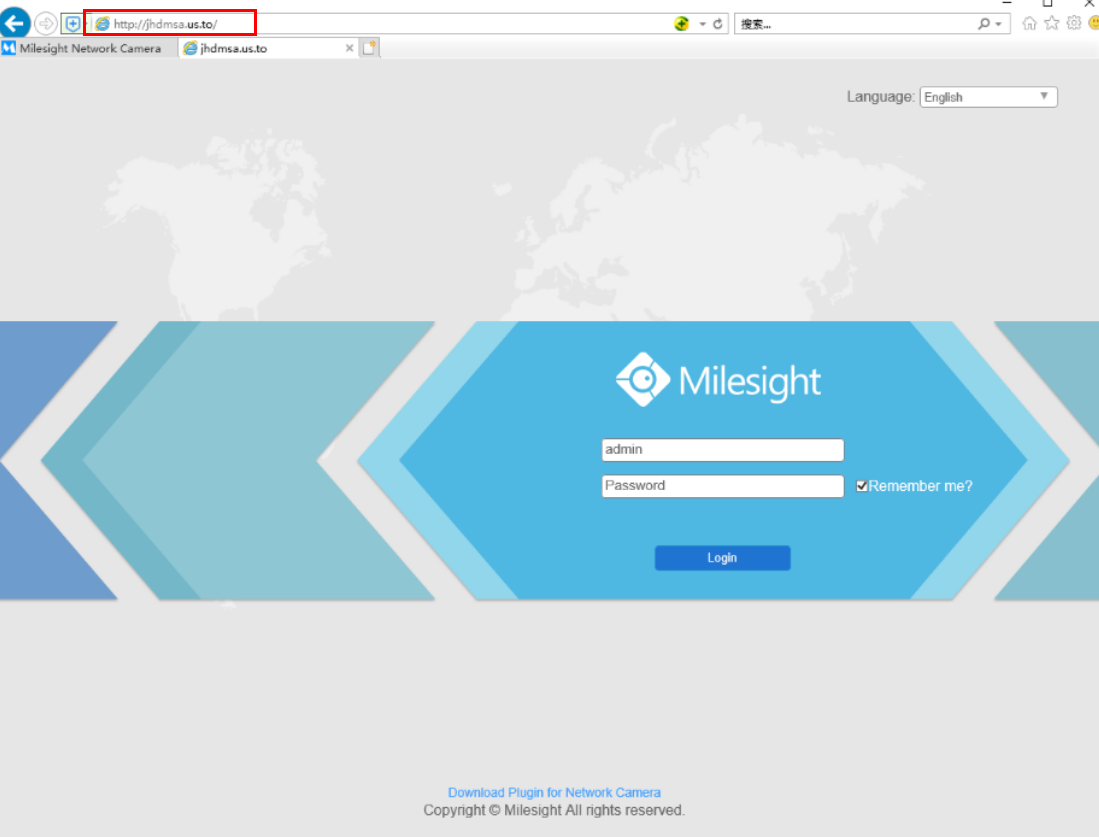
Figure 14 Log in successfully
——— END ———