
1.Introduction
This document shows how to do a hardware reset on the network camera and where the reset button is located.
2.Reset Steps
For cameras whose model suffix has -A or -B or -C or -D or -E or PG1
(Including TraffiX Series :TS5510-GH,TS5511-GH)
Step1: Press the reset button and hold on, then power on the network camera and the IR LEDs will begin to twinkle ;
Step2: Keep pressing the reset button until the IR LEDs stay always on;
Step3: It will take 1~3 minutes to complete the reset and the IP will turn into 192.168.5.190 (If the IP does not be changed into 192.168.5.190, please try again from step 1);
Step4: Modify your local IP address by SmartTools again.
For Indoor Parking Guidance Camera (PM3322-E)
Step1: Power on the network camera and keep pressing the reset button for 5-10s;
Step2: Loosen the reset button,wait for about 25s until the indicator light starts to change colors alternately;
Step3: It will take 1~3 minutes to complete the reset and the IP will turn into 192.168.5.190 (If the IP does not be changed into 192.168.5.190, please try again from step 1);
Step4: Modify your local IP address by SmartTools again.
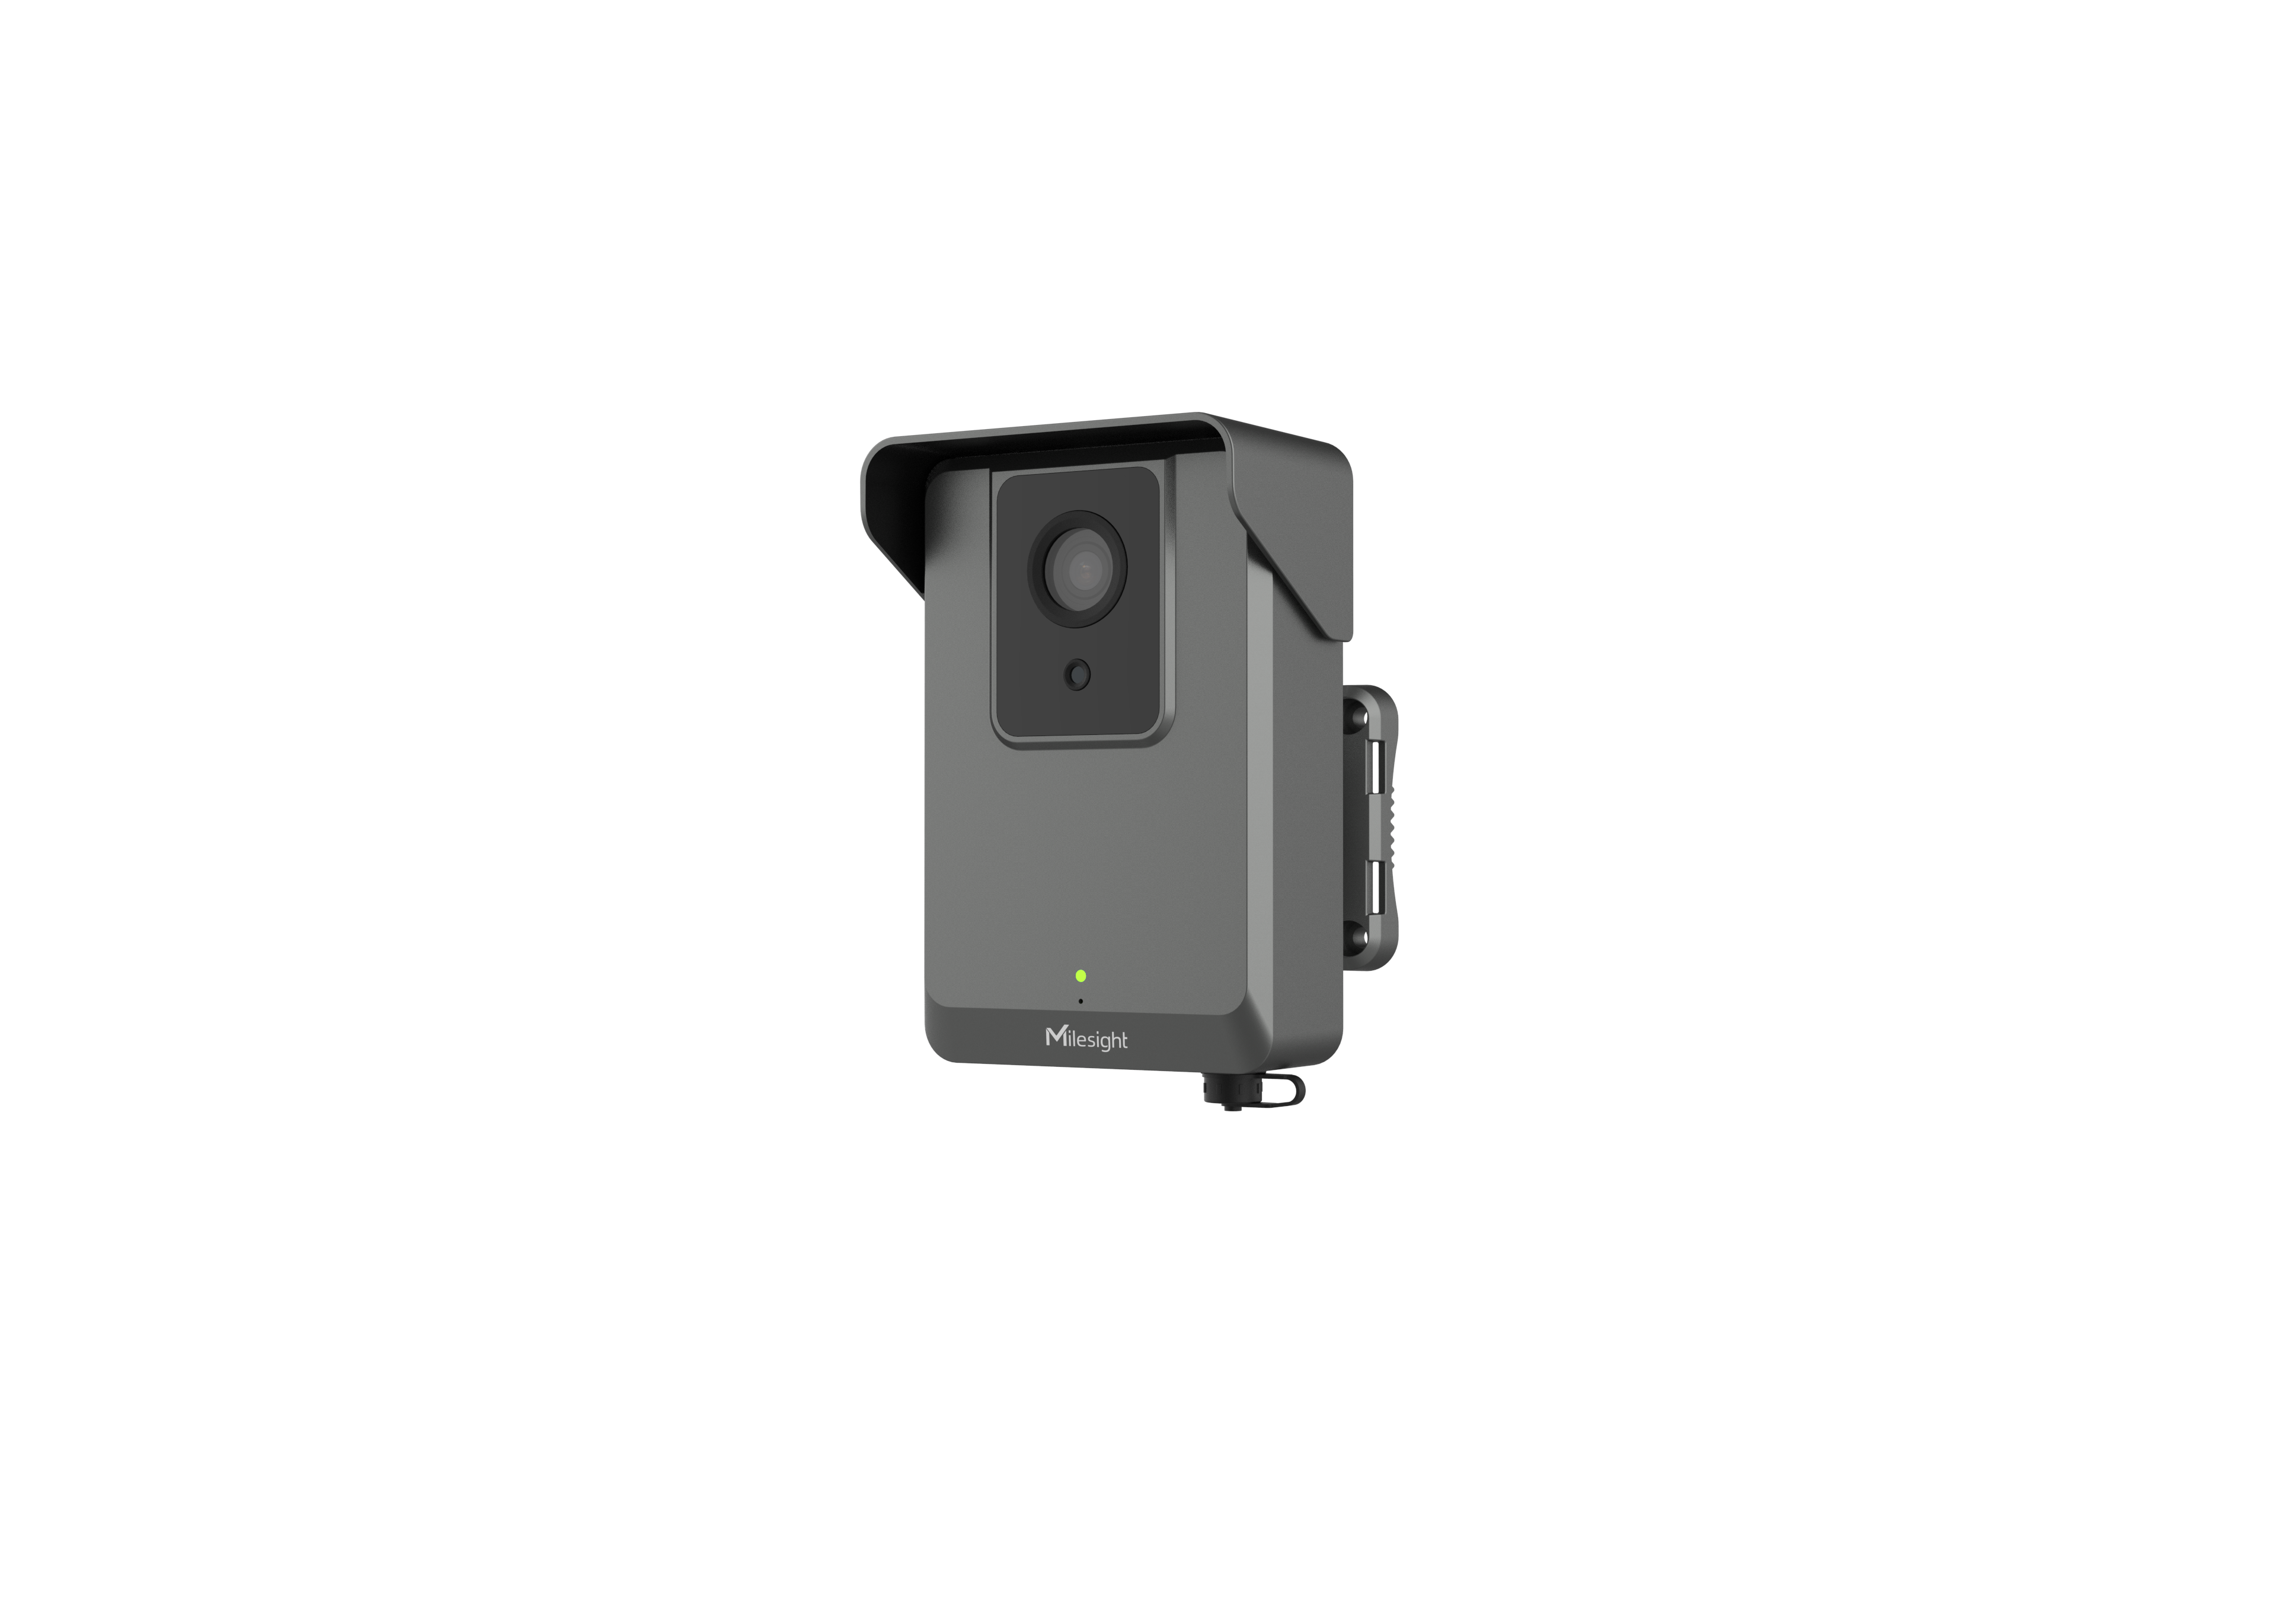
For 4G Solar-powered Traffic Sensing Camera (SC211-NA/EU/AU)
Step1: Power on the network camera and press the reset button.
Step2: Keep pressing the reset button until the indicator light turns red and begins to twinkle(Do not let the red light twinkle for more than 10s).
Step3: It will take 1~3 minutes to complete the reset and the LAN IP will turn into 192.168.5.190 (If the IP does not be changed into 192.168.5.190, please try again from step 1).
Step4: Modify your local IP address by SmartTools again.
For 4G Solar-powered Security/ANPR Camera(SP111-41/41L)
Step1: Power on the network camera and press the reset button.
Step2: Keep pressing the reset button for 5 seconds until the green LED flashes quickly 5 times, then it will flash slowly during the reset process. A solid green LED means reset is complete.
Step3: It will take 1~3 minutes to complete the reset and the LAN IP will turn into 192.168.5.190 (If the IP does not be changed into 192.168.5.190, please try again from step 1).
Step4: Modify your local IP address by SmartTools again.
3.Position of the Reset Button
3.1Mini Dome
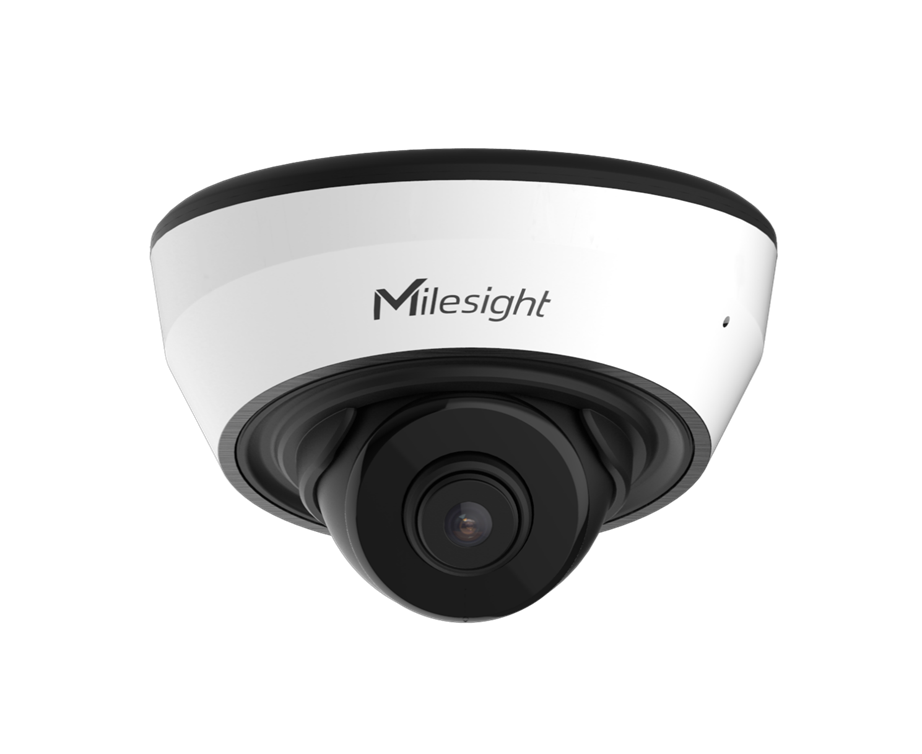
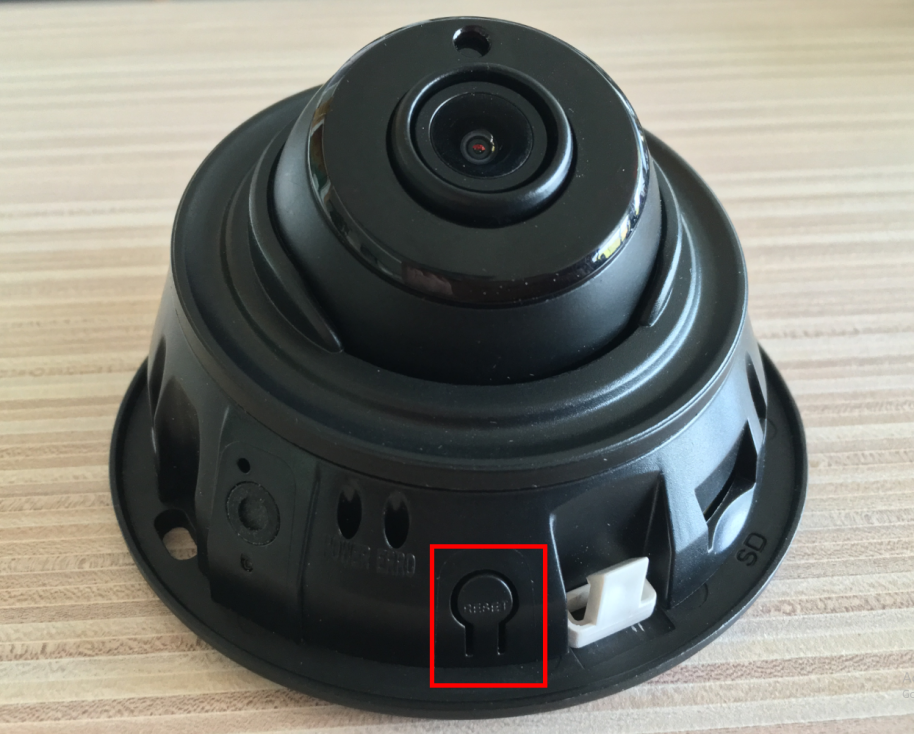
3.1.1 IR Mini Dome
Open the cover of the camera, a button like the figure shown below.
|
|
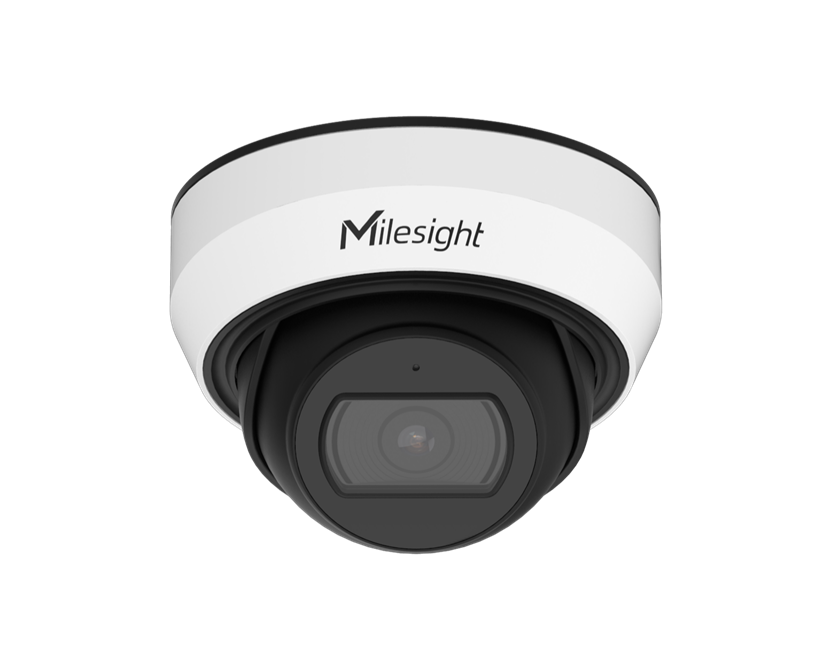
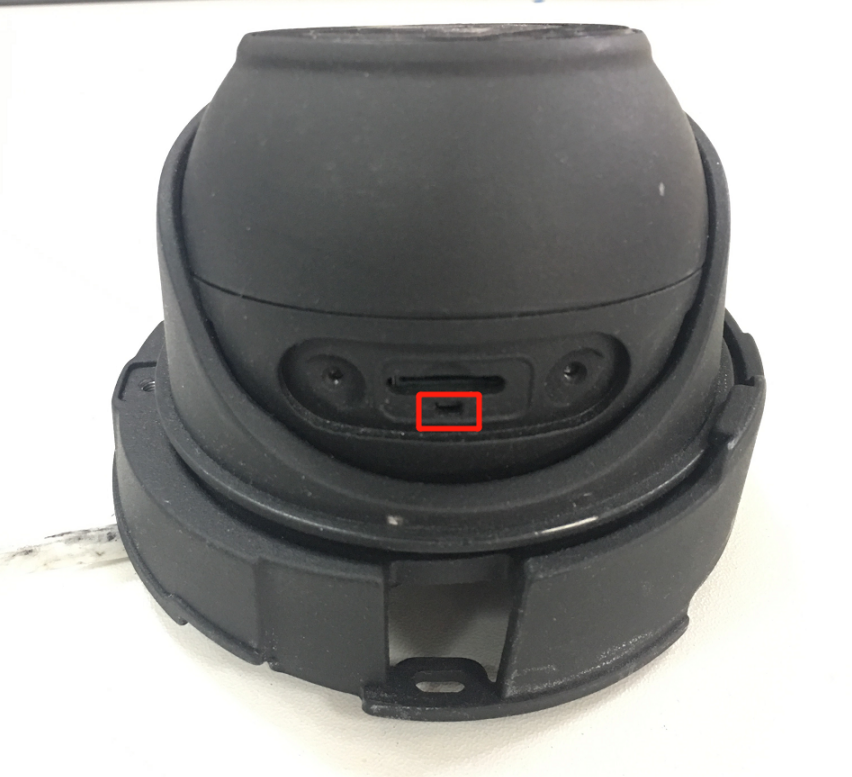
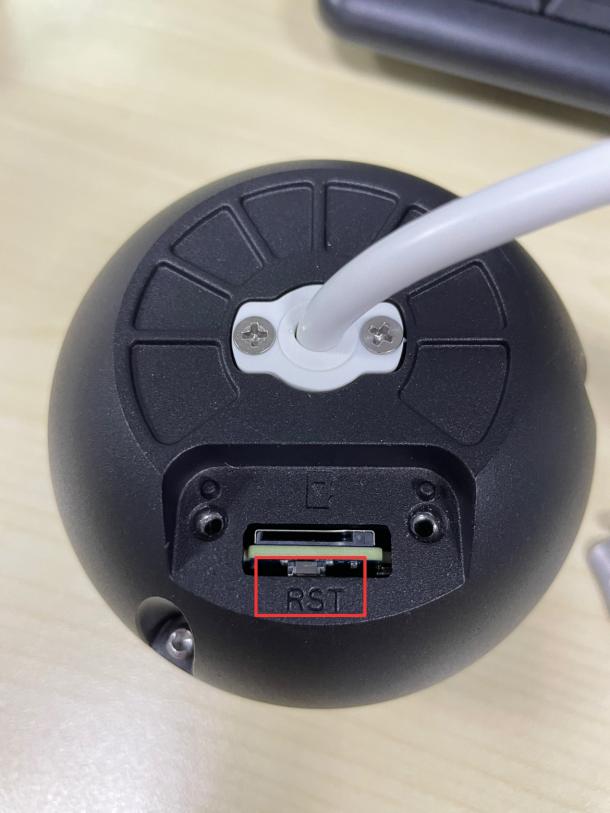
3.1.2 Weather-proof Mini Dome
Open the back cover on the camera ball, you can use tools to achieve reset button like the figure shown below.
|
|
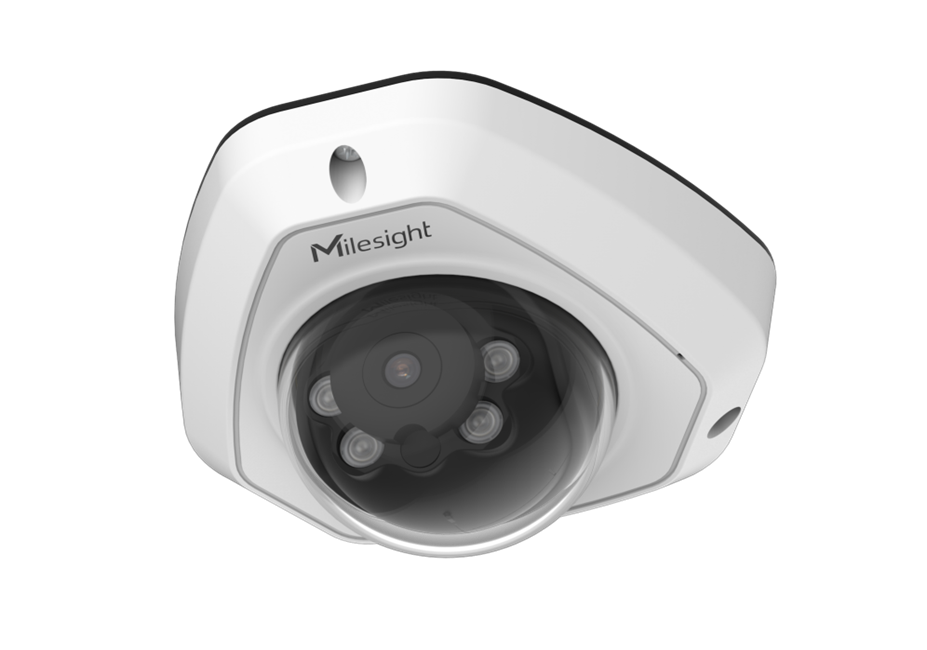
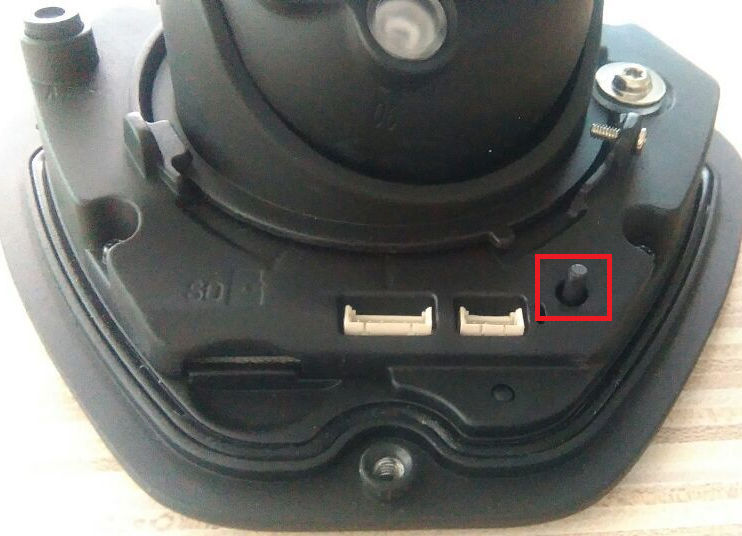
3.1.3 Vandal-proof Mini Dome
Open the cover of the camera, a button like the figure shown below.
|
|
3.1.4 Motorized Mini Dome
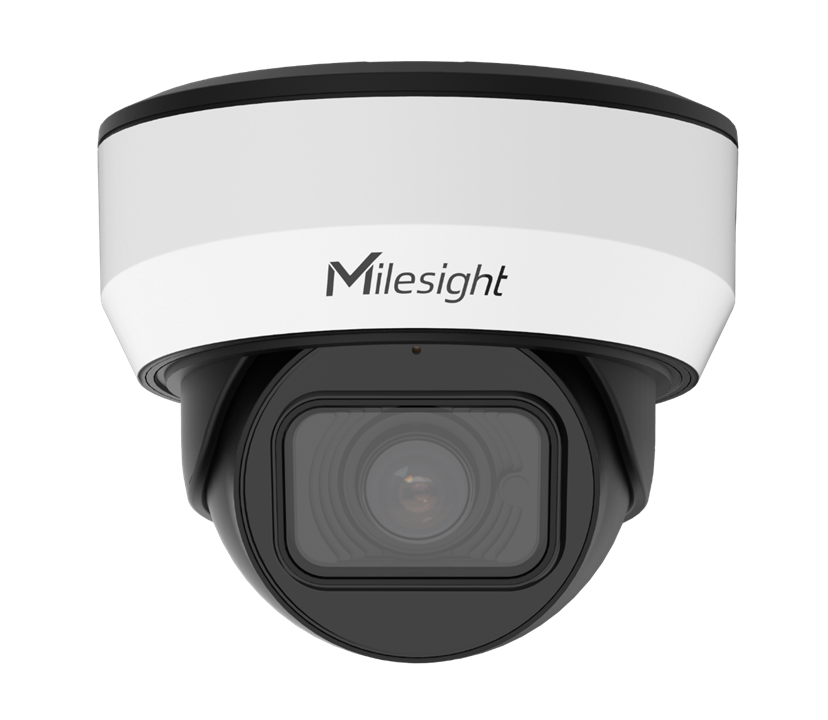
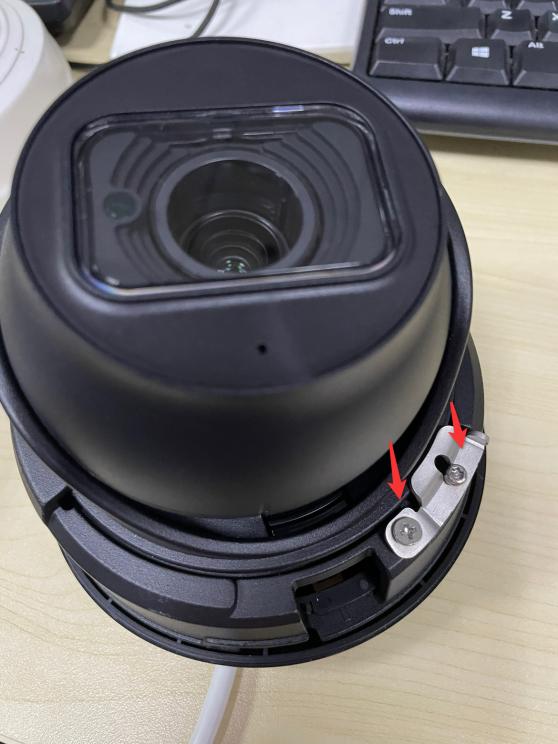
Open the bottom lid cover of the camera, turn off the two screws as shown below,you can use tools to achieve reset button like the figure shown below.
|
|
|
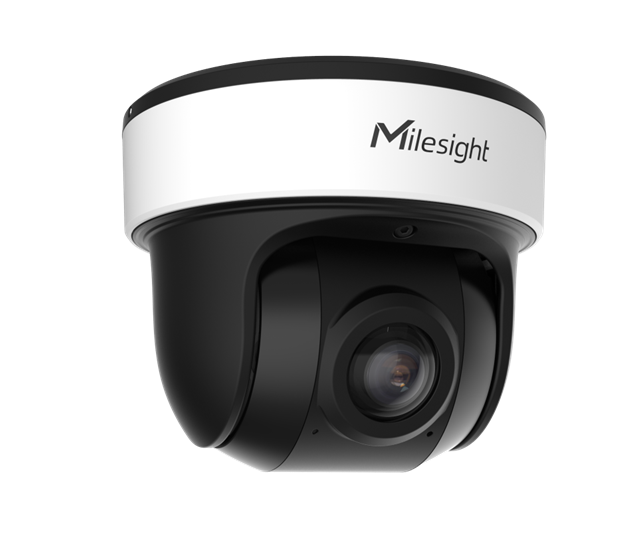
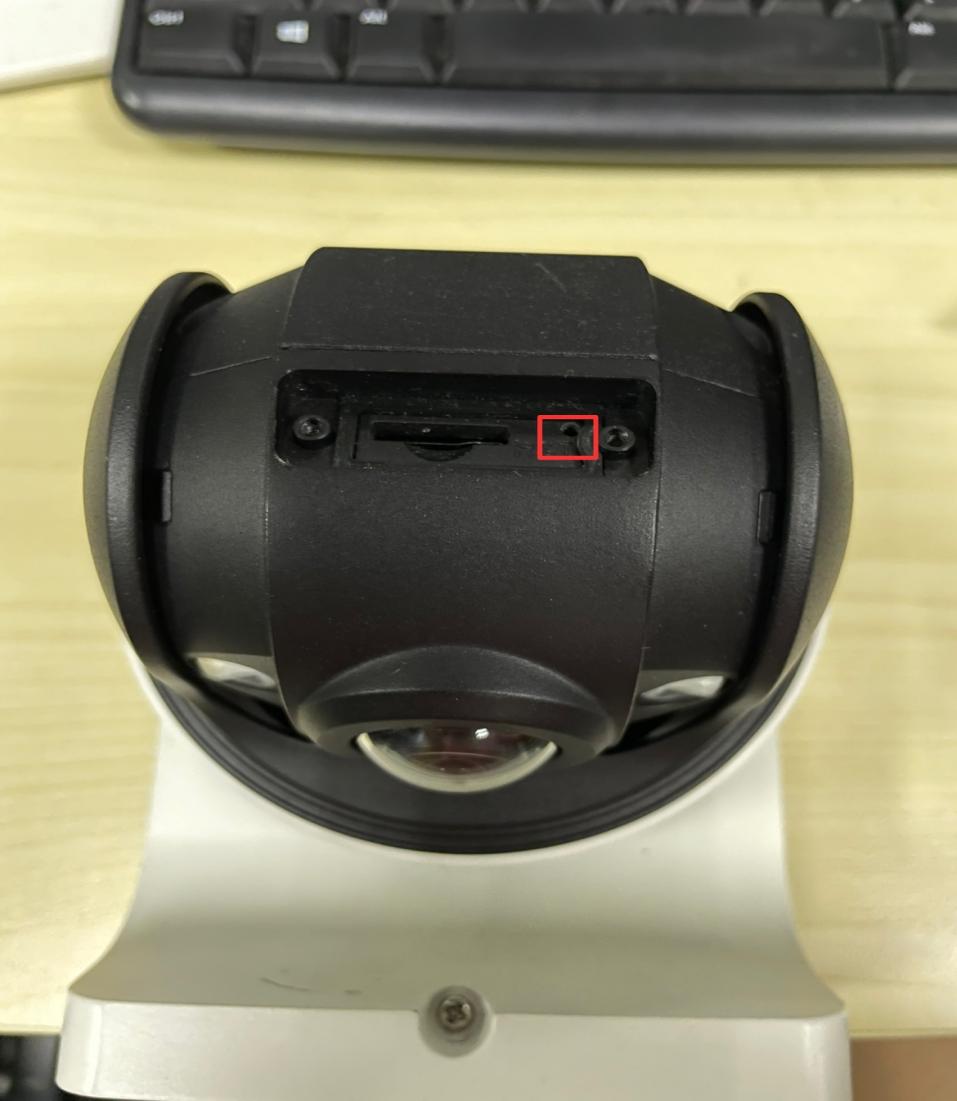
3.1.5 180° Panoramic Mini Dome
Rotate the dome,you can use tools to achieve reset button like the figure shown below.
|
|
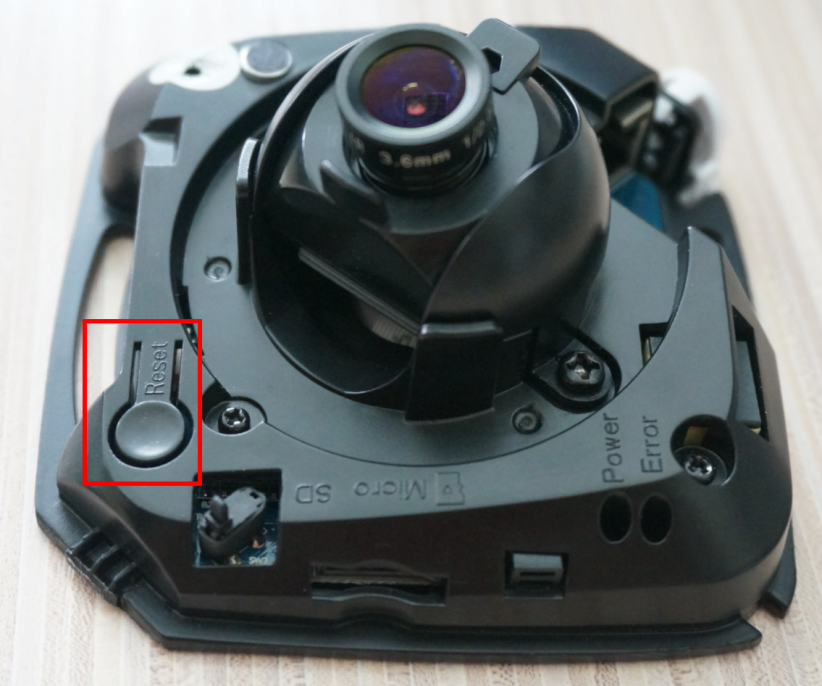
3.1.6 Other
Open the cover of the camera, a button like the figure shown below.
3.2Mini Bullet
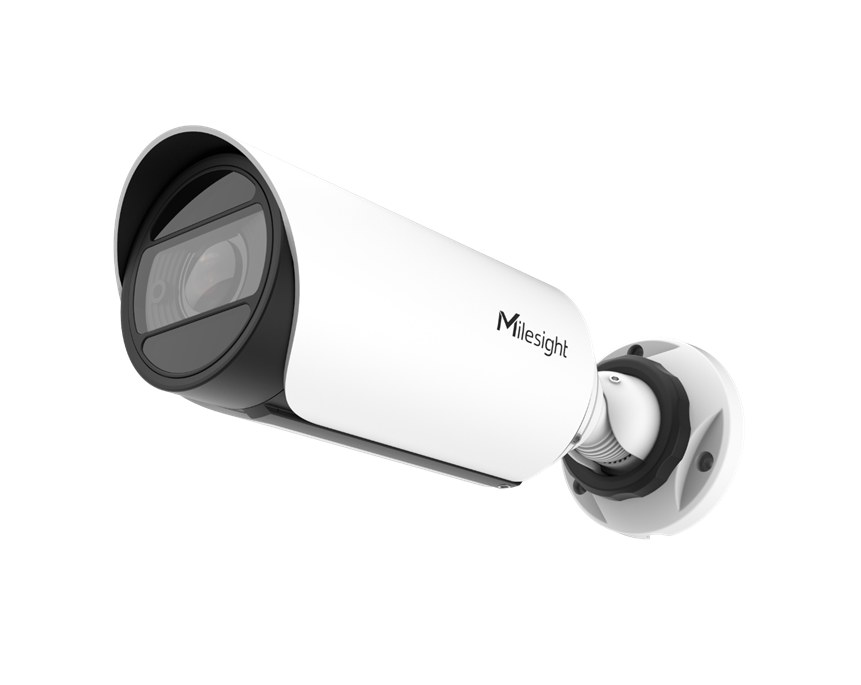
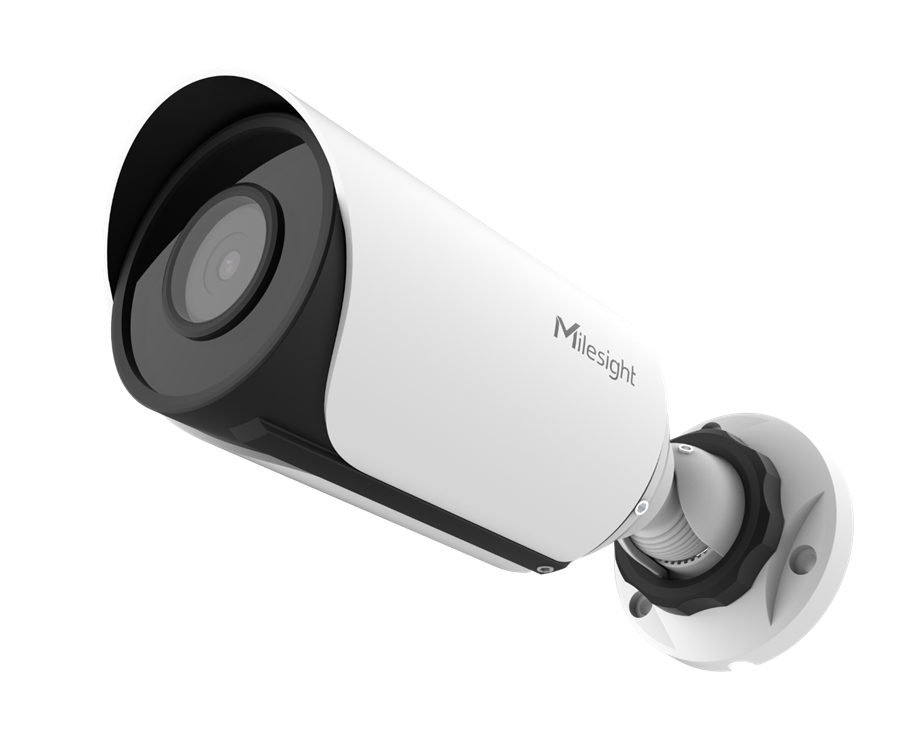
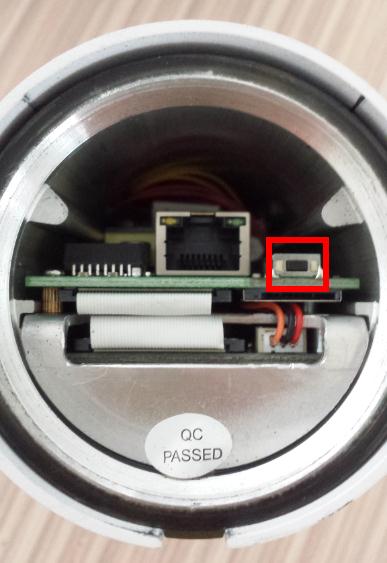
3.2.1 Motorized Mini Bullet / Weather Proof Mini Bullet / Color Vandal Proof Mini Bullet/ Entrance & Exit AI LPR Bullet/Other
Open the cover of the camera base, a black button like the figure shown below.
|
|
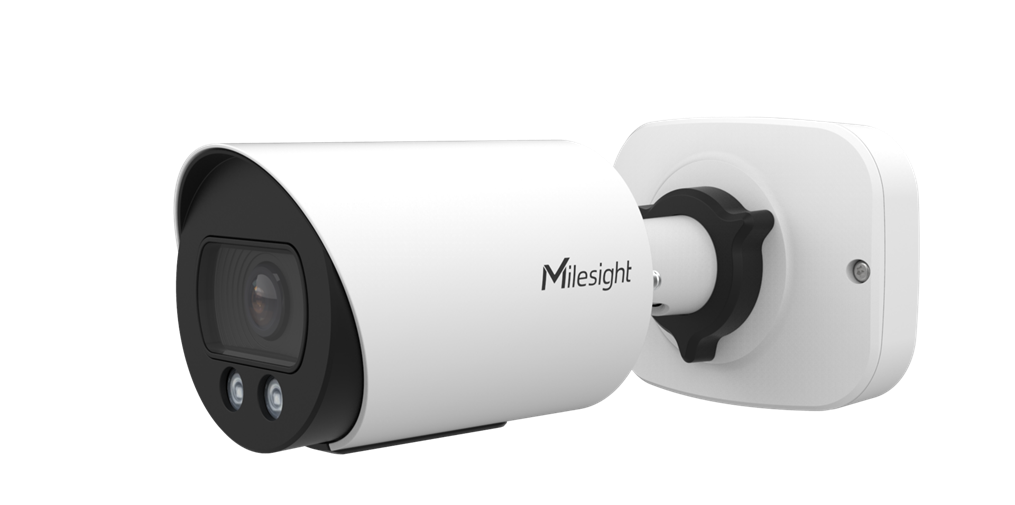
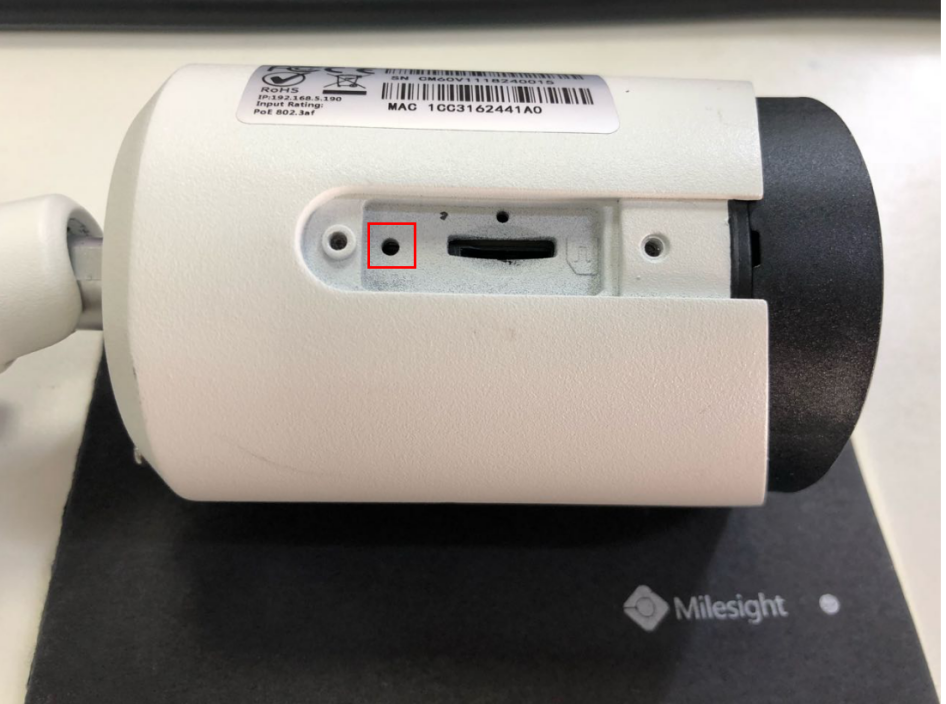
3.2.2 Vandal Proof Mini Bullet
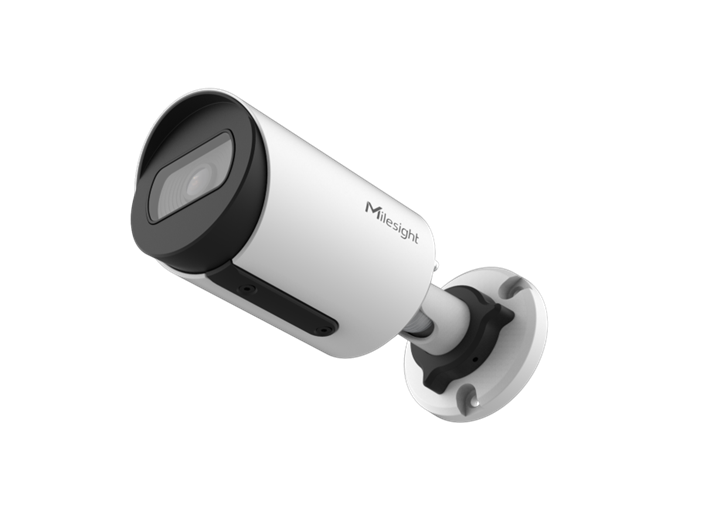
Remove the back cover on the camera body, you can use tools to achieve reset button like the figure shown below.
|
|
|
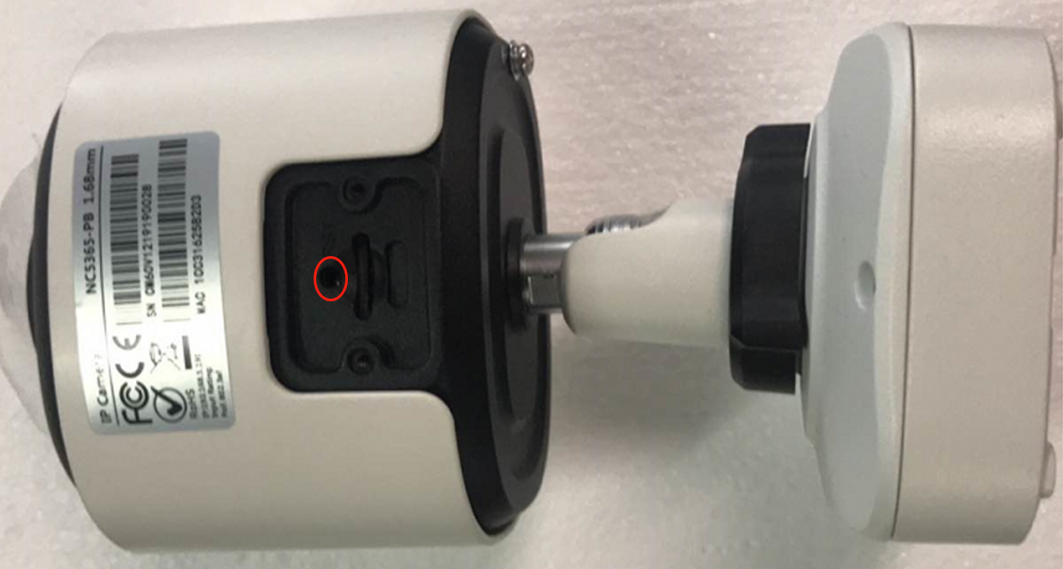
3.2.3 180° Panoramic Mini Bullet
Remove the back cover on the camera body, you can use tools to achieve reset button like the figure shown below.
|
|
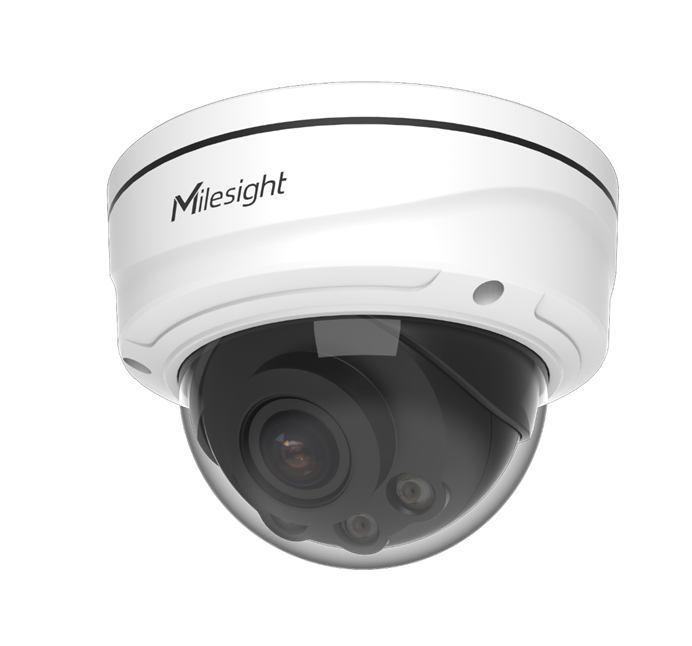
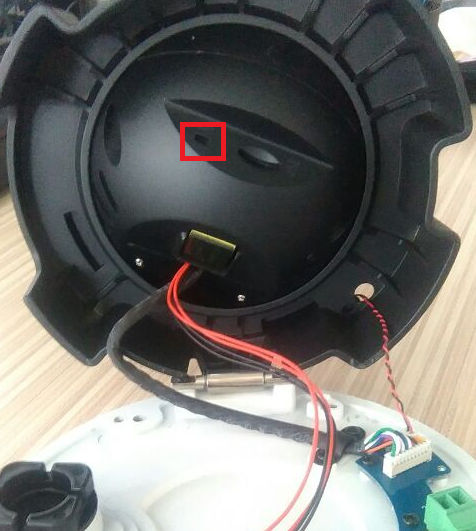
3.3 Pro Dome
Open the top lid cover of the camera, you can use tools to achieve reset button like the figure shown below.
|
|
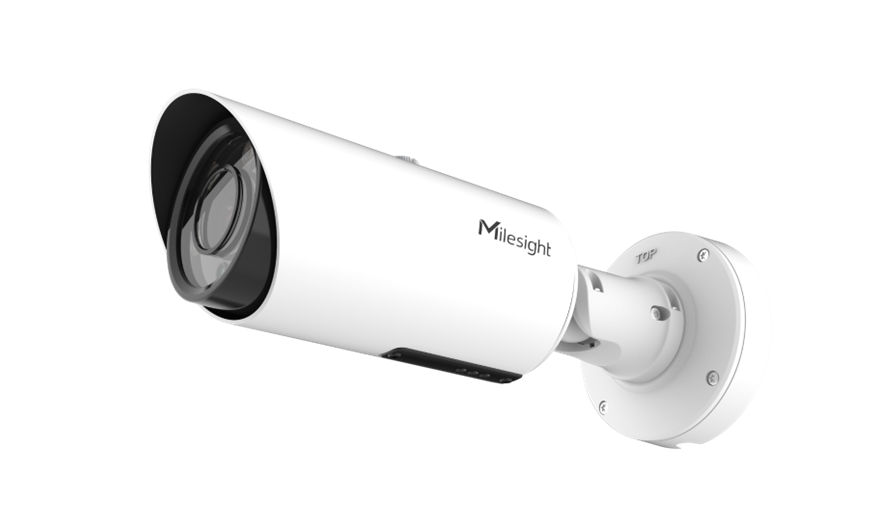
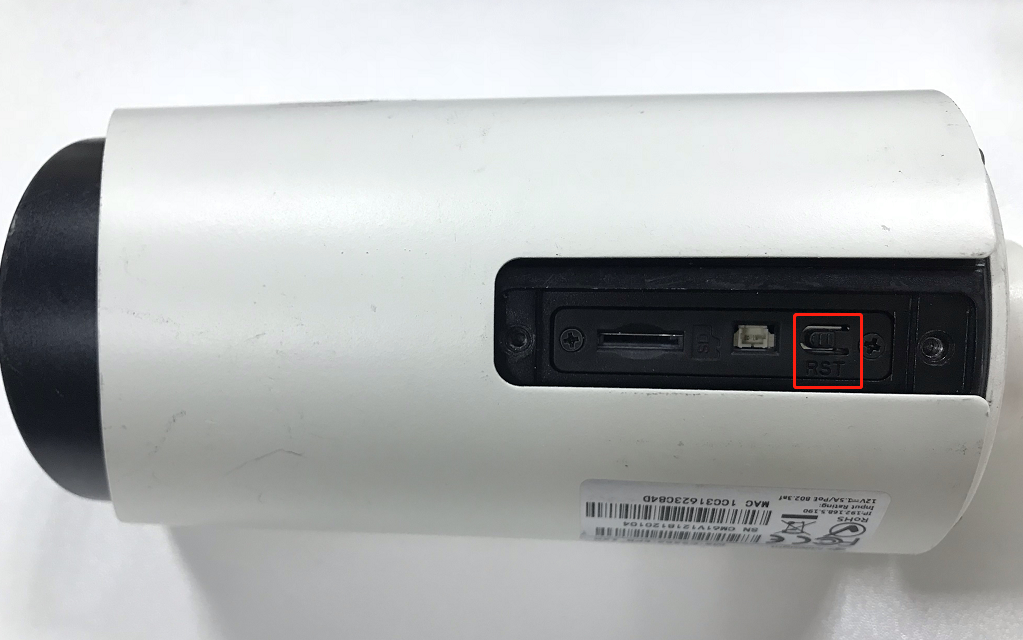
3.4 Pro Bullet
Remove the back cover on the camera body, a button like the figure shown below.
|
|
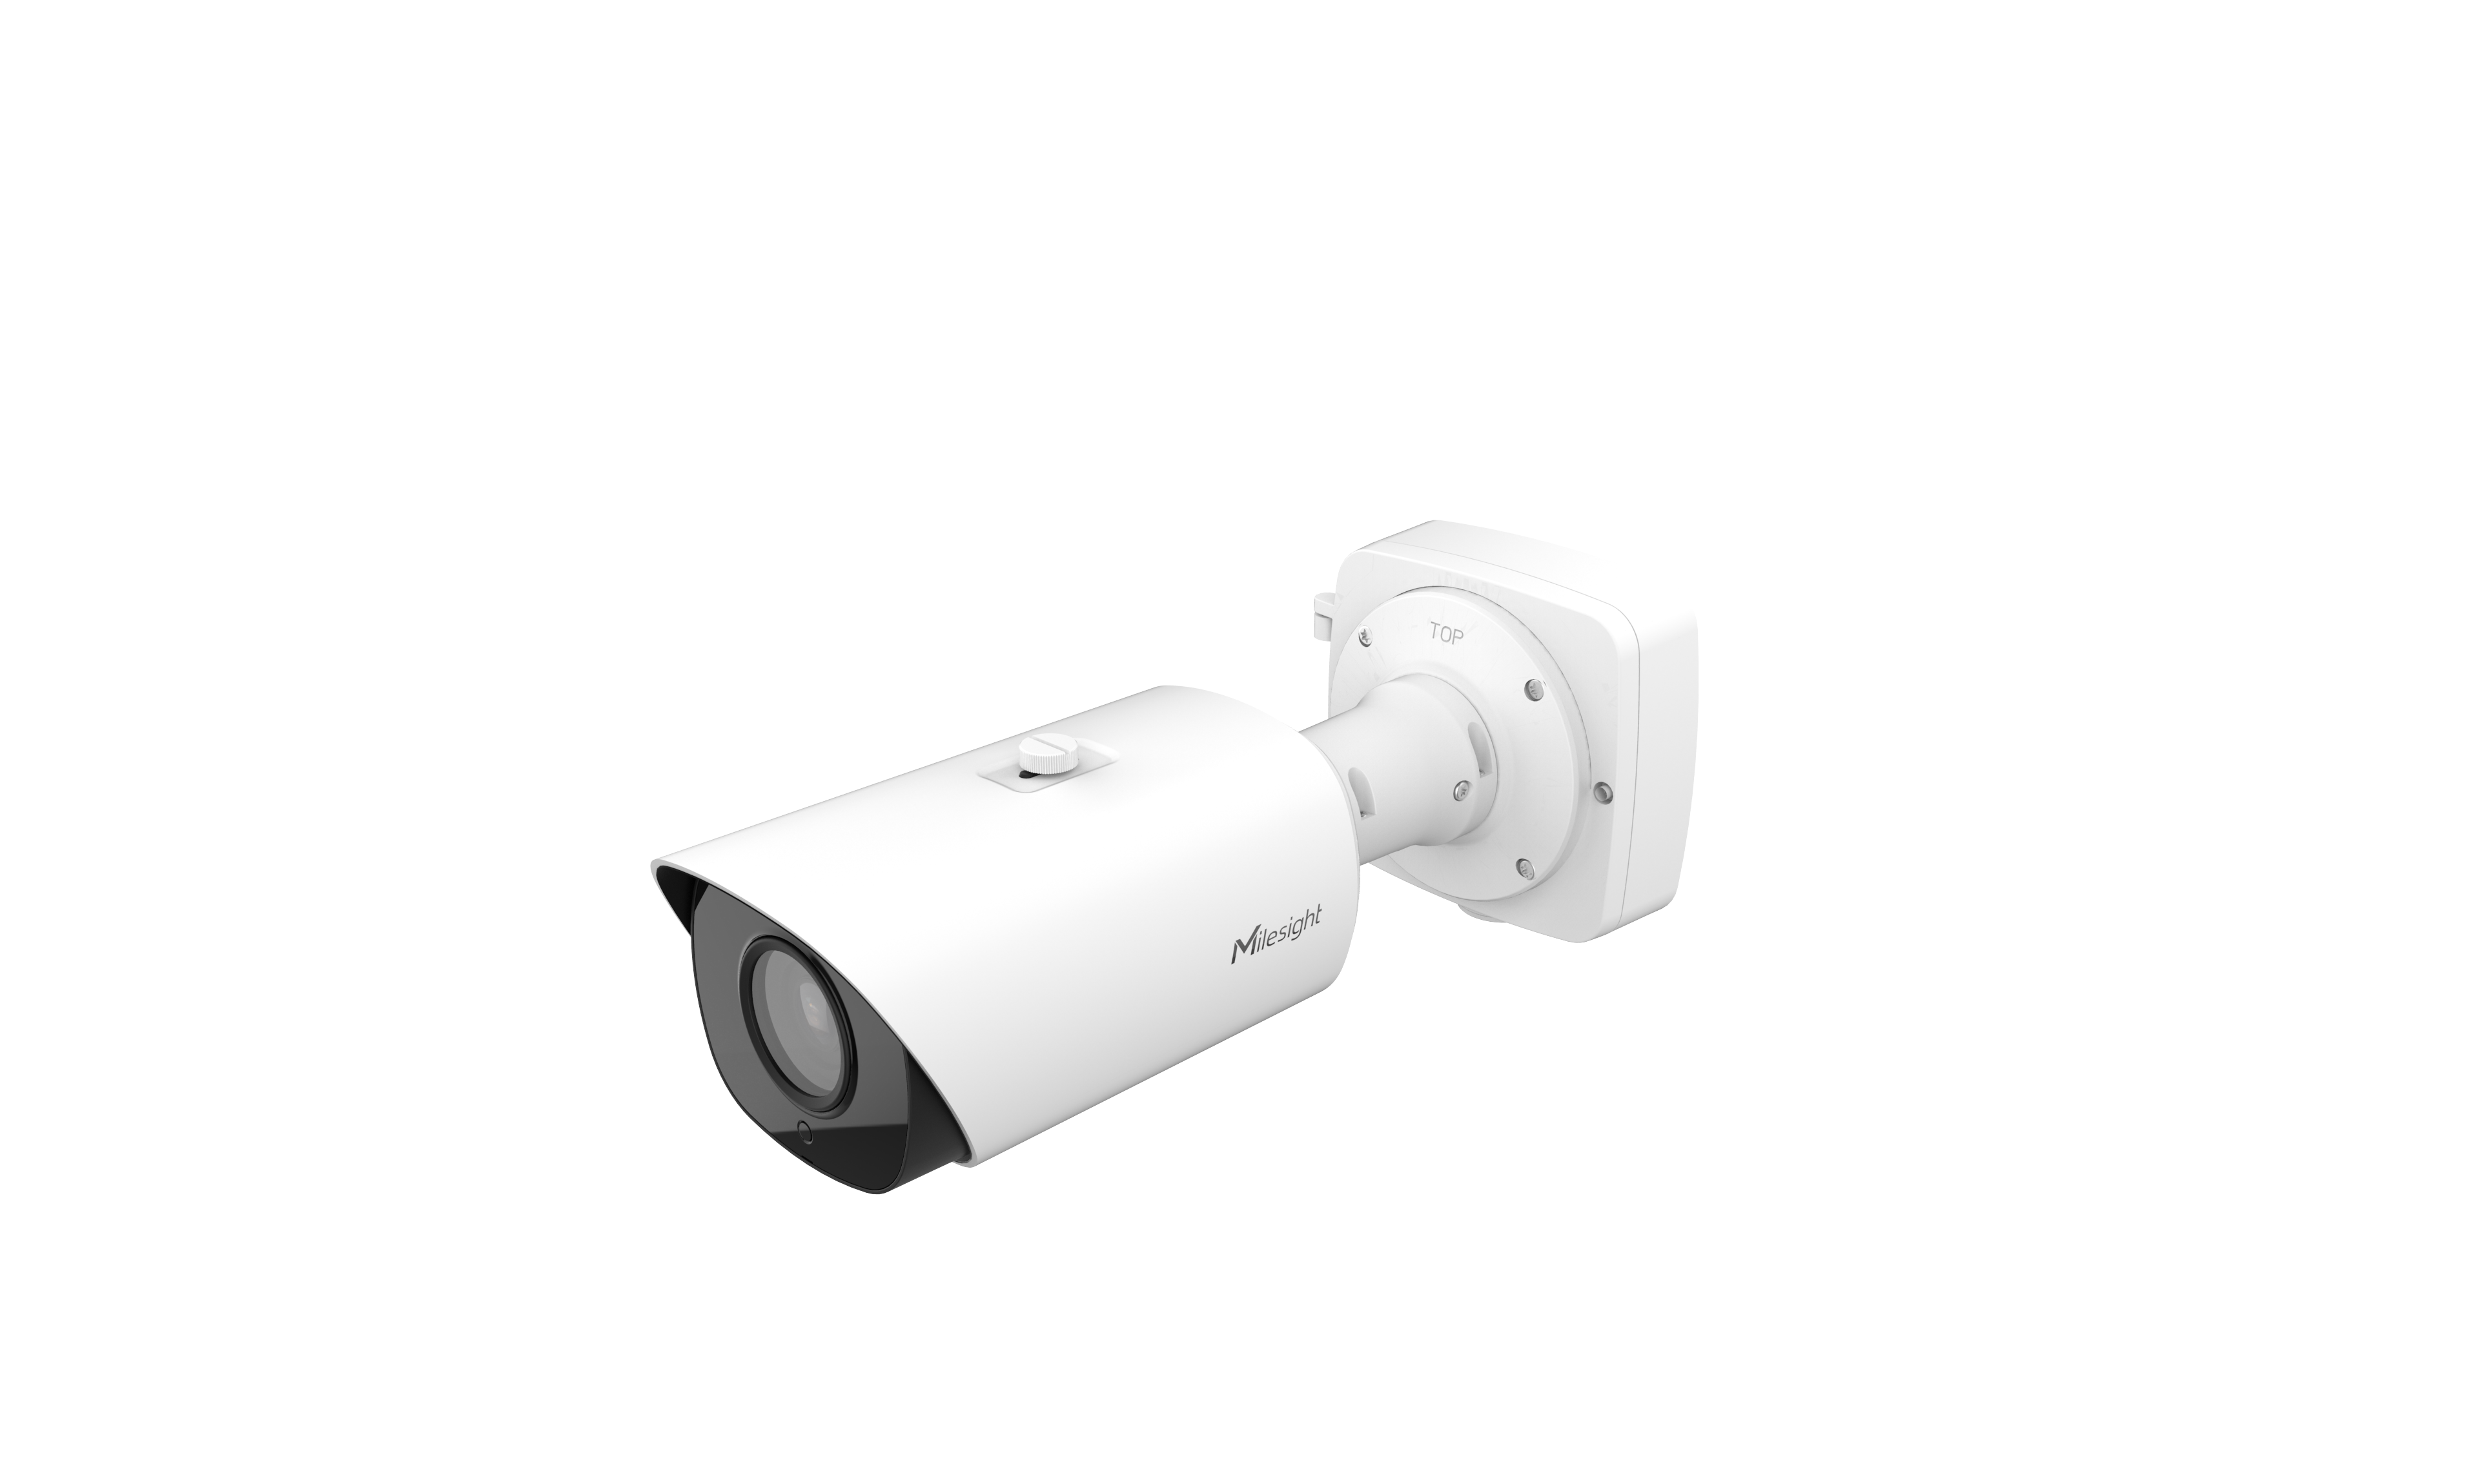
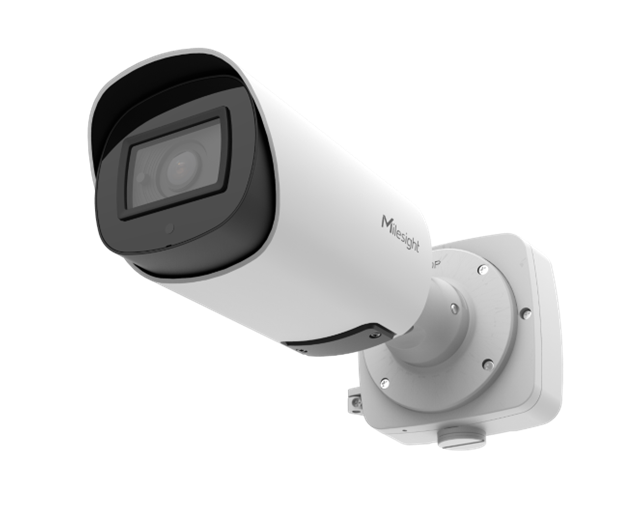
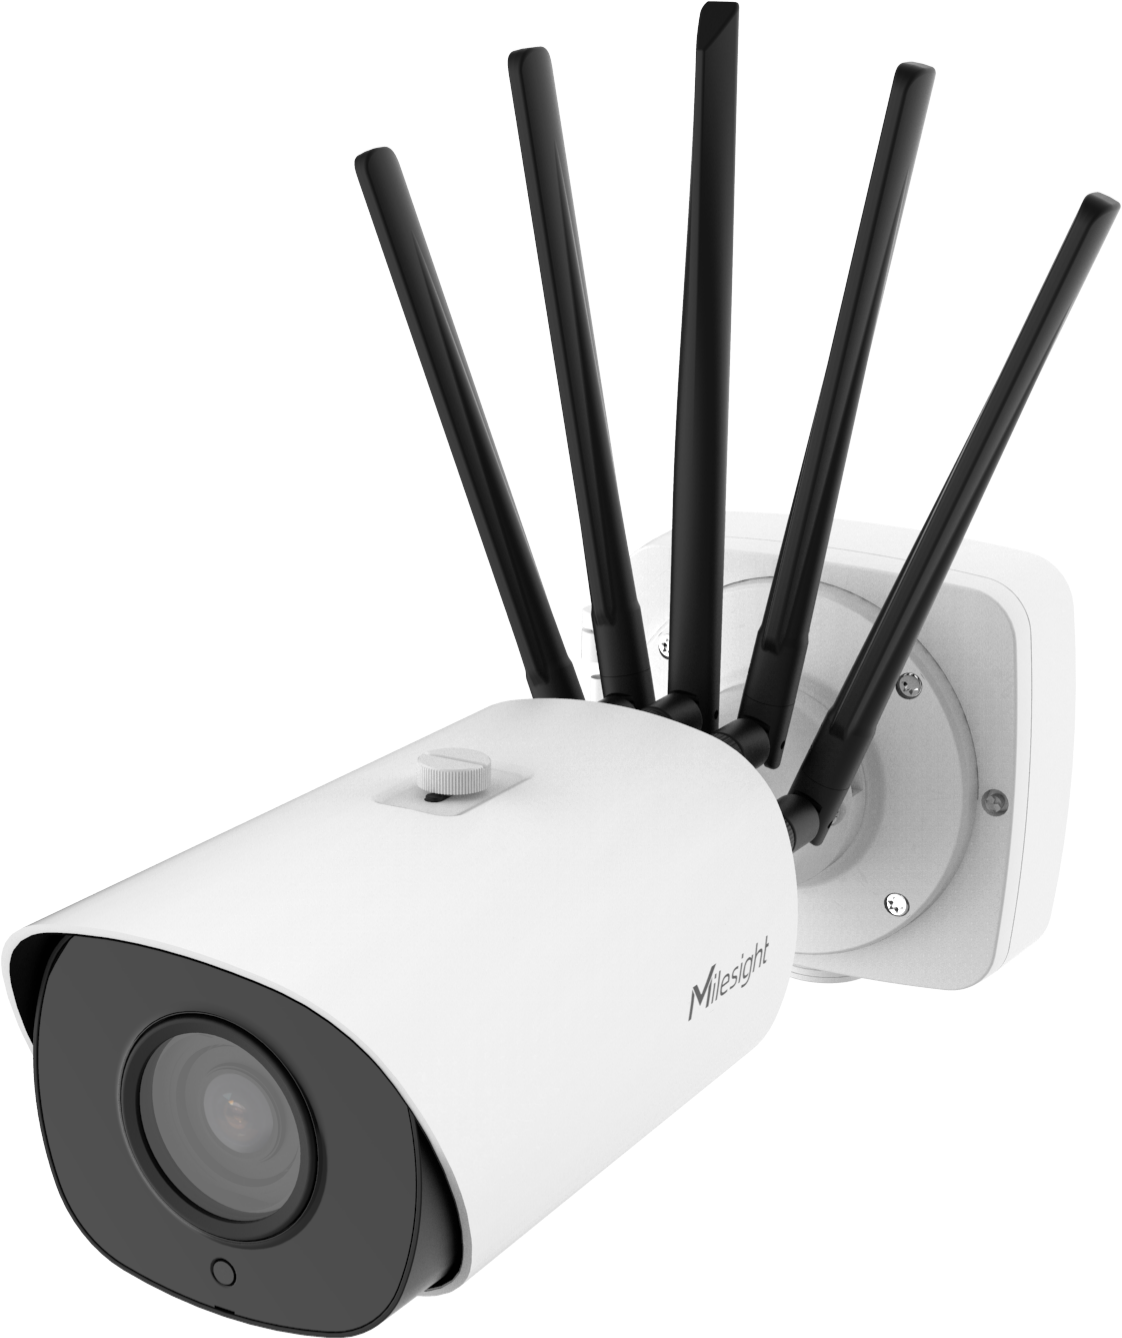
3.5 Pro Bullet Plus
Remove the back cover on the camera body, a button like the figure shown below.
|
|
|
|
|
|
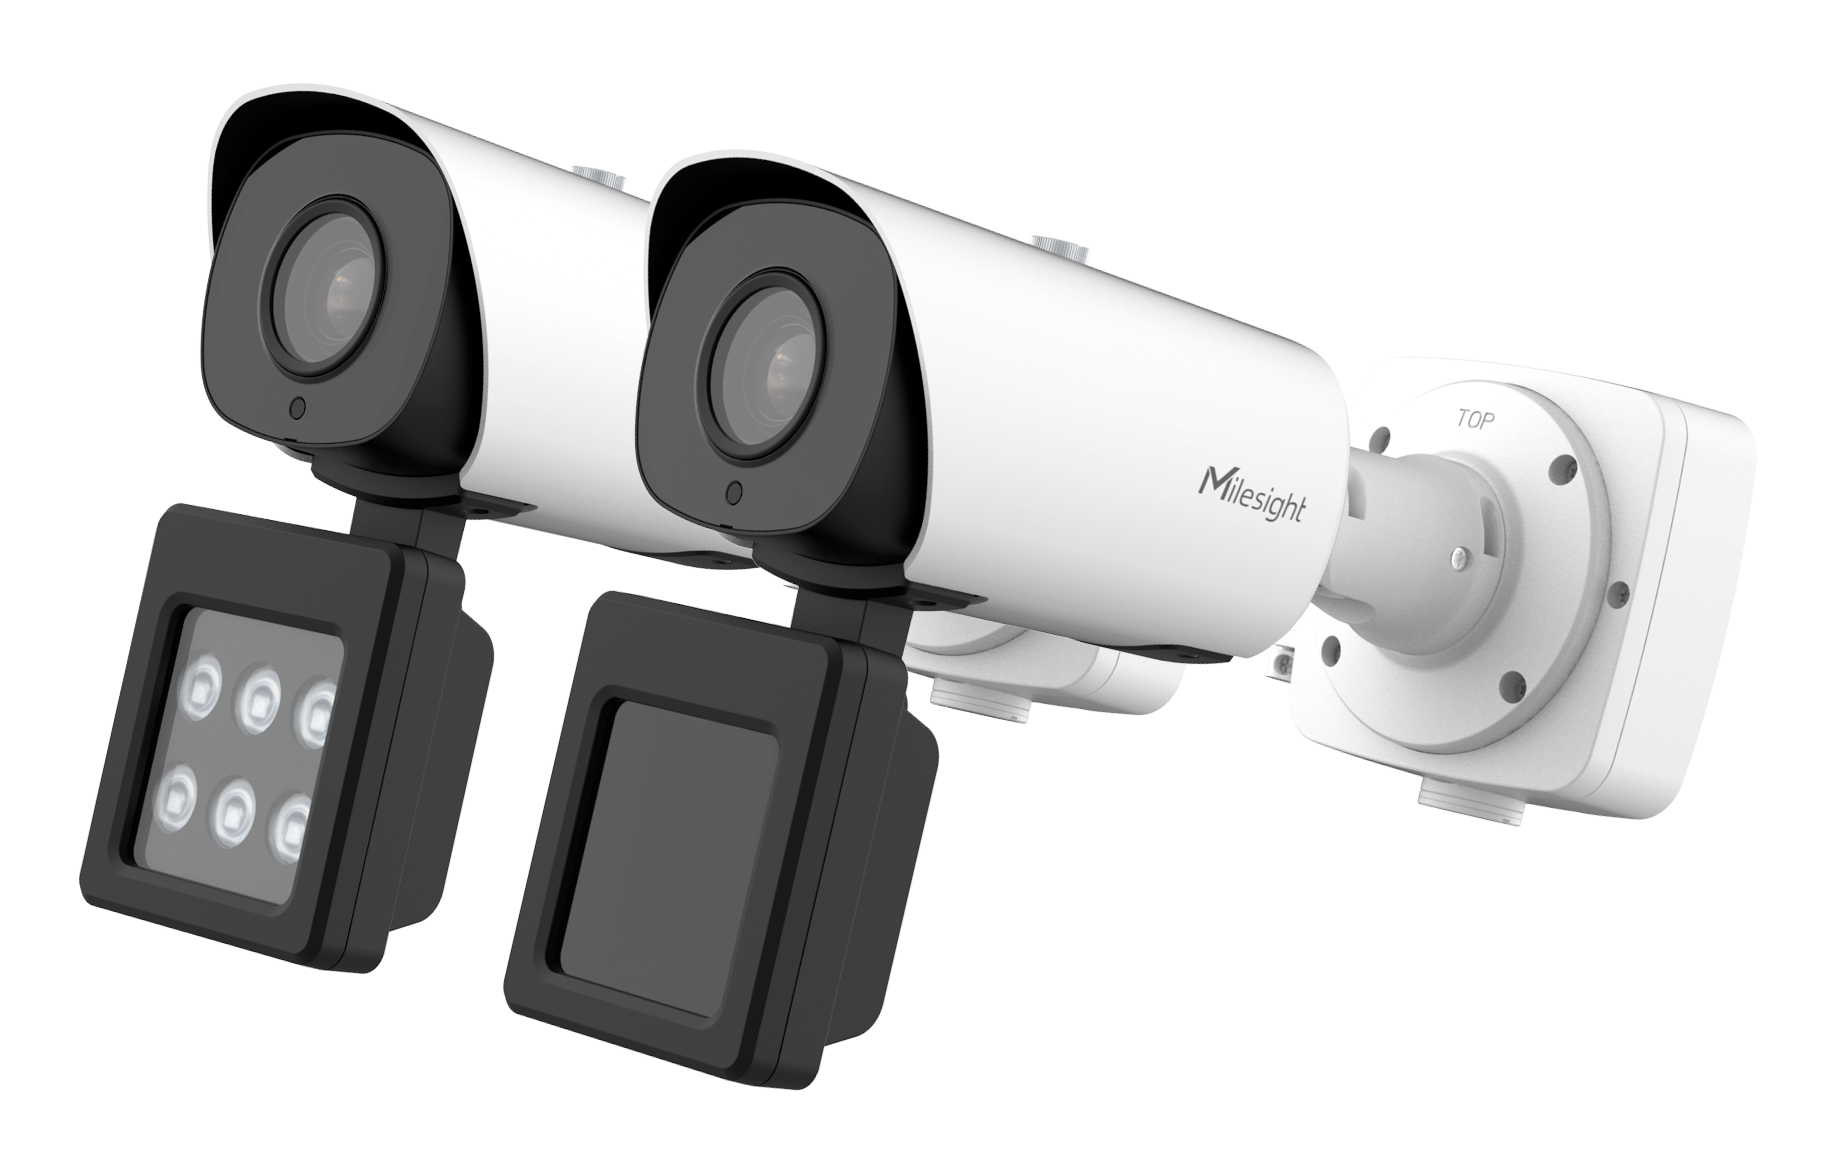
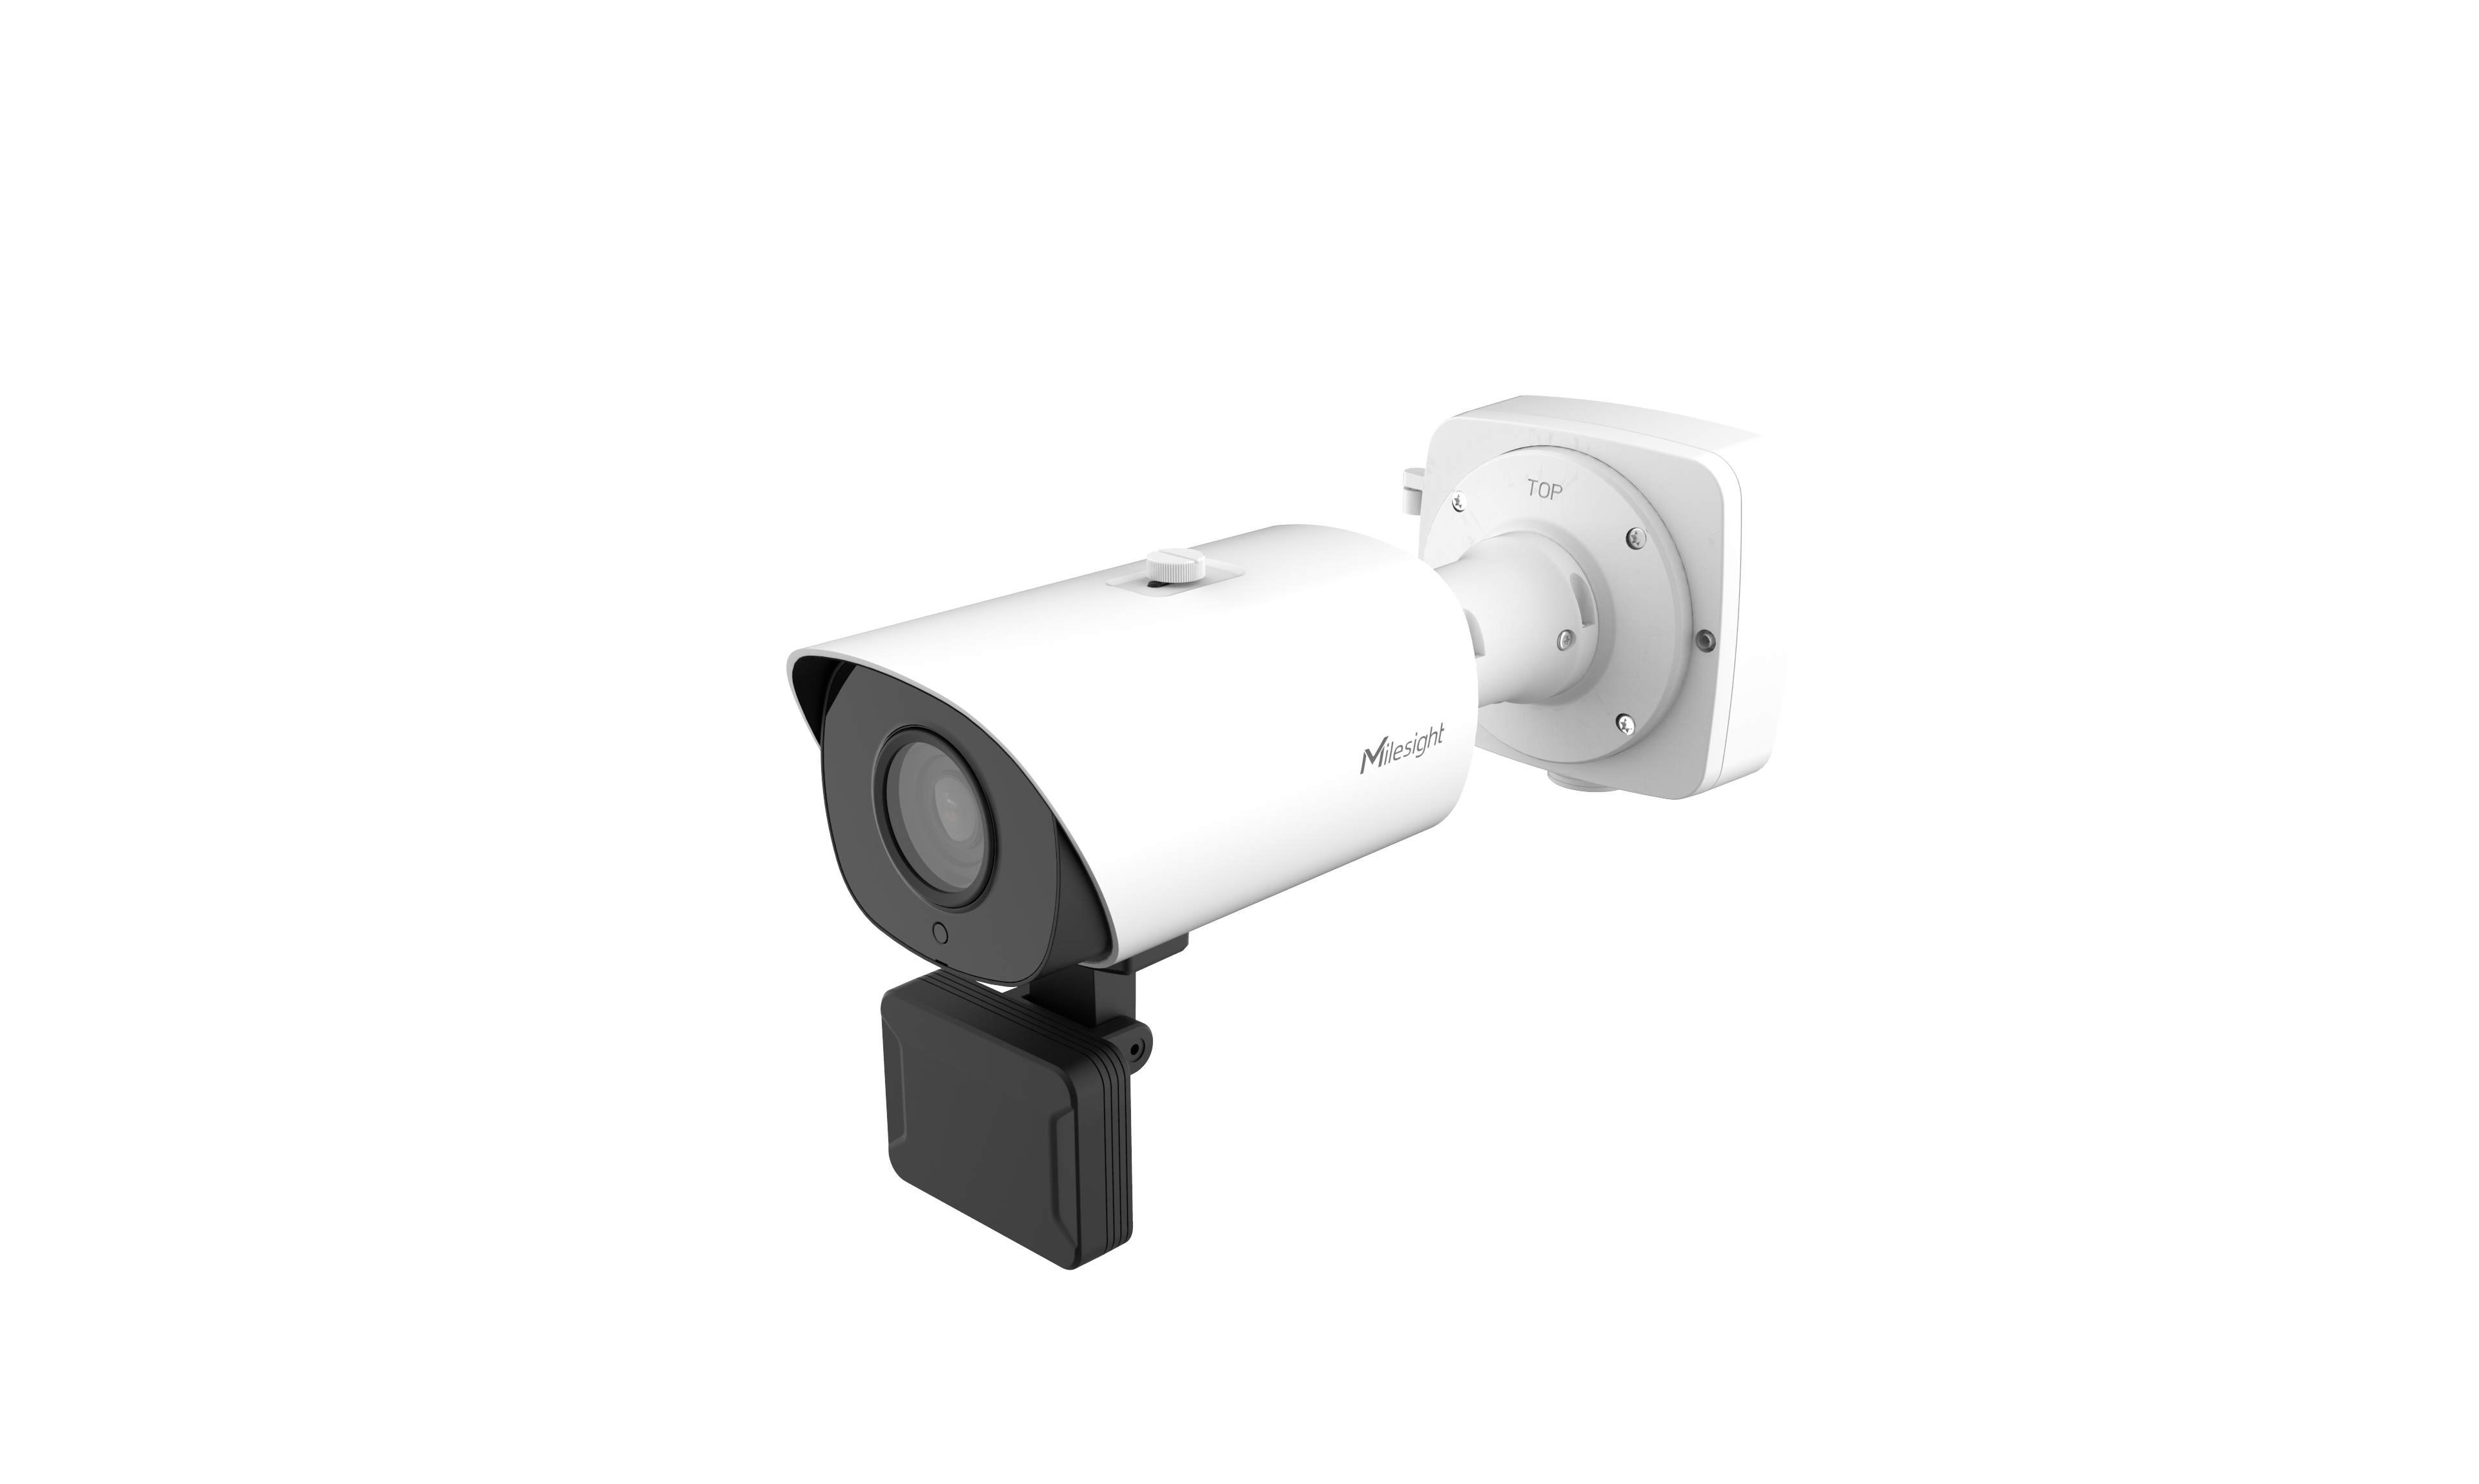
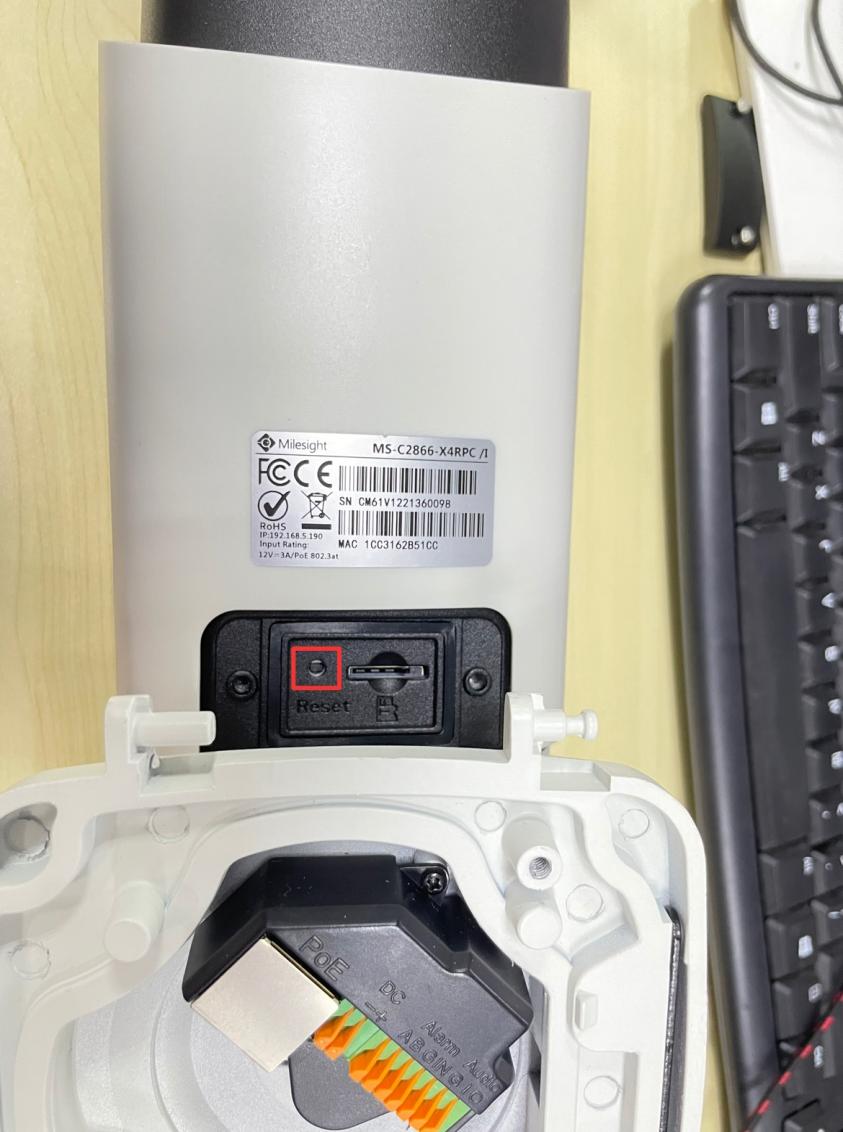
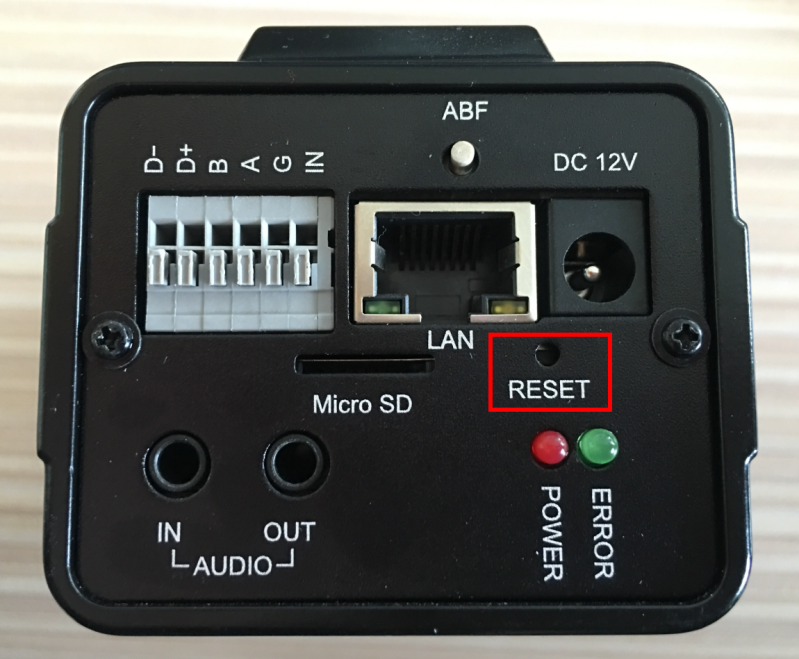
3.6 Pro Box:
A hole on the back of the camera, use pin or something like that to push the button deeper inside the hole.
|
|
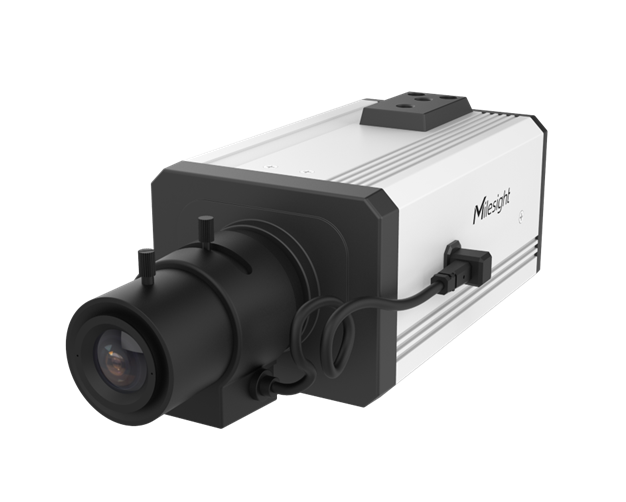
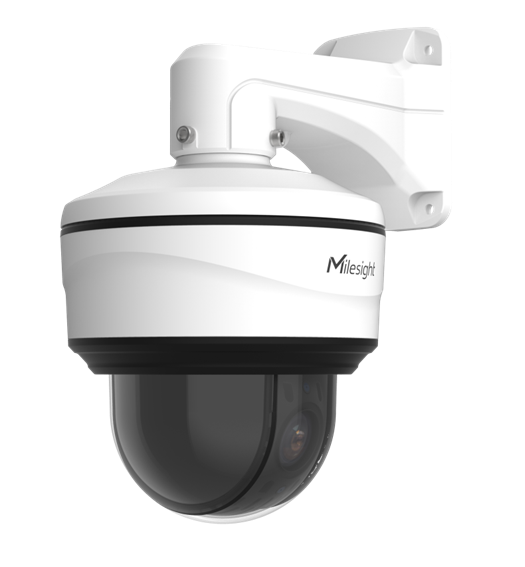
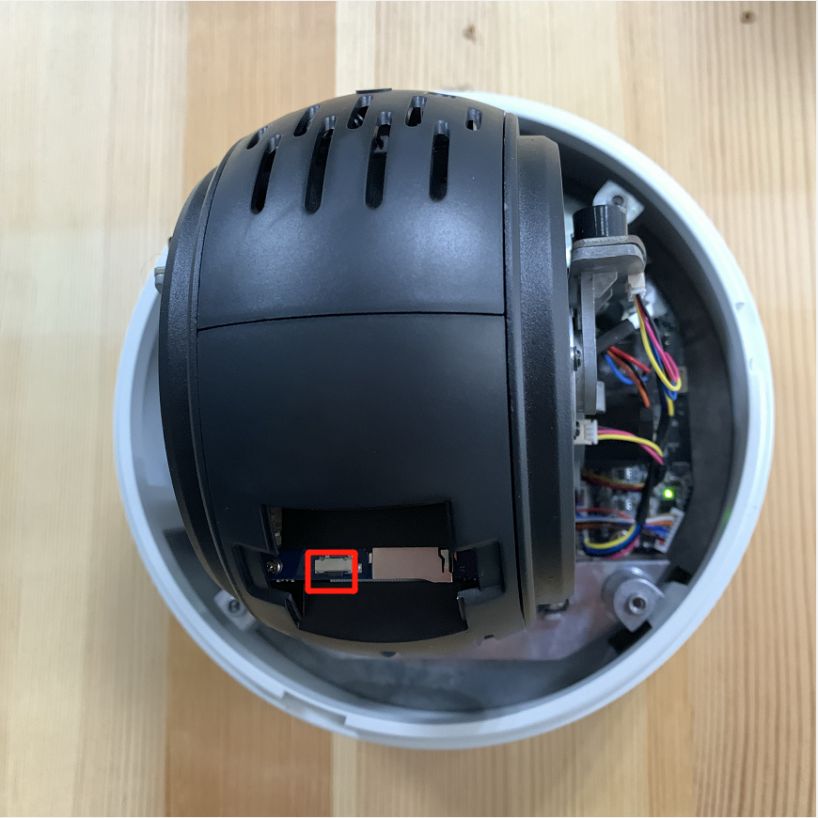
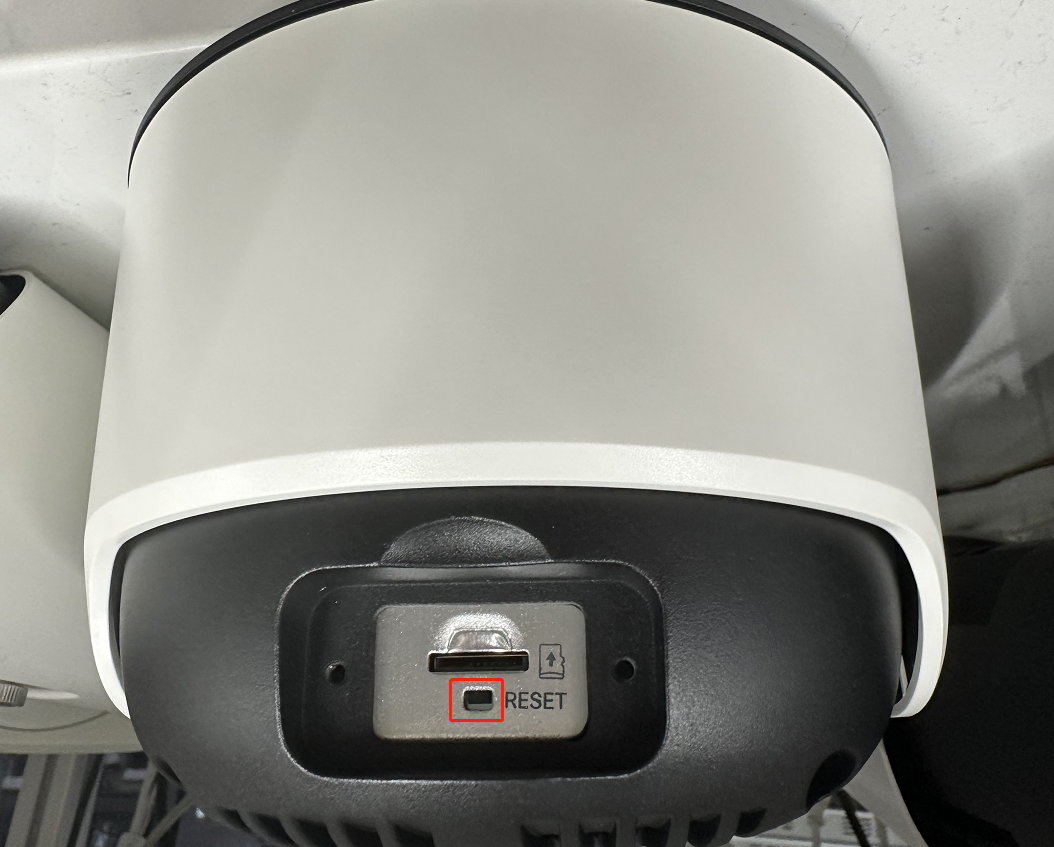
3.7 PTZ Dome:
Open the dome cover and SD card cover, a black button next to SD card slot like the figure shown below.
|
|
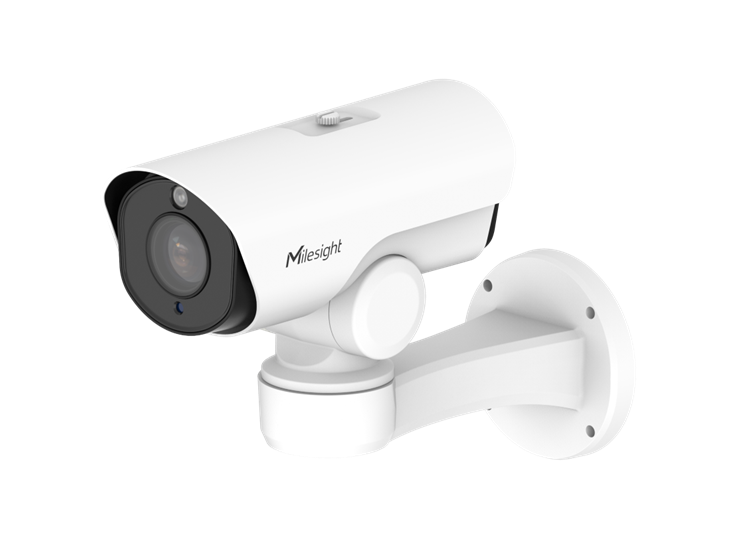
3.8 PTZ Bullet:
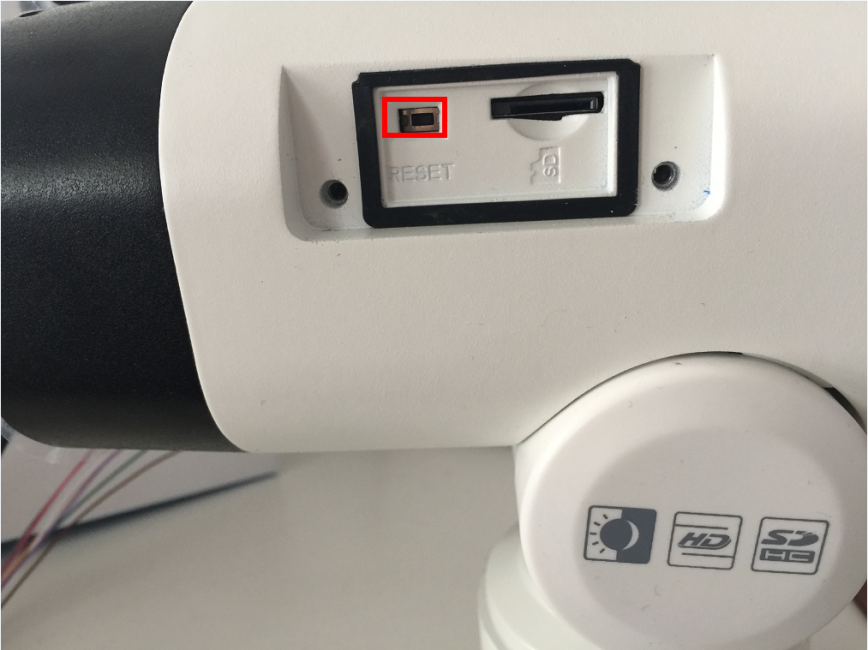
Remove the upper housing and the SD card cover which on the left side of the camera body, a button like the figure shown below.
|
|
3.9 PTZ Bullet Plus
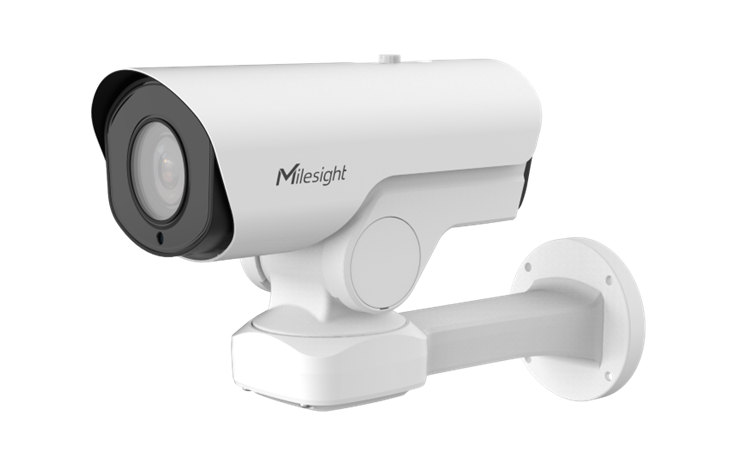
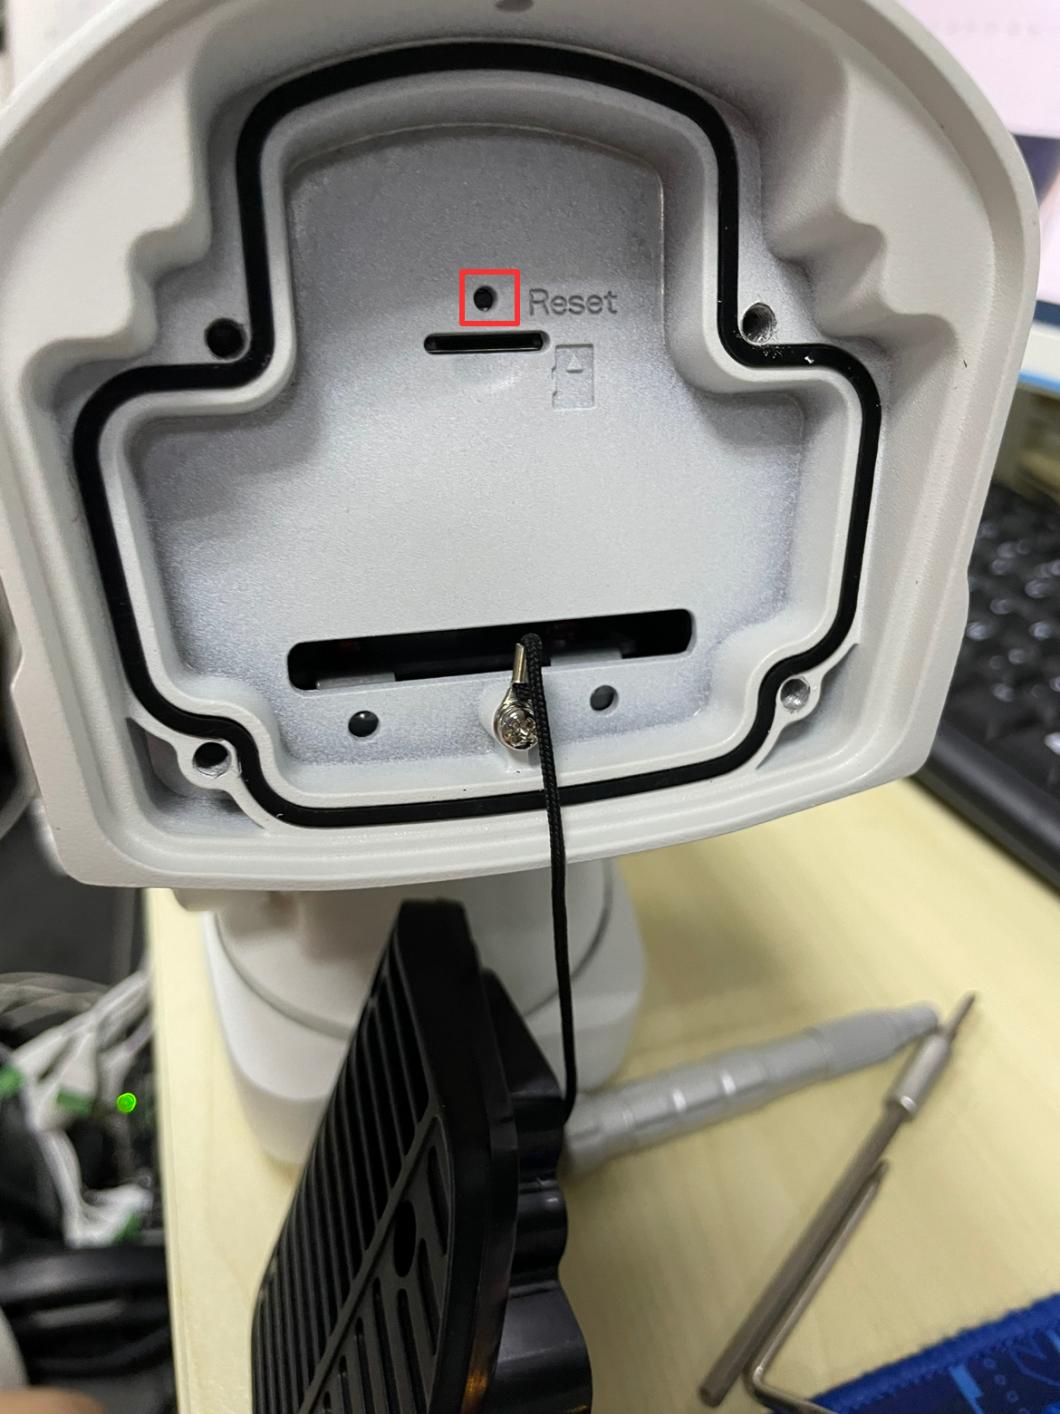
Open the back cover on the camera body, you can use tools to achieve reset button like the figure shown below.
|
|
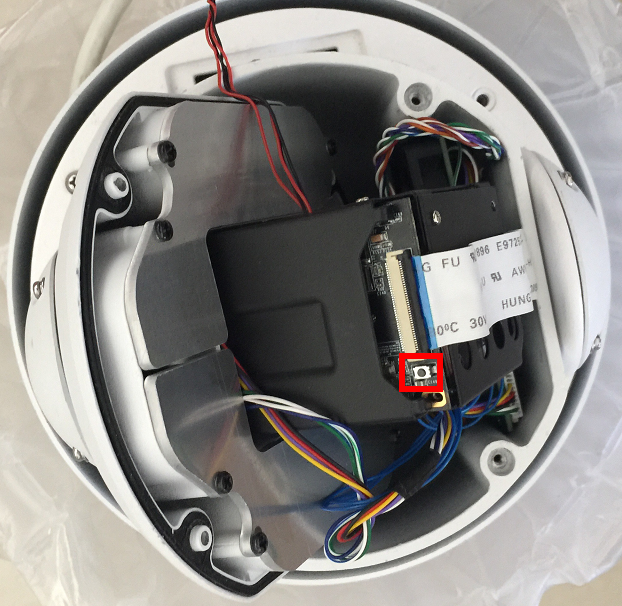
3.10 Speed Dome
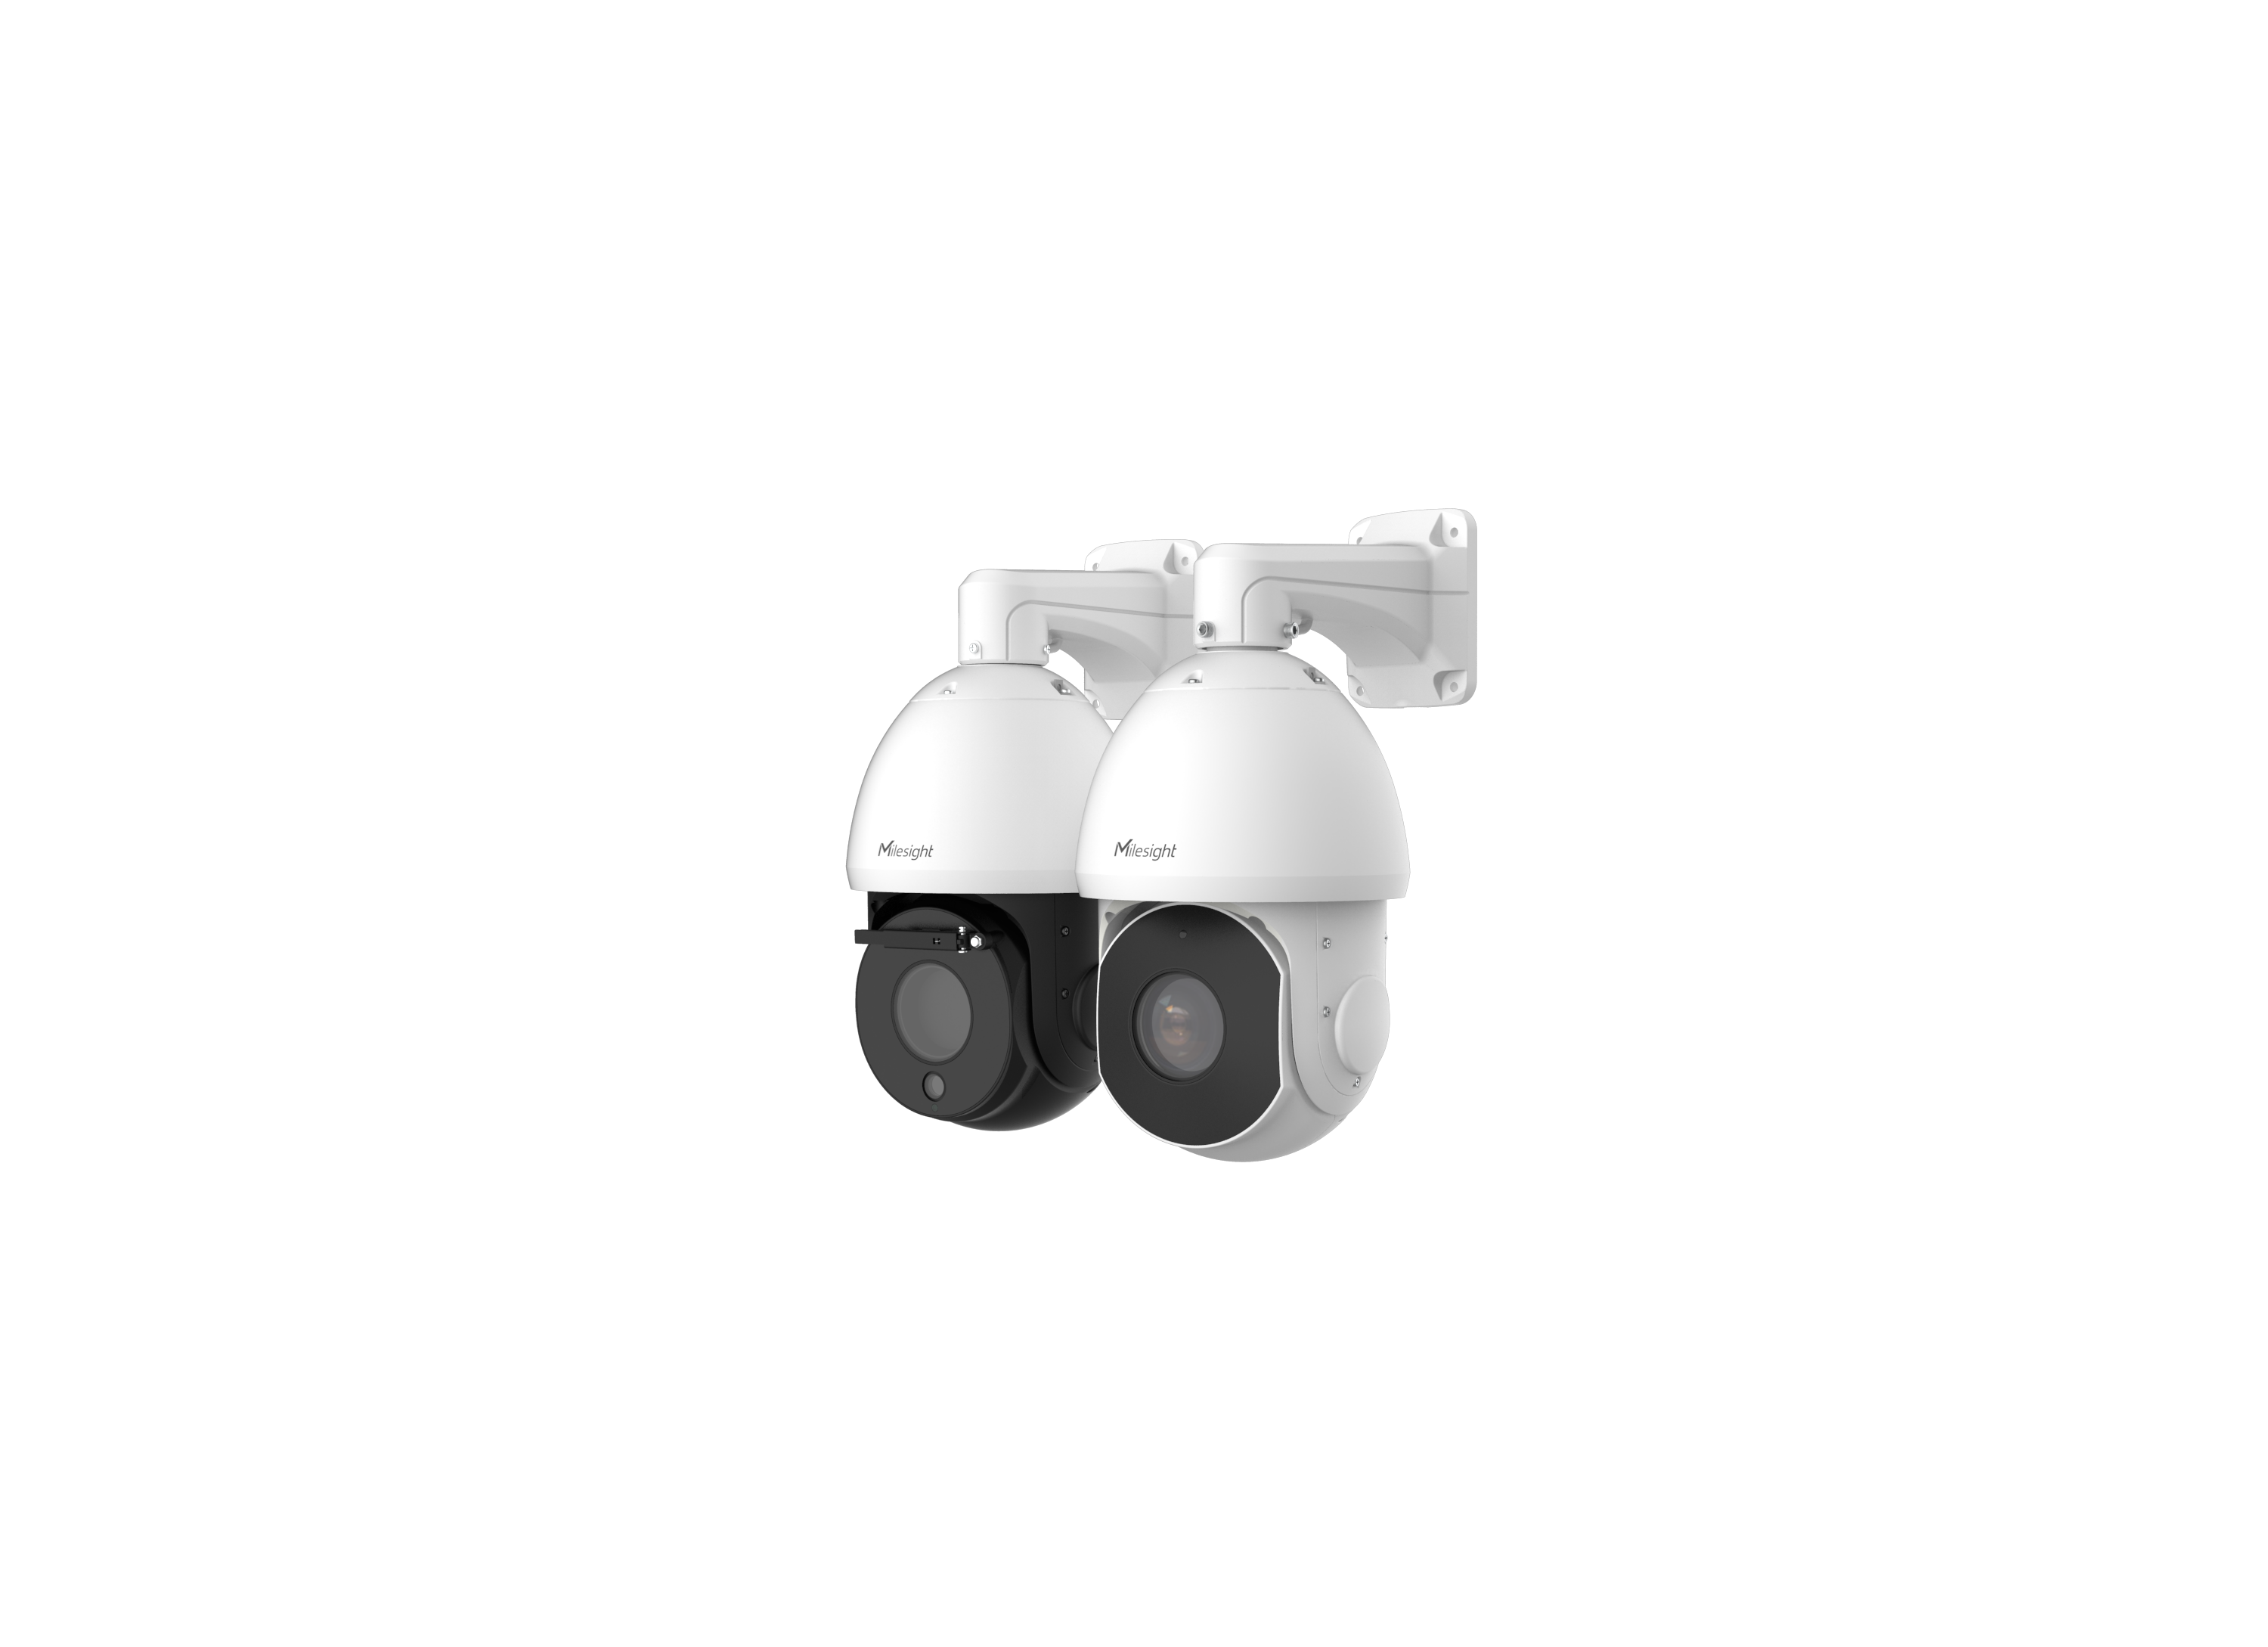
Open the front cover of the camera, a black button like the figure shown below.
|
|
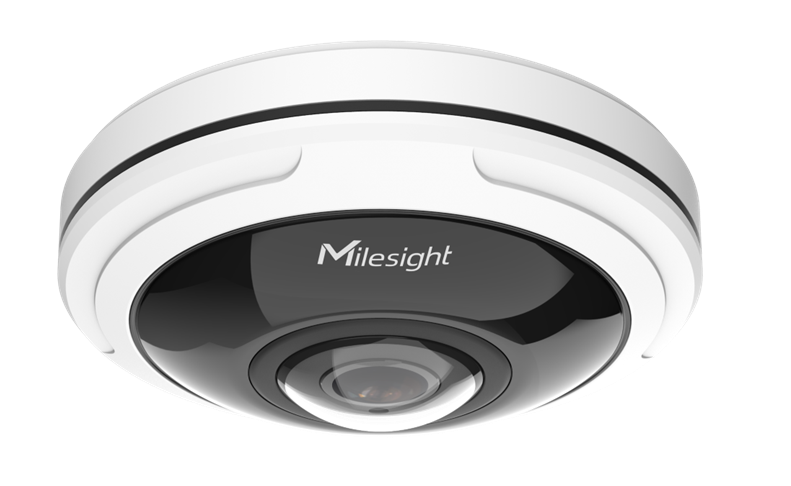
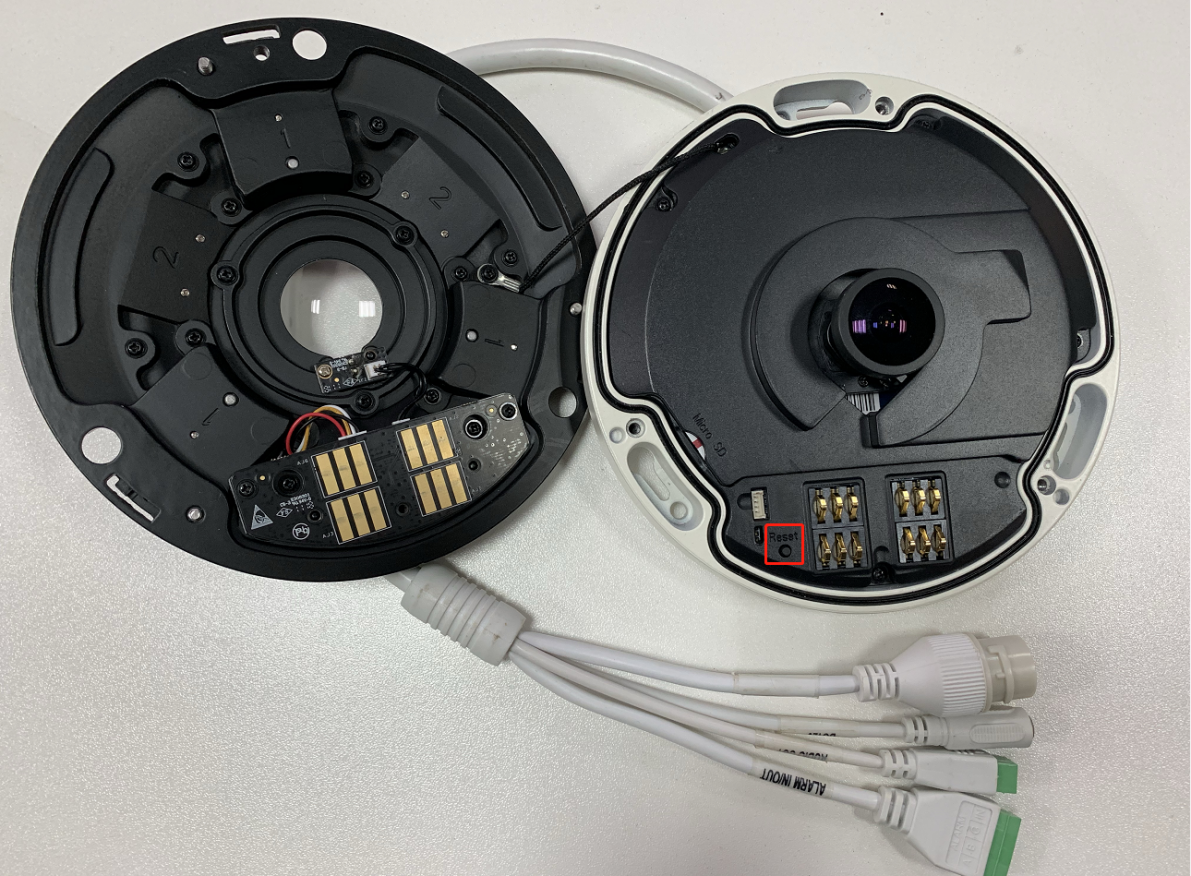
3.11 Fisheye:
Open the front cover of the camera, a black button like the figure shown below.
|
|
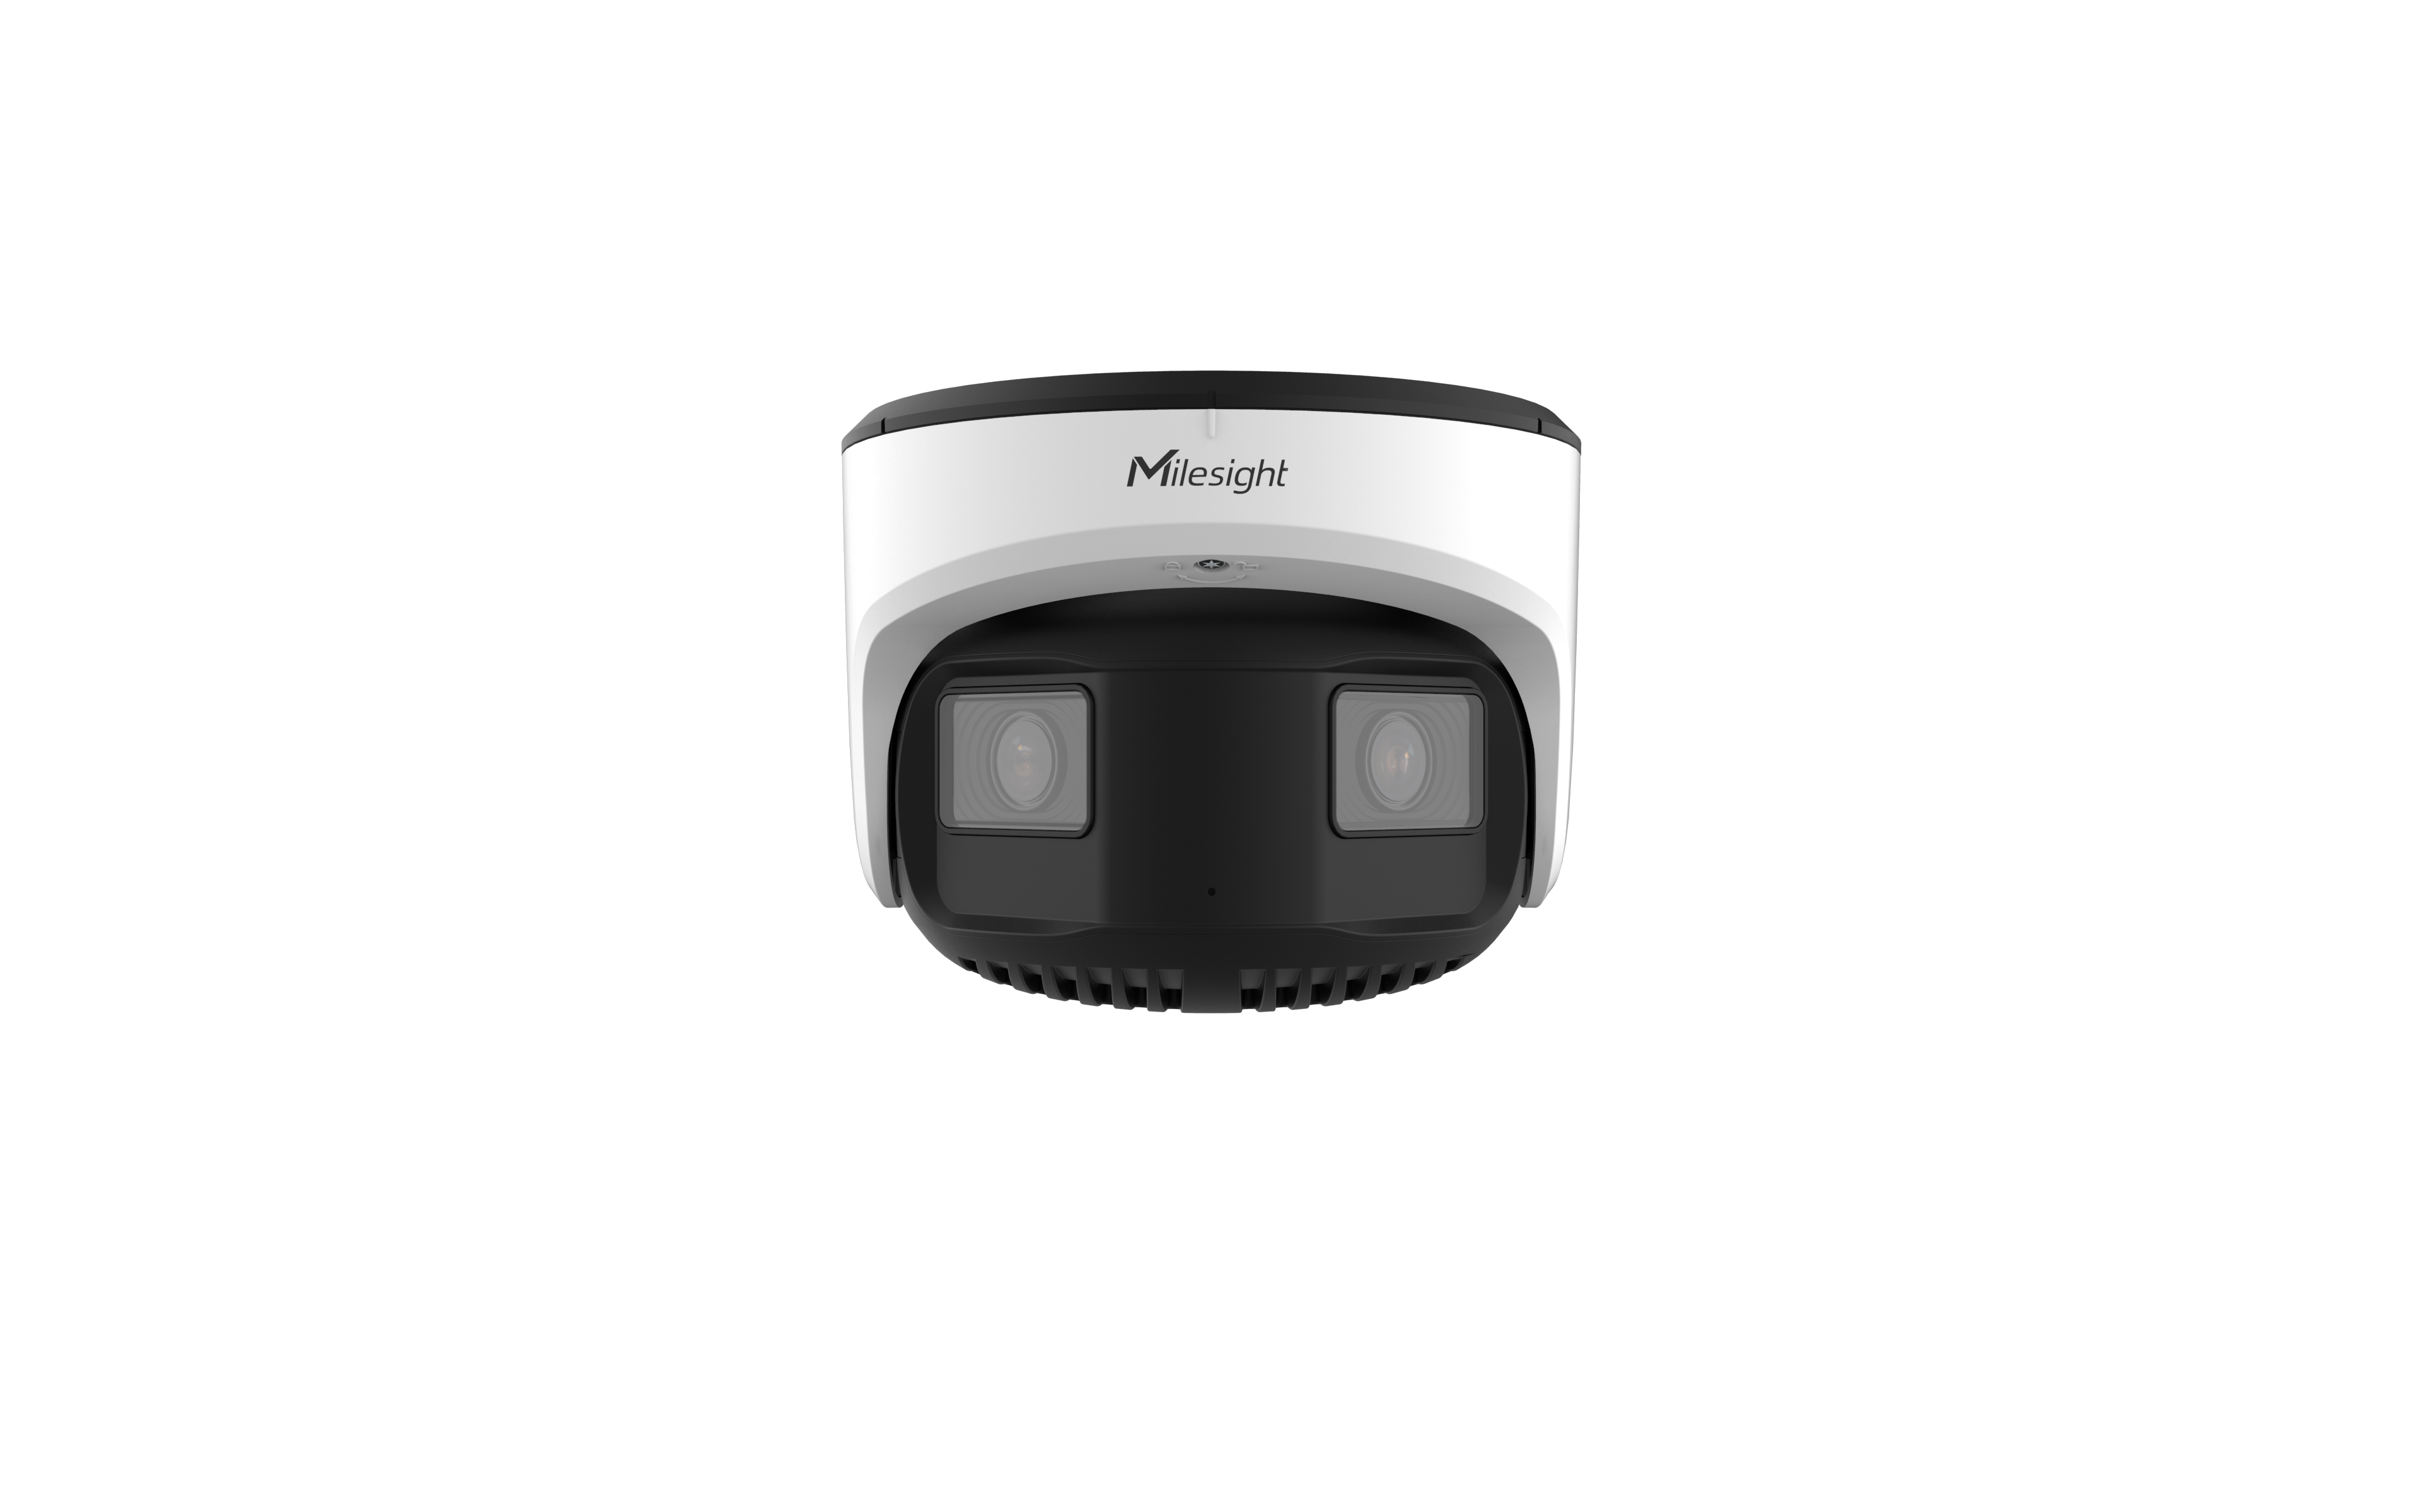
3.12 Dual-sensor 180° Panoramic:
Remove the SD card cover on the back of the camera , use pin or something like that to push the button inside the hole.
|
|
3.13 Solar-Powered Series
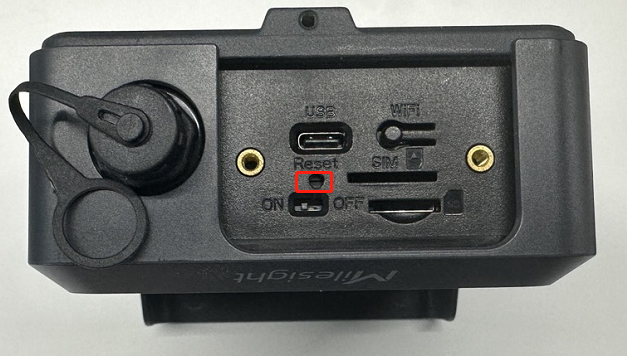
3.13.1 4G Solar-powered Traffic Sensing:
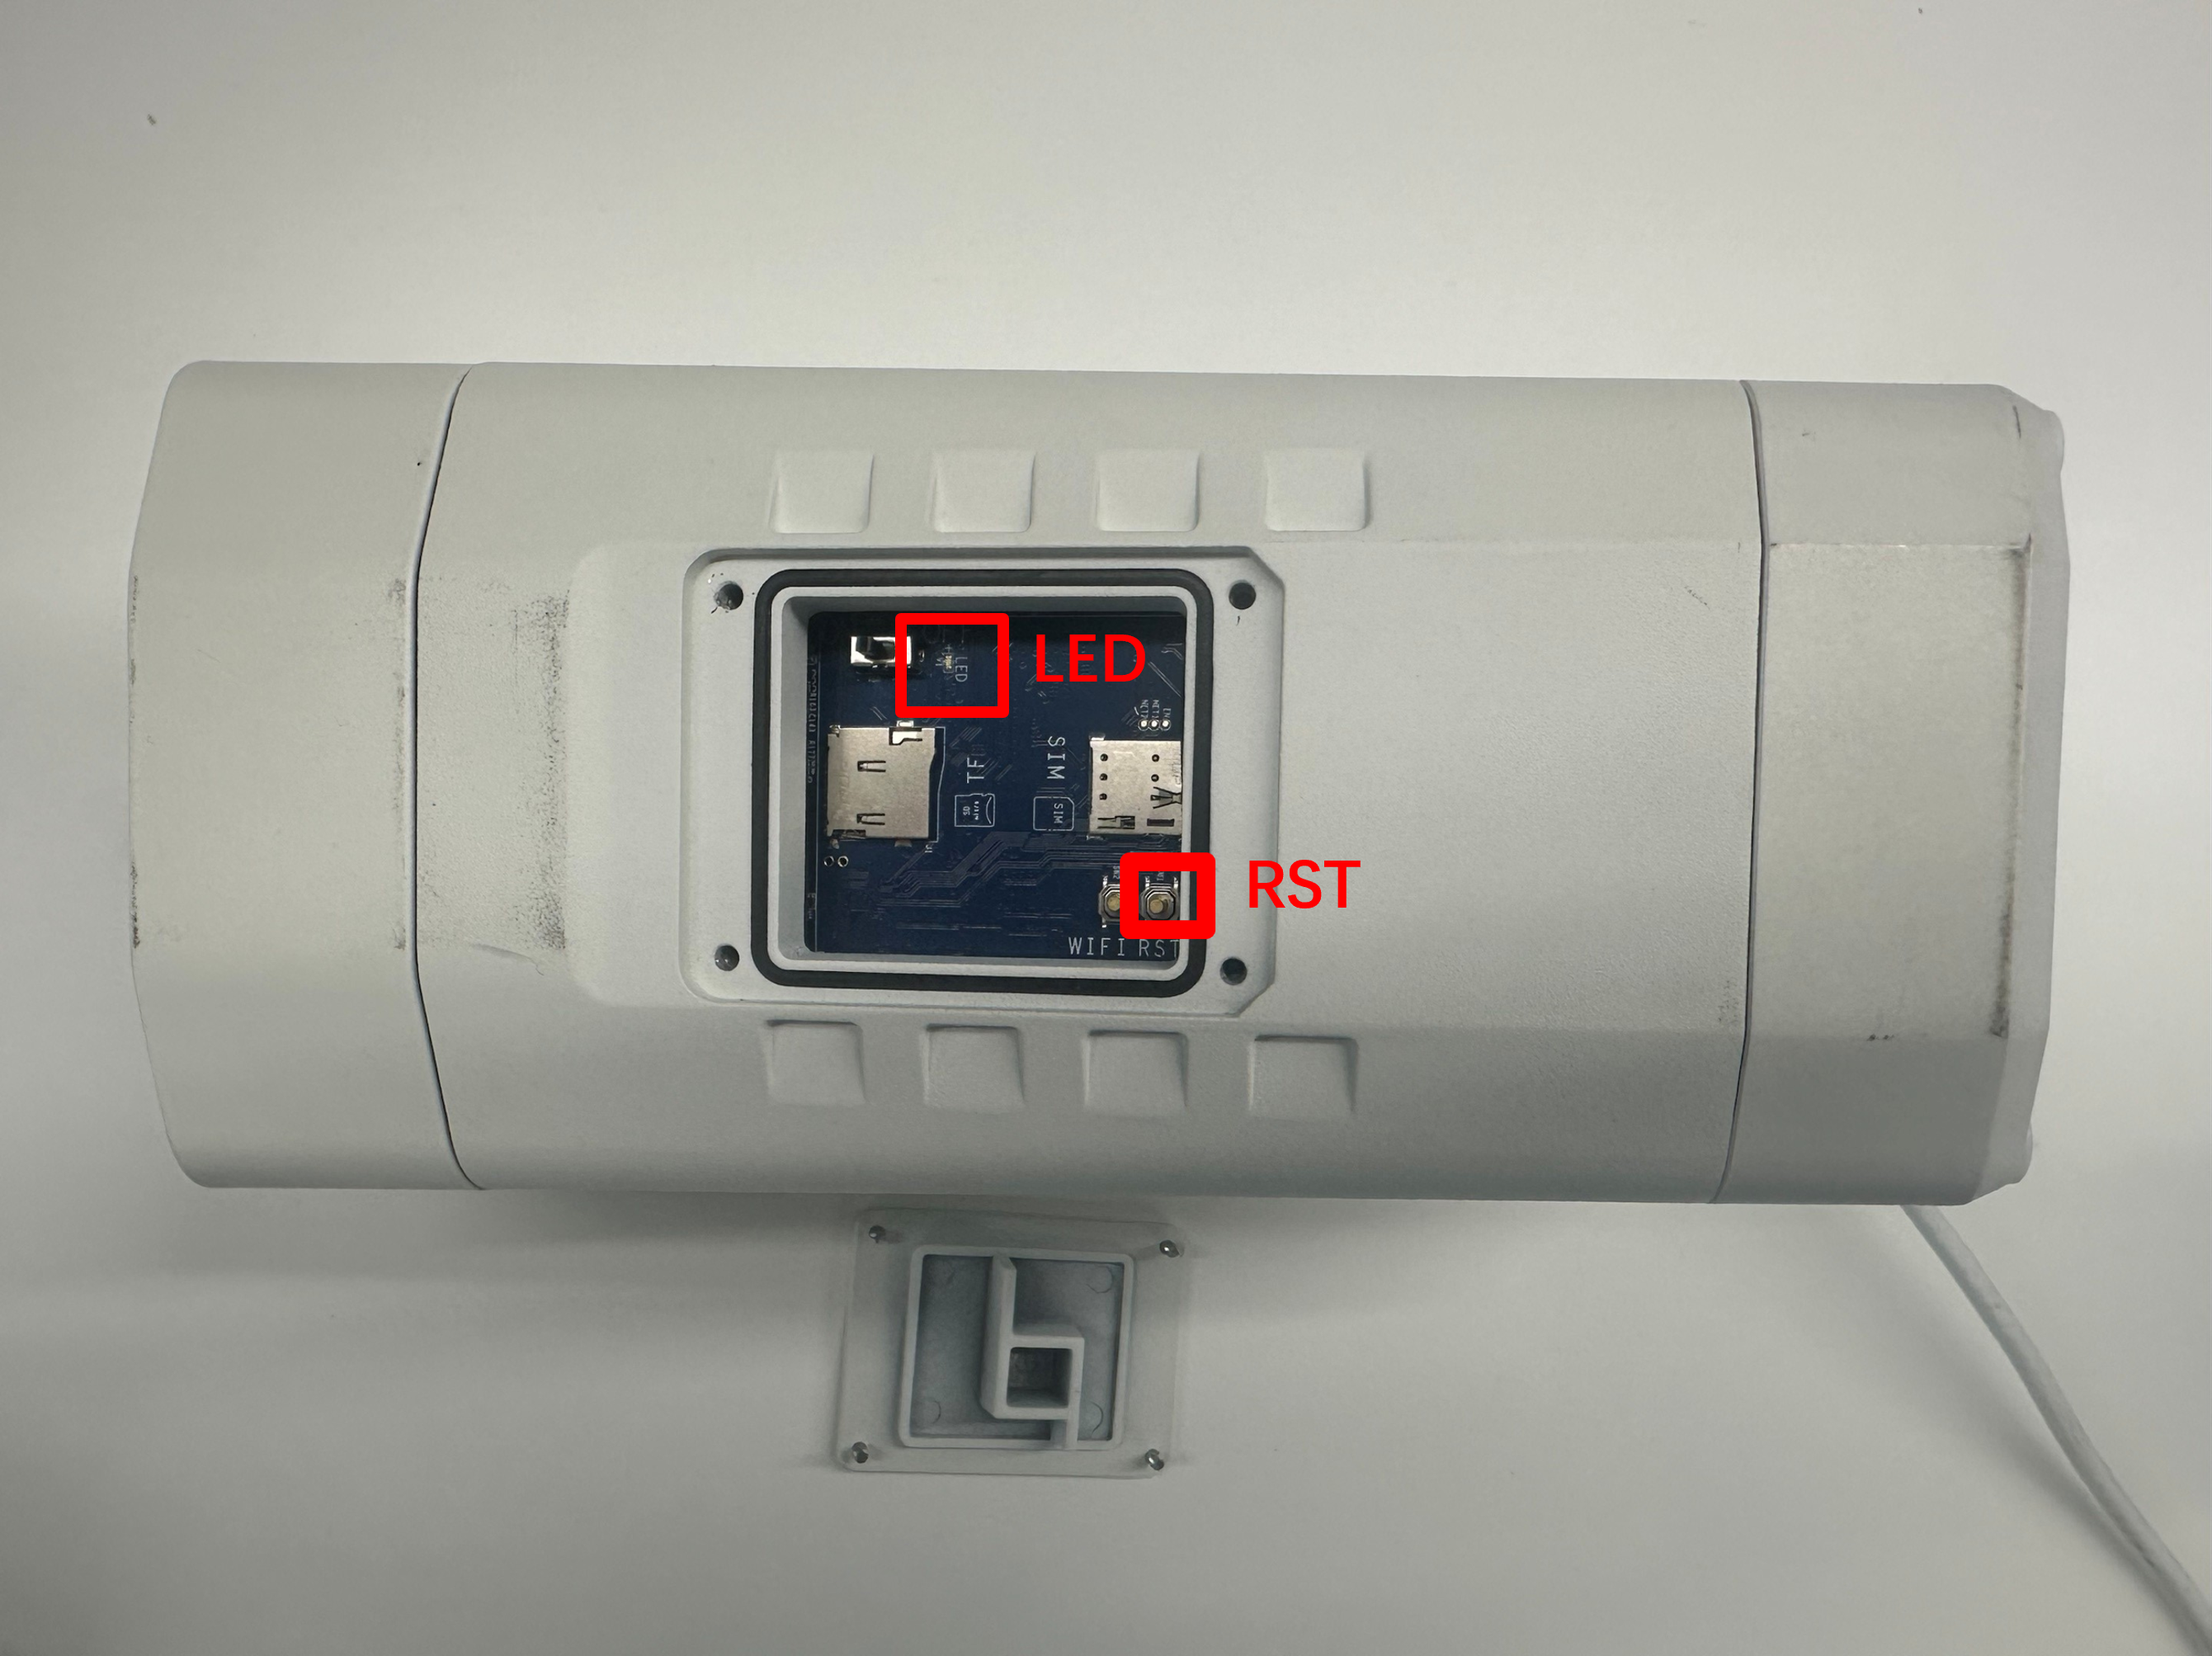
Remove the SIM card cover on the back of the camera , use pin or something like that to push the button inside.
|
|
3.13.2 4G Solar-powered Security/ANPR Camera
With power on, hold the reset button for 5s. The green LED flashes quickly 5 times to confirm, then flashes slowly during reset. A solid green LED means reset is complete.
|
|
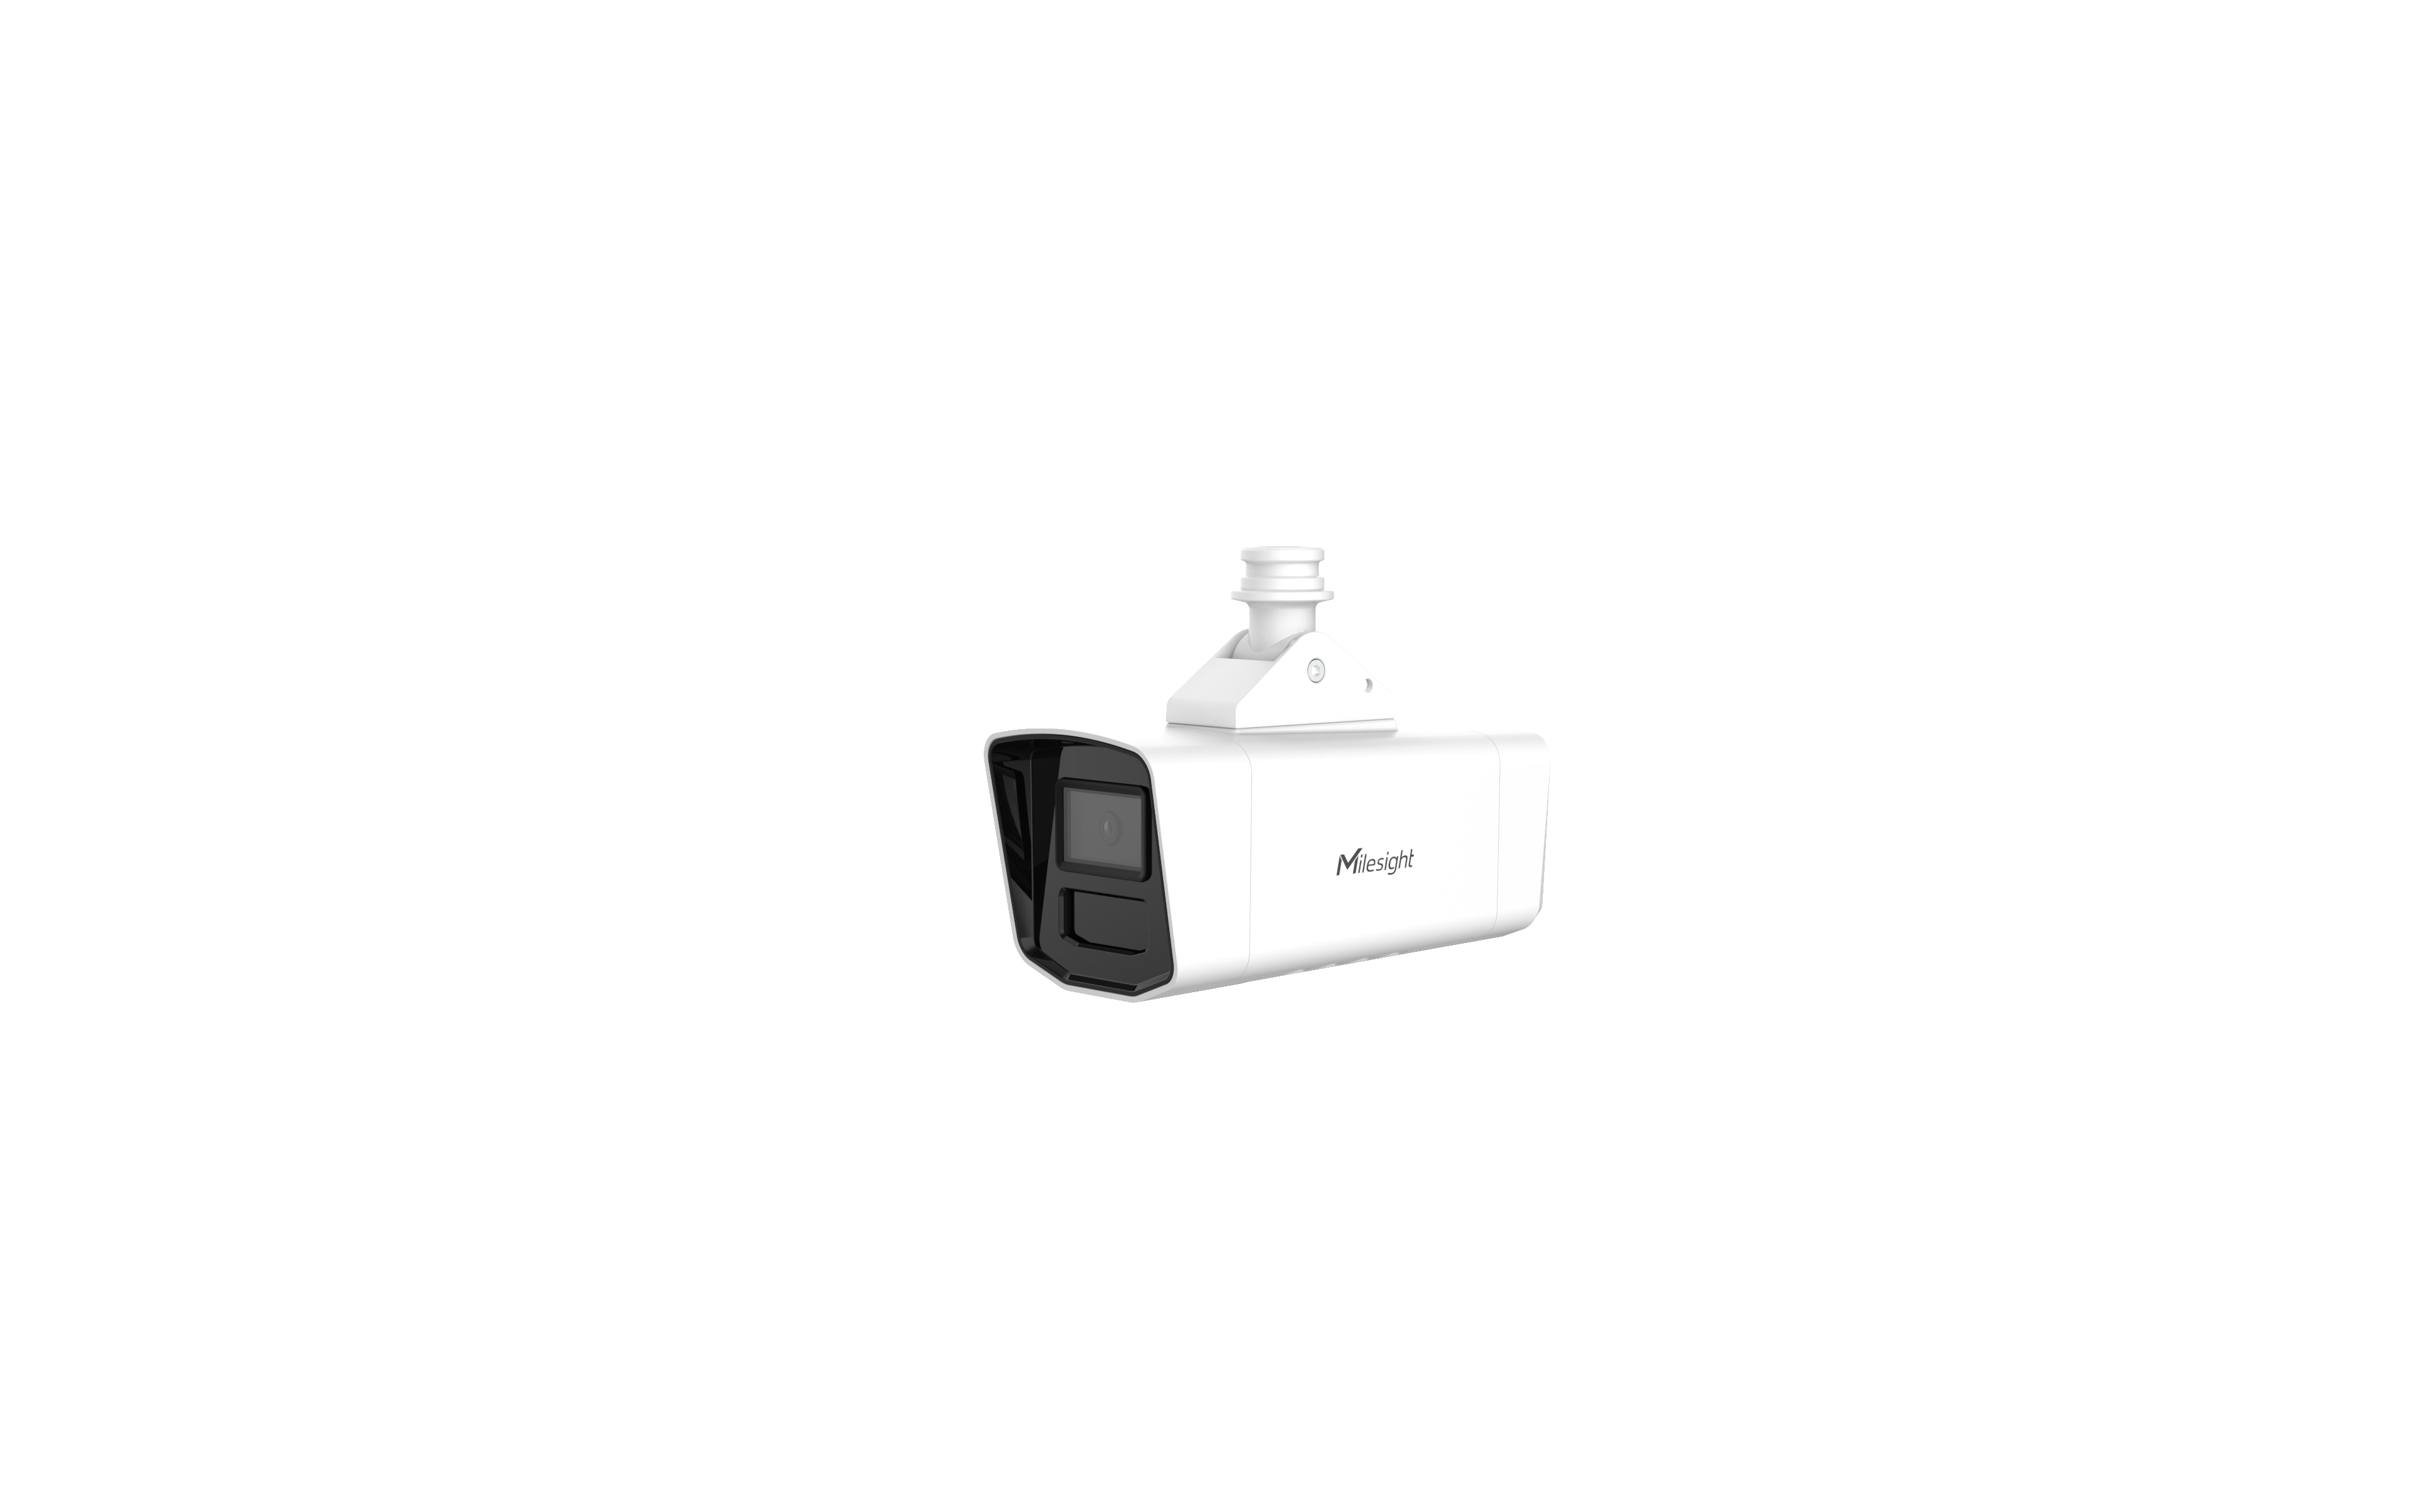
3.14 Indoor Parking Guidance Camera:
Open the top cover of the camera, a black button like the figure shown below.
|
|
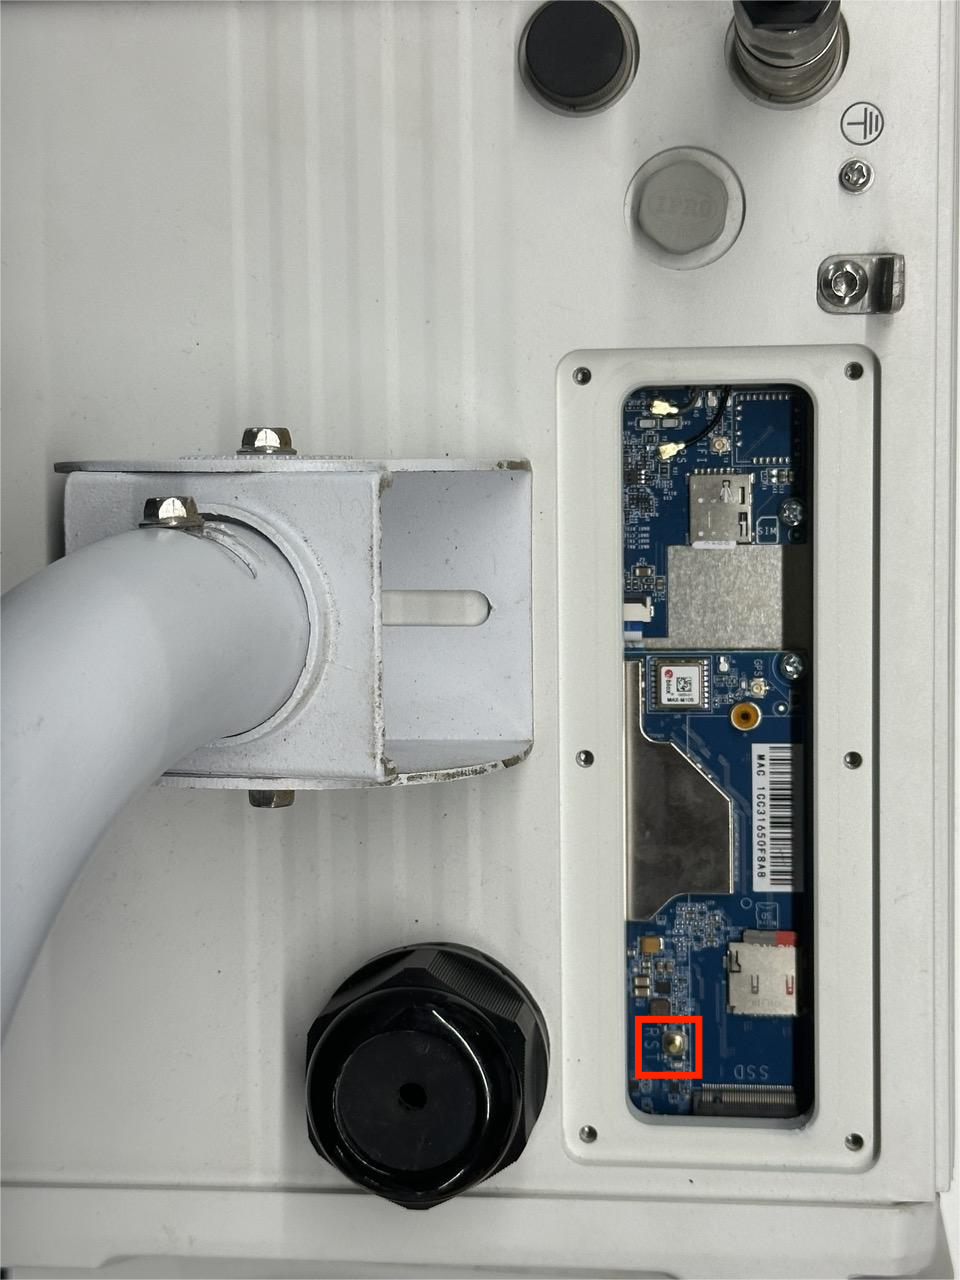
3.15 TrafficX
TrafficX / TraficX Enforcement:
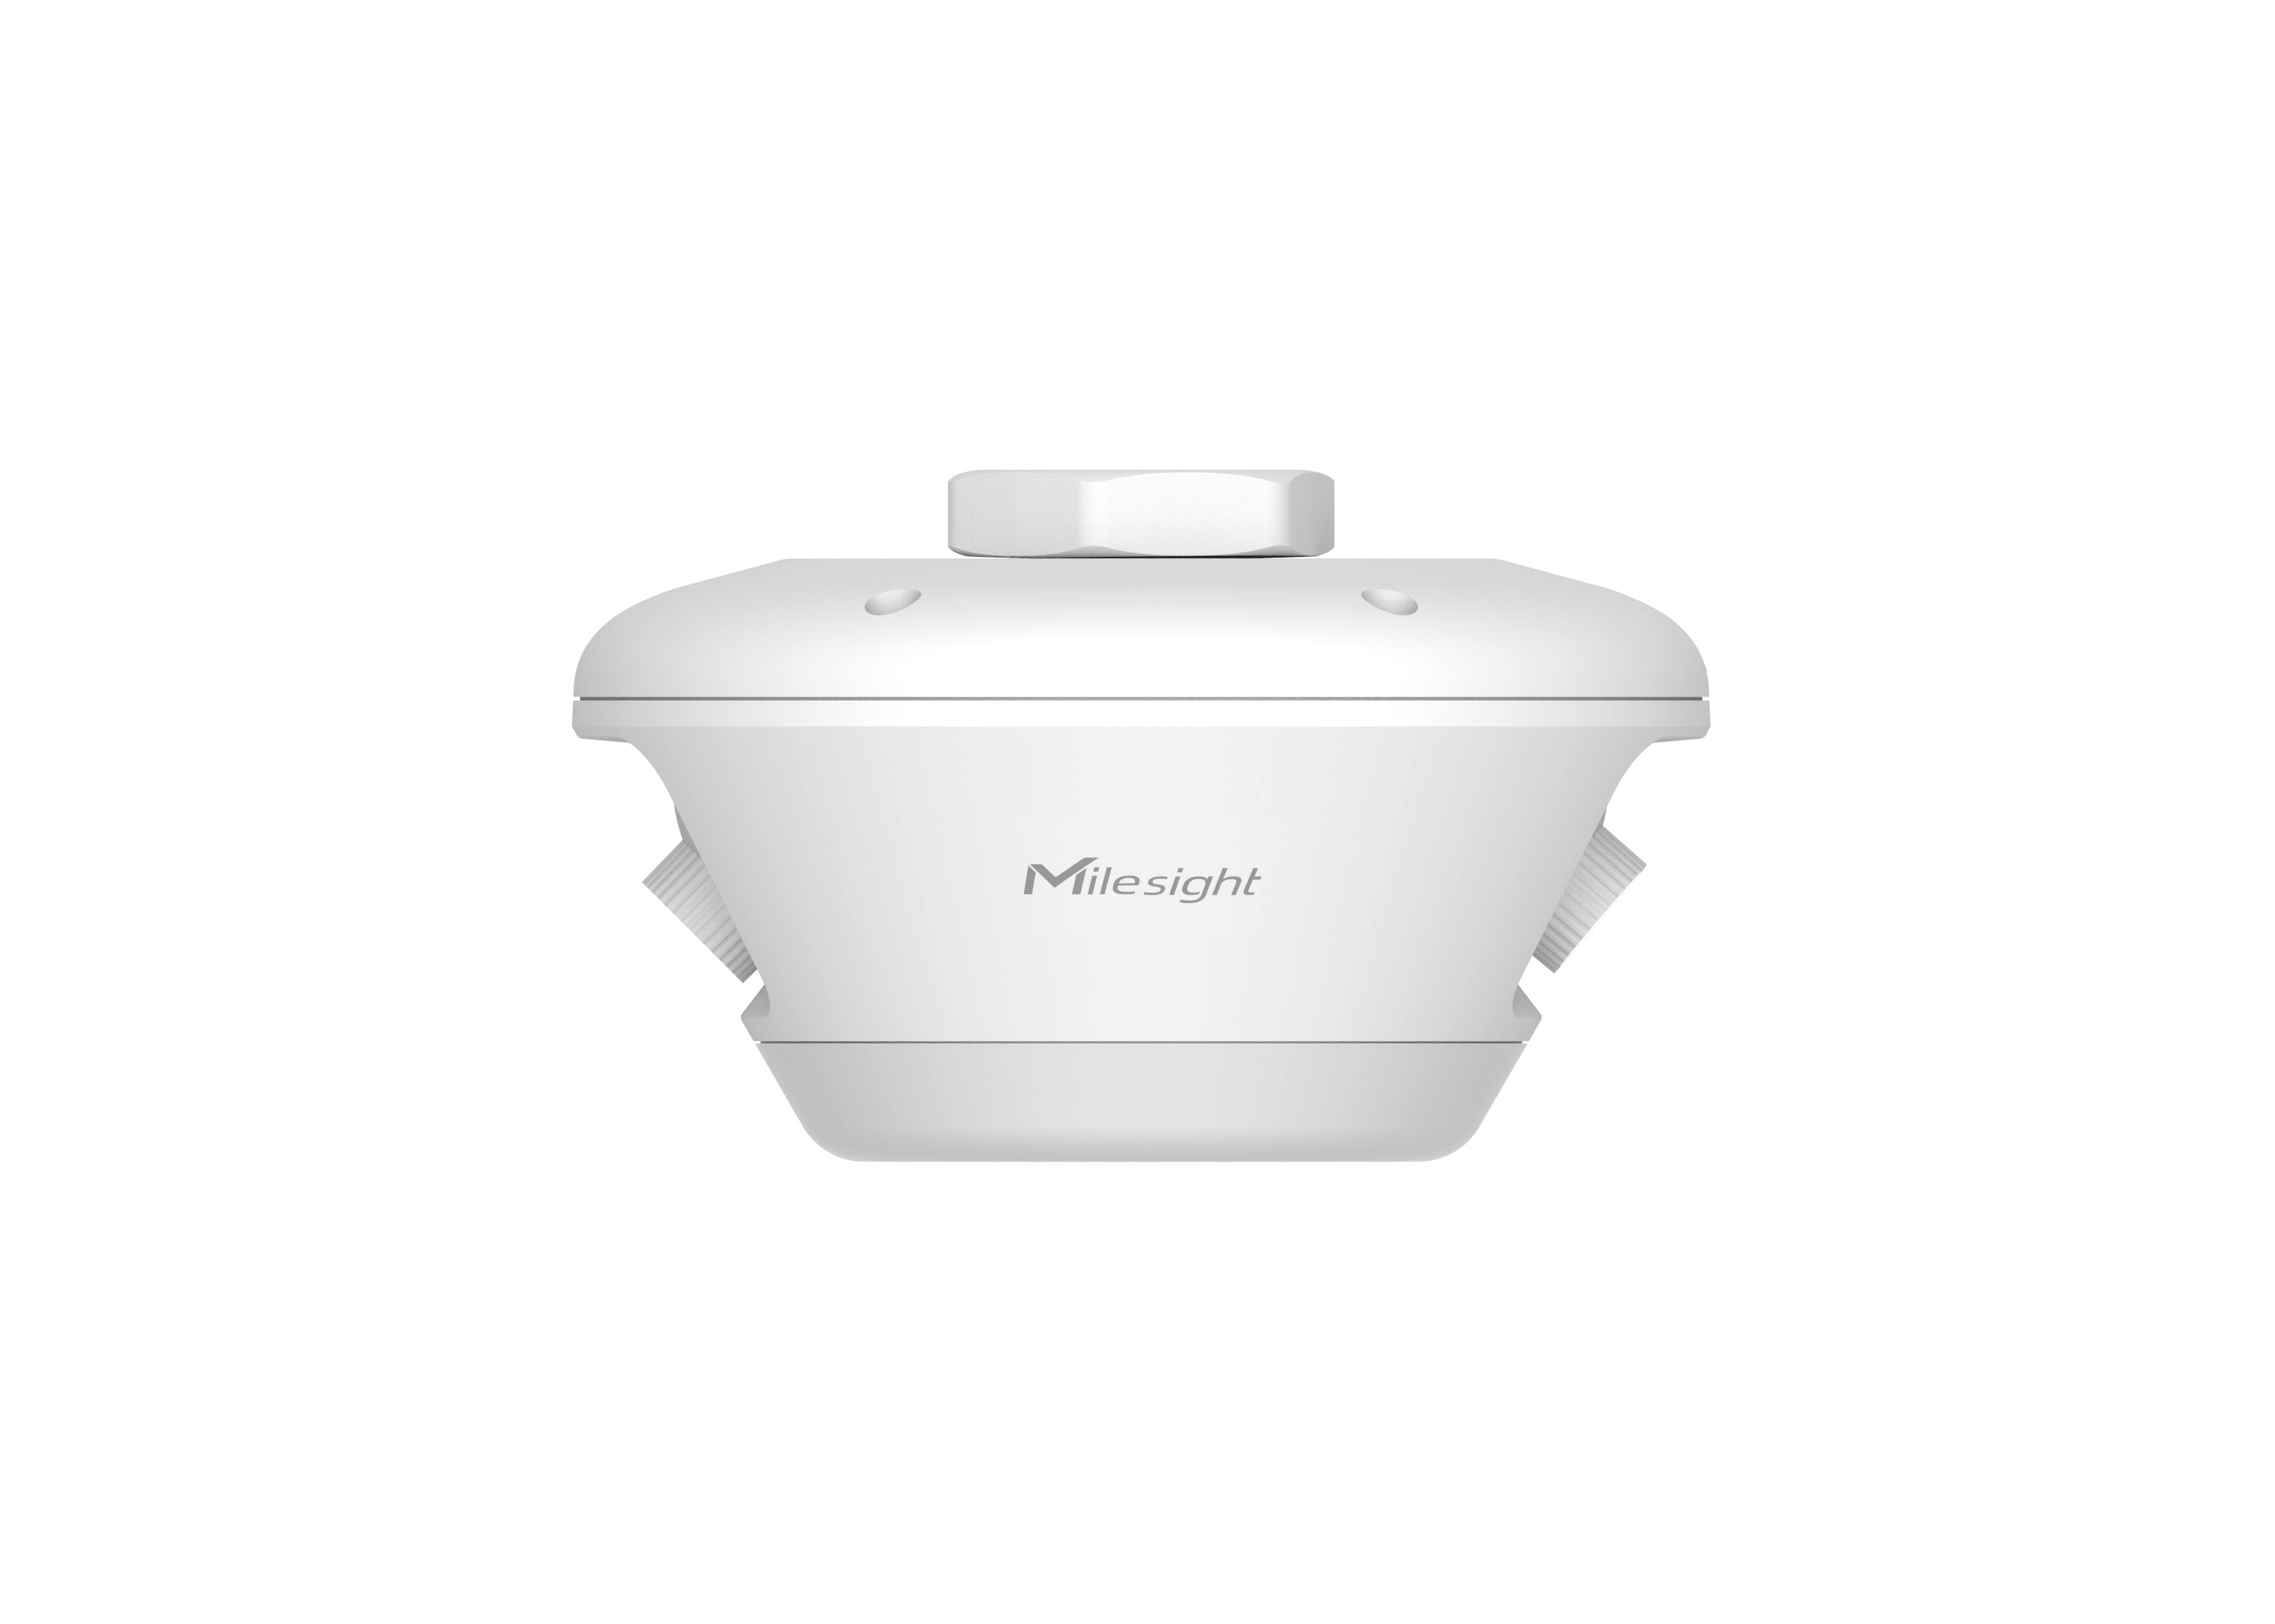
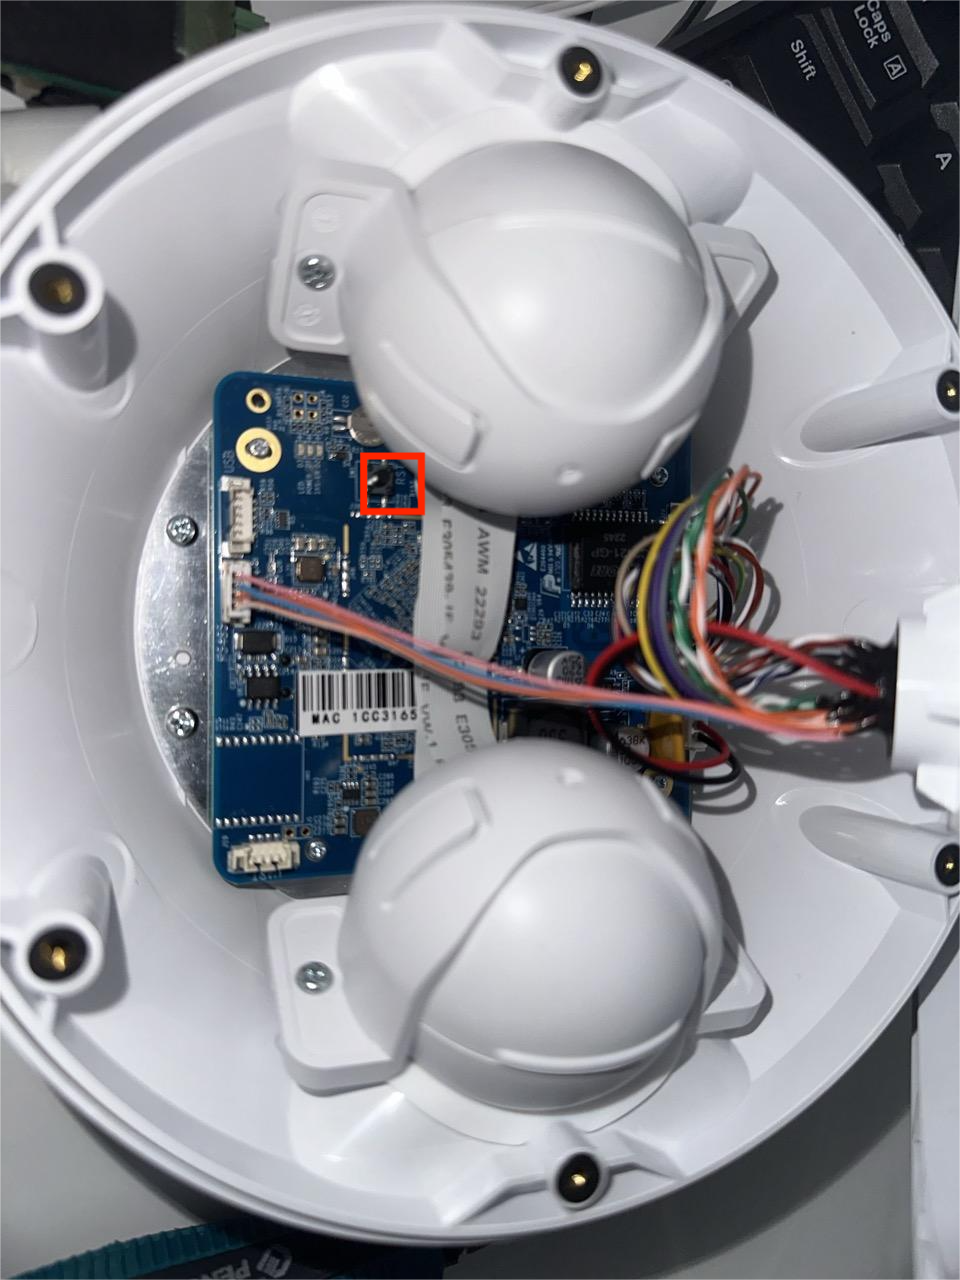
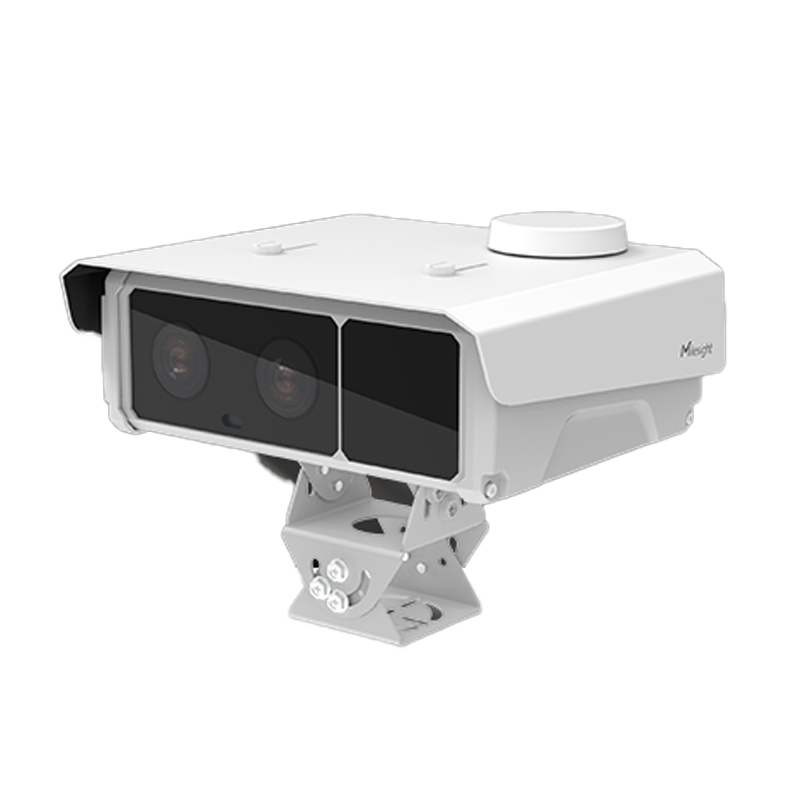
Open the back cover on the buttom of the camera ,the reset button like the figure shown below.
|
|
——————END——————