
LPR (License Plate Recognition) image issues generally fall into three categories:

License plate blur

License plate overexposure
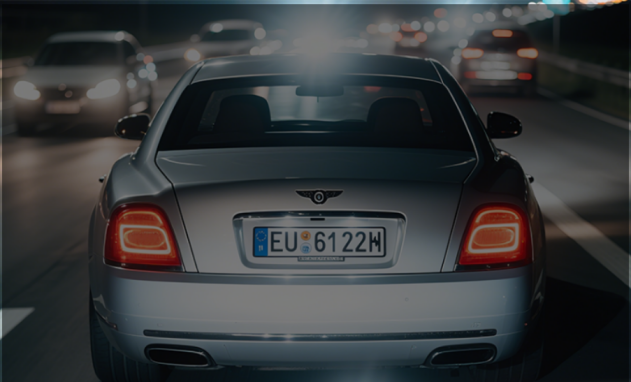
License plate underexposure (too dark)
1. License Plate Blur
When the vehicle speed is high, the current exposure time may not be sufficient to capture a clear image. In this case, reduce the shutter time to minimize motion blur. Adjust the slider shown in Figure 1.
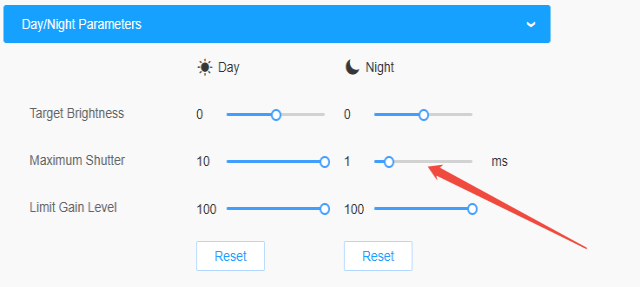
Figure 1
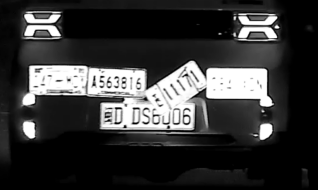
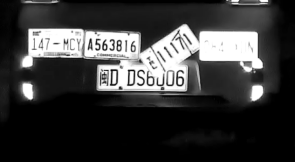
Real-world examples of license plates under different shutter times:
Shutter Time | Example Image |
6 ms |
|
1 ms |
|
2. License Plate Overexposure
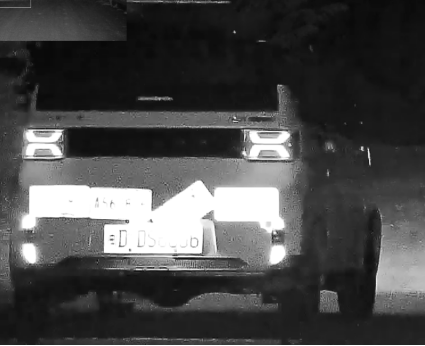
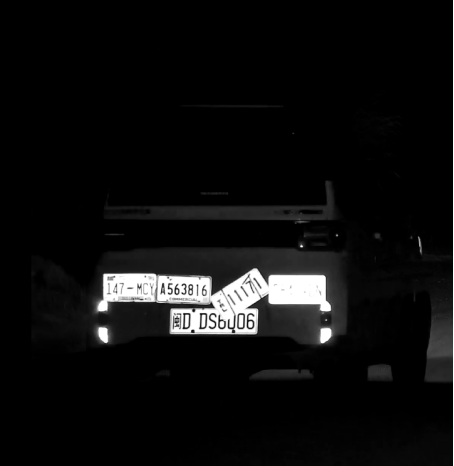
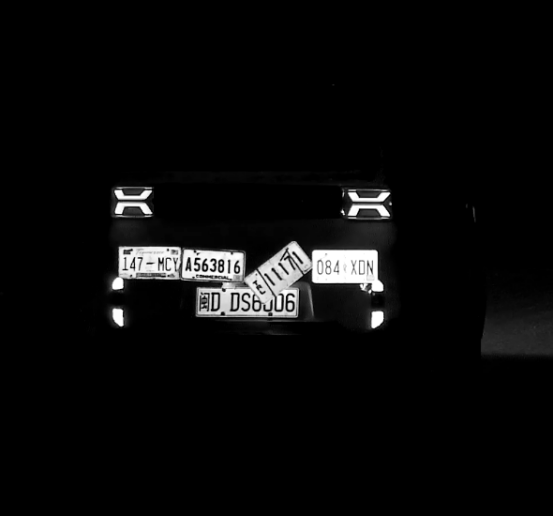
At night, license plates can sometimes appear overexposed. Adjusting the target brightness can help make the plate clearly visible. For vehicles moving at 60-70 km/h with shutter time set to 1 ms, try tuning the target brightness parameter.
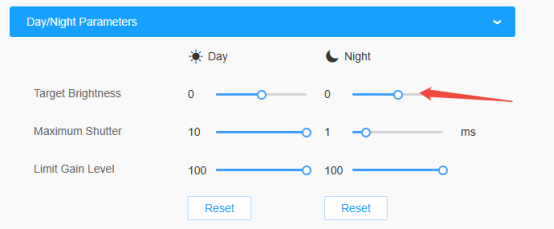
Target Brightness | Effect | Example Image |
5 | Overexposed |
|
-2 | Balanced |
|
-5 | Underexposed |
|
3. License Plate Underexposure (Too Dark)
If the license plate appears too dark at night, increase the target brightness slider accordingly. Refer to the example images above for the overall effect.
4. Excessive Noise in License Plate Image
If there is excessive noise in the nighttime image but the brightness is adequate, adjust the gain to balance brightness and noise levels.
Note: When some plates have weak reflectivity, increasing gain may cause them to appear darker.
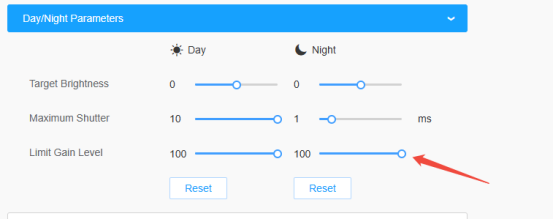
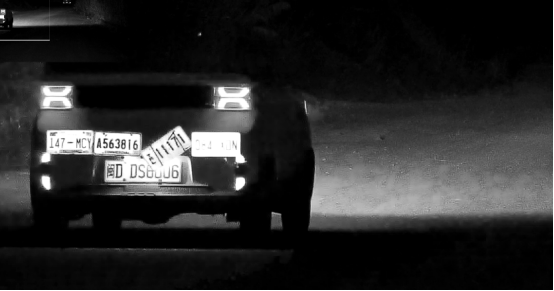
Gain Setting | Effect | Example Image |
Default Gain | Noisy image |
|
Gain limited to 20 | Less noise |
|
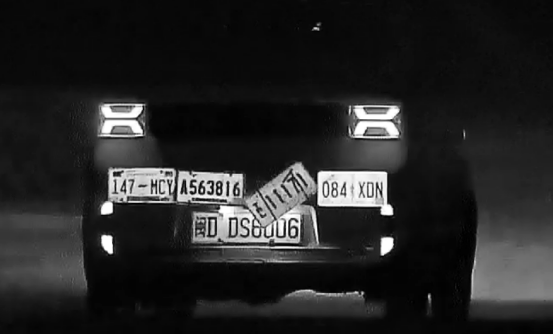
5. Severe Overexposure
If lowering exposure time and gain adjustments do not improve image quality, reduce the infrared (IR) illumination intensity. Switch IR from auto to customize mode and lower the slider accordingly.
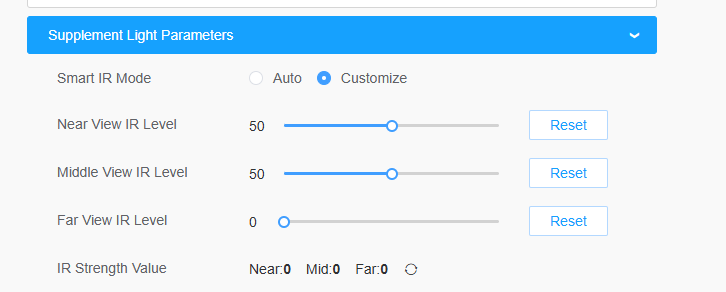

6. Improving Character Contrast and Plate Contours
Web interface sliders can also help enhance image clarity.
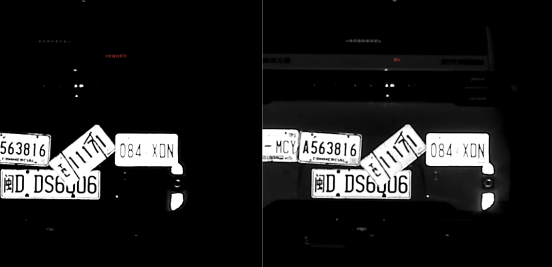
6.1 Contrast Slider
Use this to increase the contrast between characters and the plate background.
Side effect: Dark areas become darker.
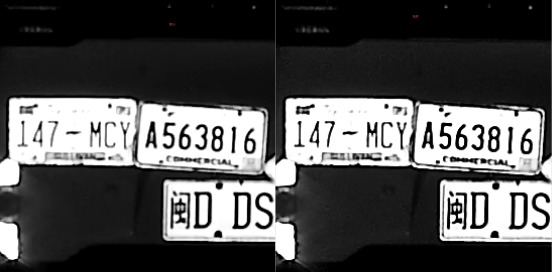
6.2 Sharpness Slider
Use this to enhance character edges and contours.
Side effect: Noise is also intensified.
7. Region Focus Function
7.1 Function Explanation
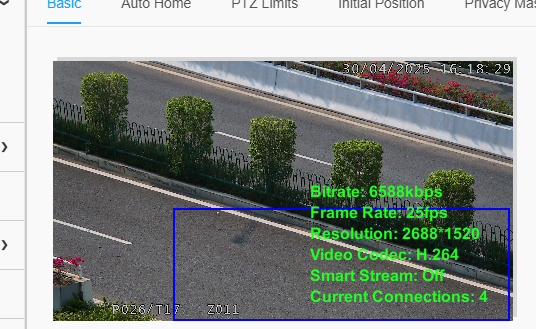
When the scene contains both foreground and background, or you want to focus on a specific area, enable this function. It prioritizes focus in the selected area while ignoring out-of-region focus, ensuring optimal focus on the region of interest.
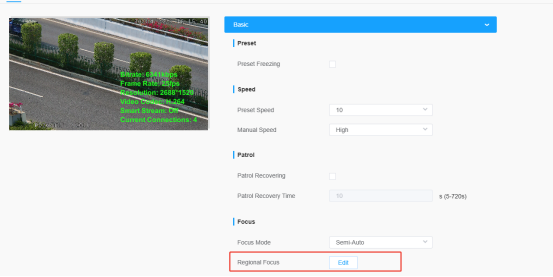
7.2 How to Use
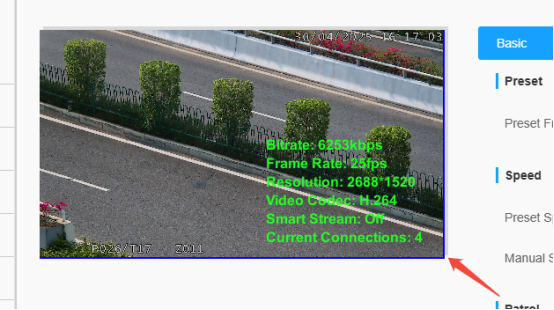
Click the Edit button; blue lines will appear on the screen. Draw the desired region, then confirm the selection. Back on the main page, click Focus to maintain focus within that selected area.
7.3 Example
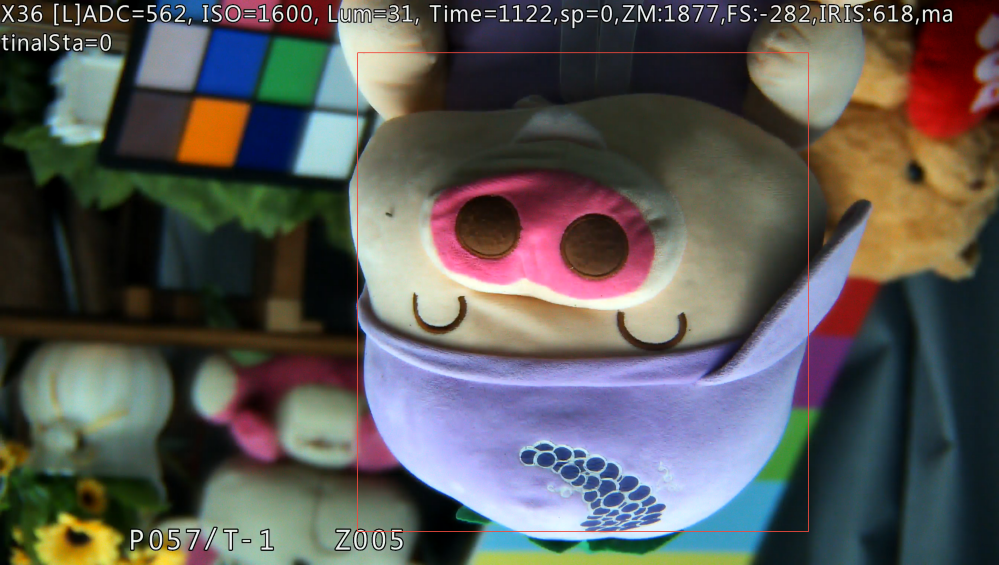
Figure 2: The doll is selected as the focus area, so the focus prioritizes it and ignores the background.
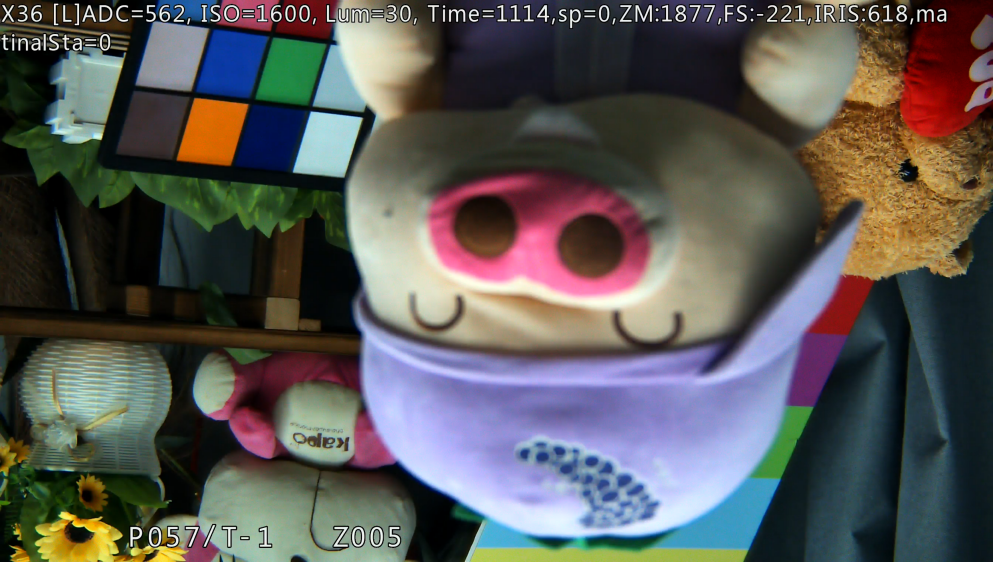
Figure 3: Without region focus, the camera may mistakenly focus on the background.