1.Description
Sometimes user may encounter some image issues of camera, some of which can be solved by changing configuration.
2.General Image Issue and solution
2.1 Image is pink (purple)
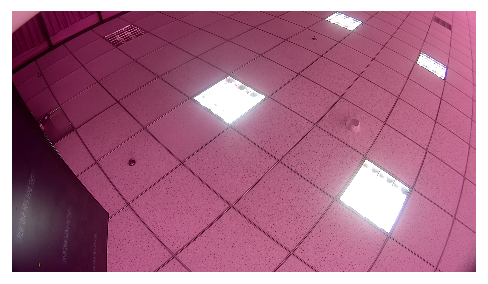
Generally it’s due to the IR-CUT is not working normally, so the IR light is not filtered.
You should turn on the IR-CUT in day mode(color mode). Or you can set to B/W mode.
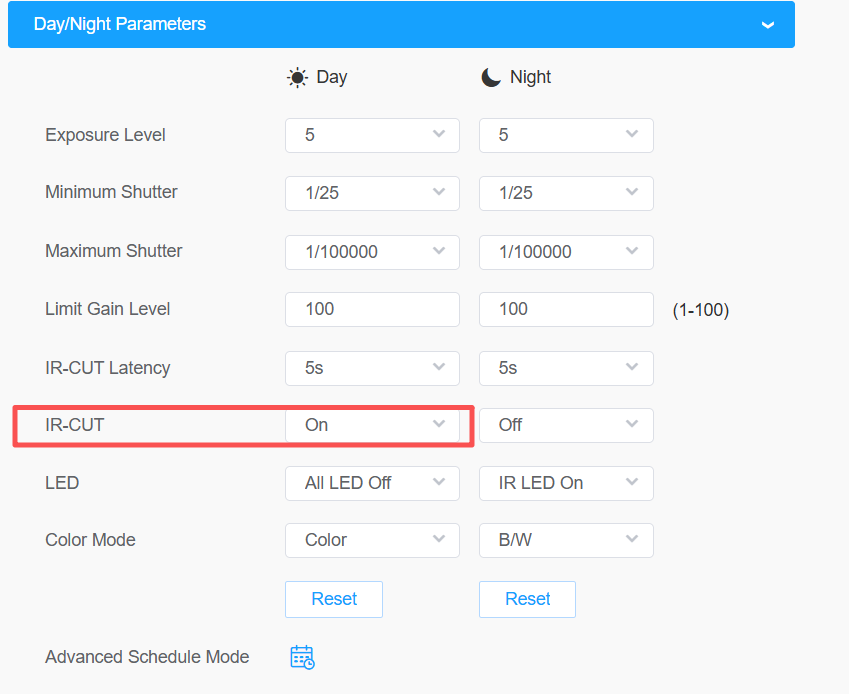
Note:
If the image always keeps red, you can turn on and off the IR-CUT for many times to check if the image can be recovered or not. If it doesn’t recover, maybe the IR-CUT got defective.
2.2 Image is too bright or turn to white
|
|
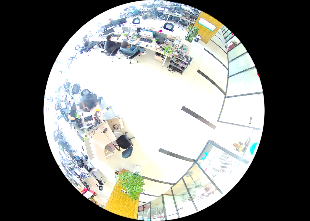

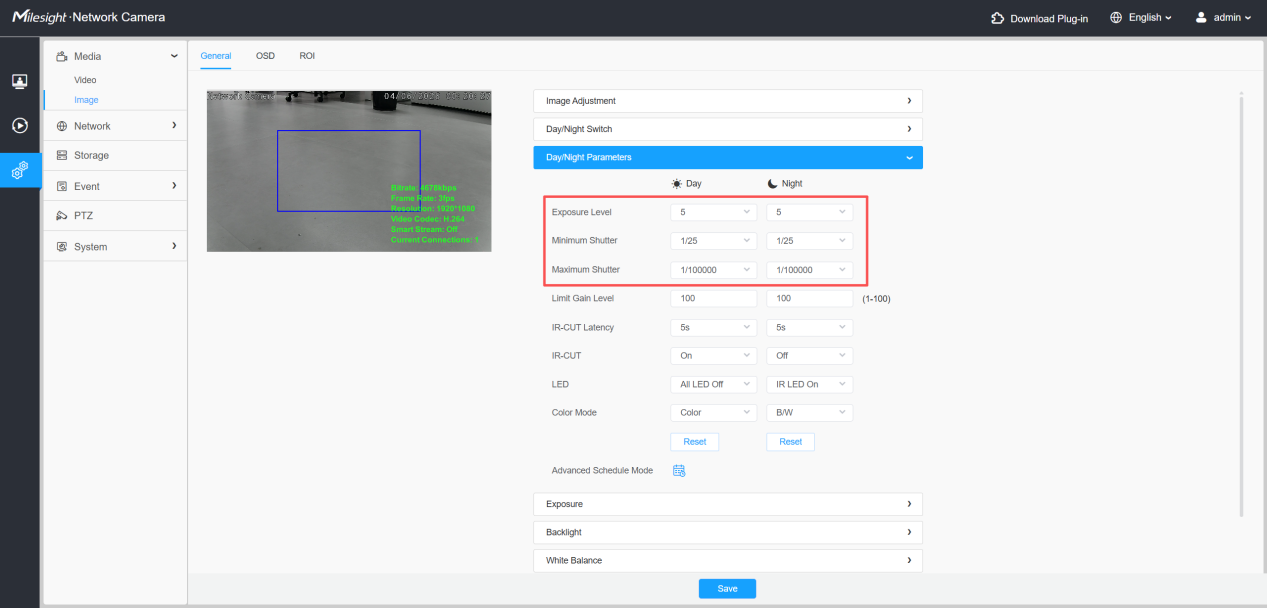
Generally it’s because the Exposure Time is too high. You can check the Exposure Time setting in Enhancement or Day/Night Mode. Set it to auto mode or lower down the exposure value.
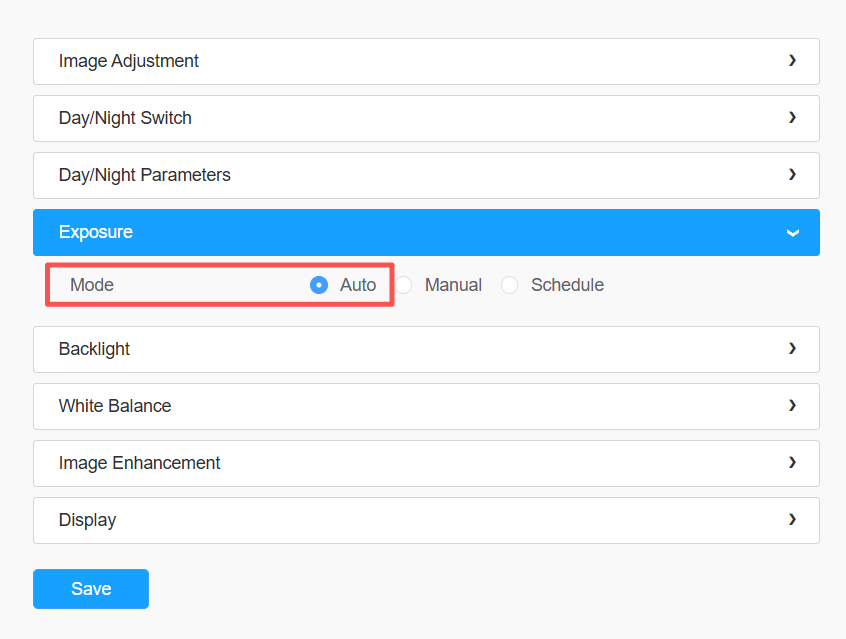
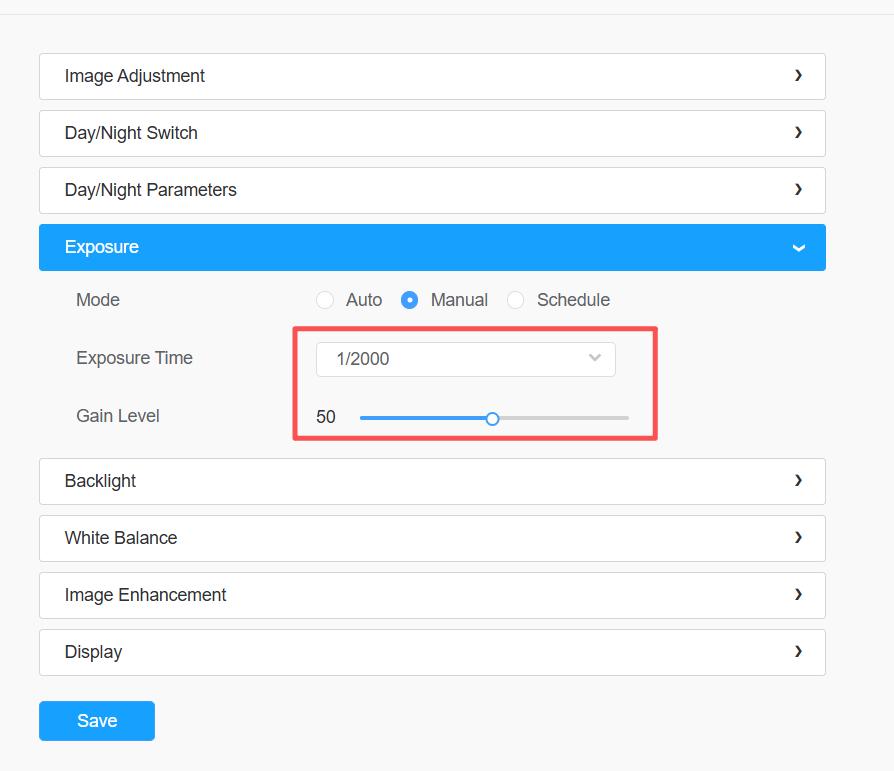
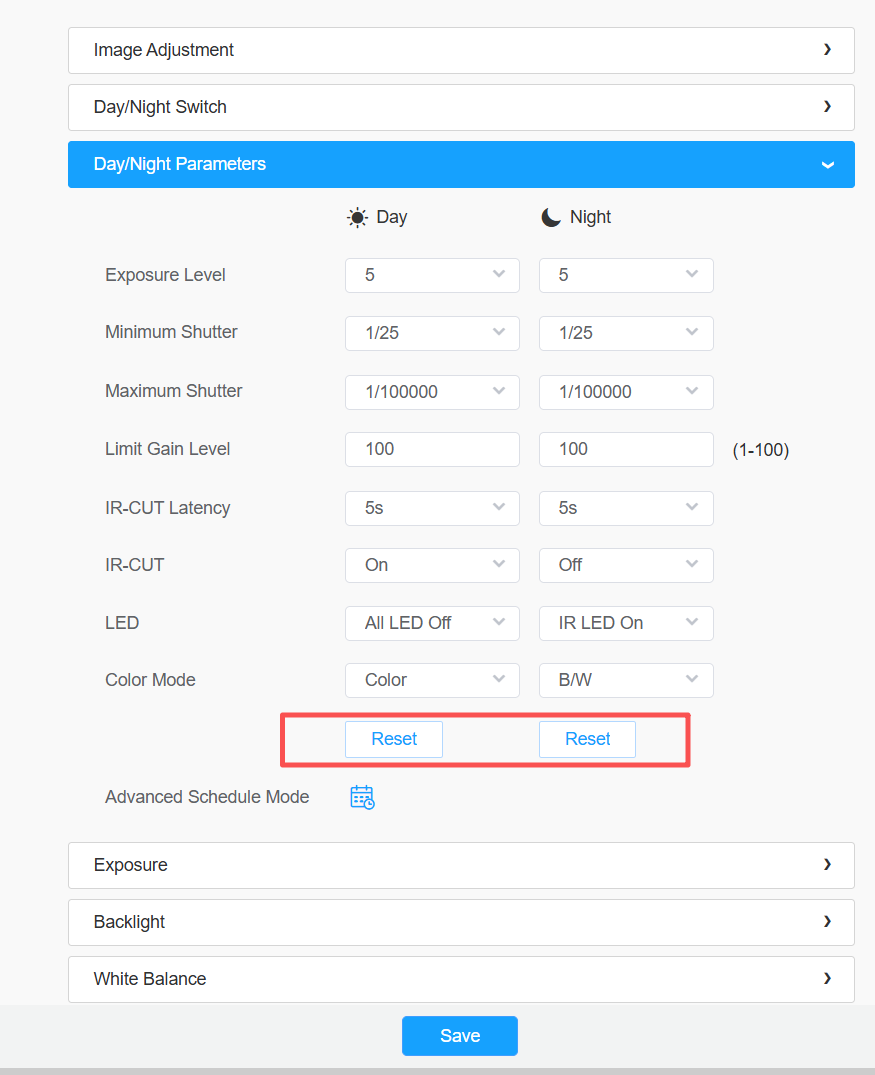
For the parameters in Day/Night mode interface, you can reset it directly.
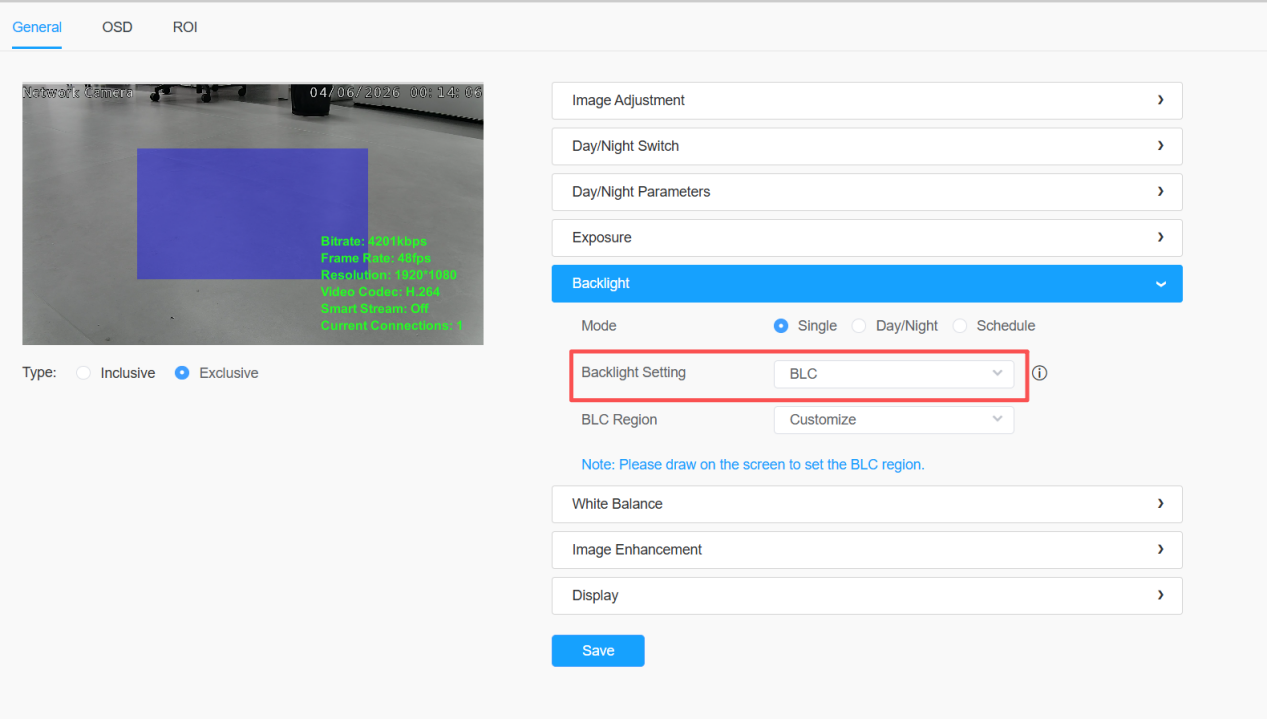
Or you can check if the BLC is enabled. Because when using Customized mode and draw the region in the dark part, it will make the whole image brighter. You can check if it’s due to this reason, and then adjust the BLC region or disable BLC to check again.
2.3 Image has too much noise (image blur)
|
|
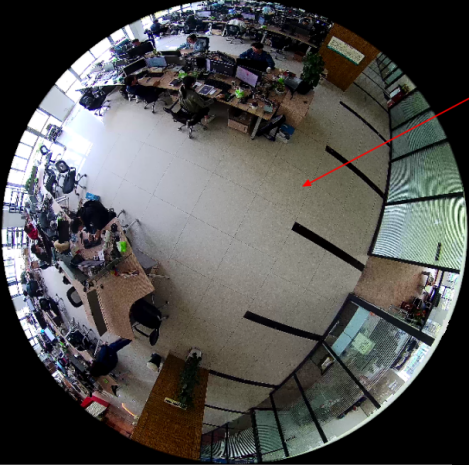
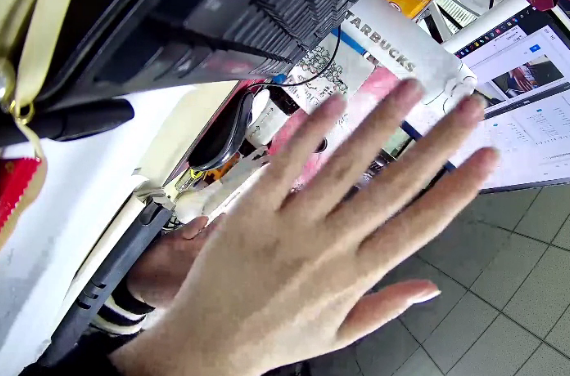
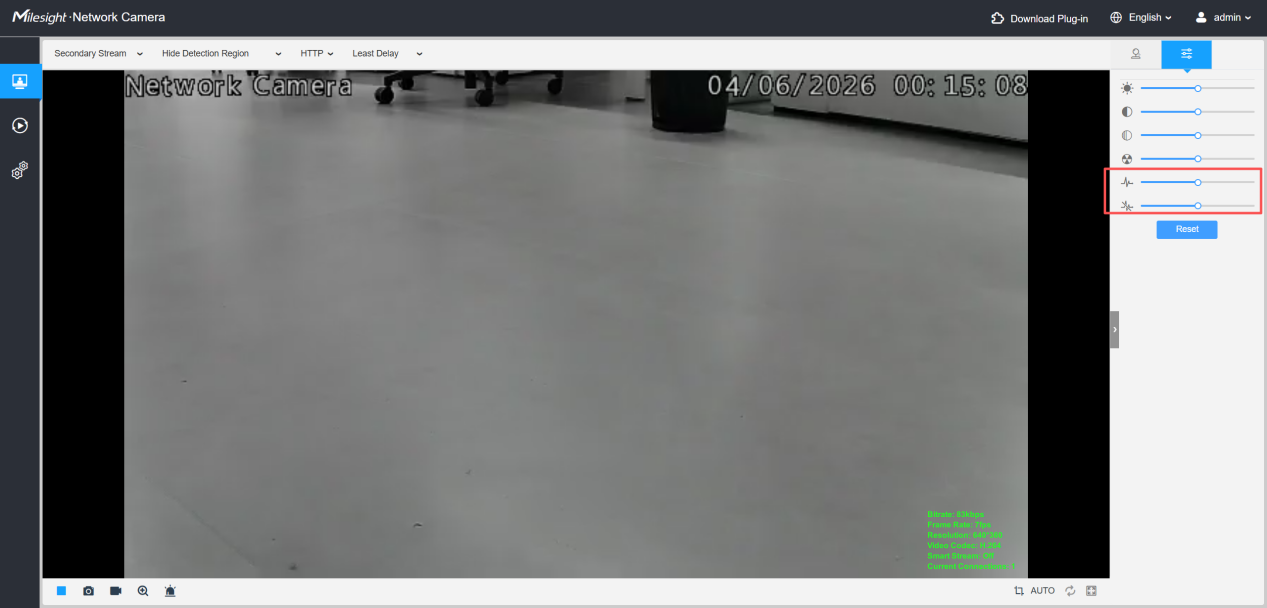
You can increase the DNR value in the live view.
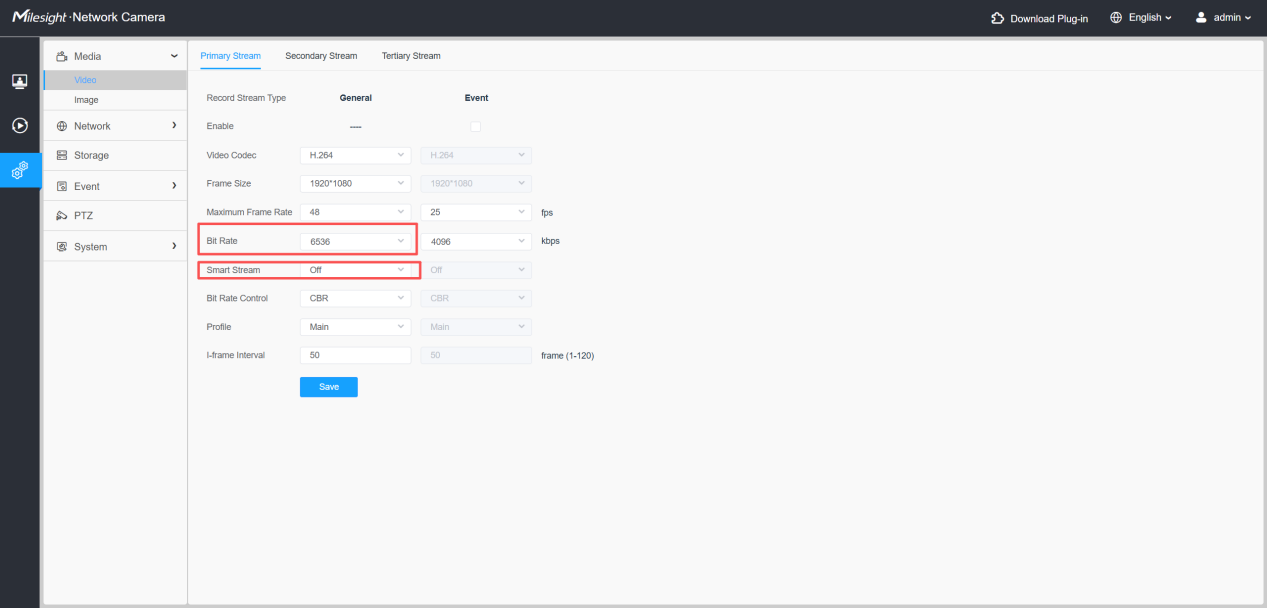
Or you can increase the Bit Rate. If smart stream is enabled, you can also disable it to check.
Note:
If there is only too much noise at night, maybe the environment is too dark. If you use color mode at night and there is too much noise, we recommend that you set to B/W mode which can use IR for supplementary lighting.
2.4 Ghost image
|
|
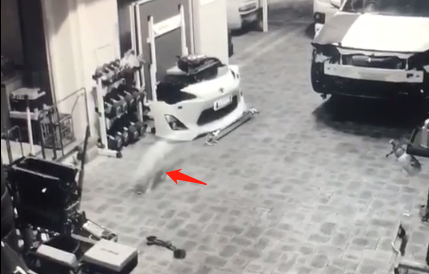
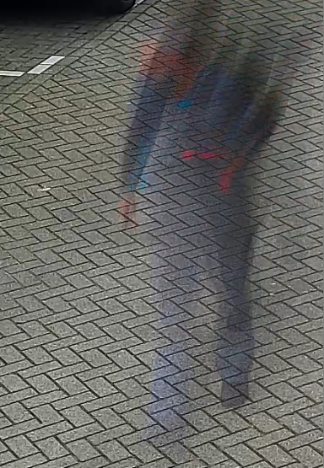
It seems like a ghost when the object is moving, especially in a low-light environment.
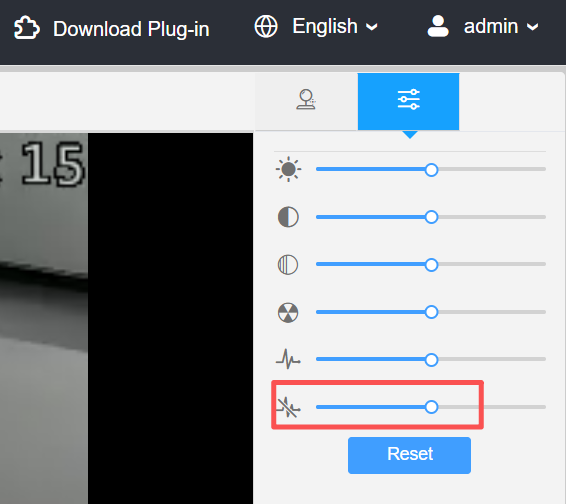
Maybe the 3D DNR is too high, you should decrease it in live view.
2.5 Motion blur
|
|
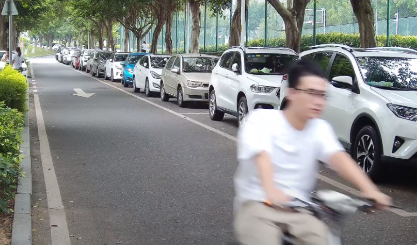
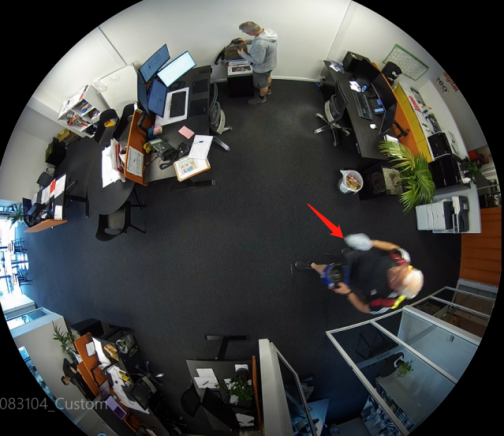
You can enable the Reduce Motion Blur.
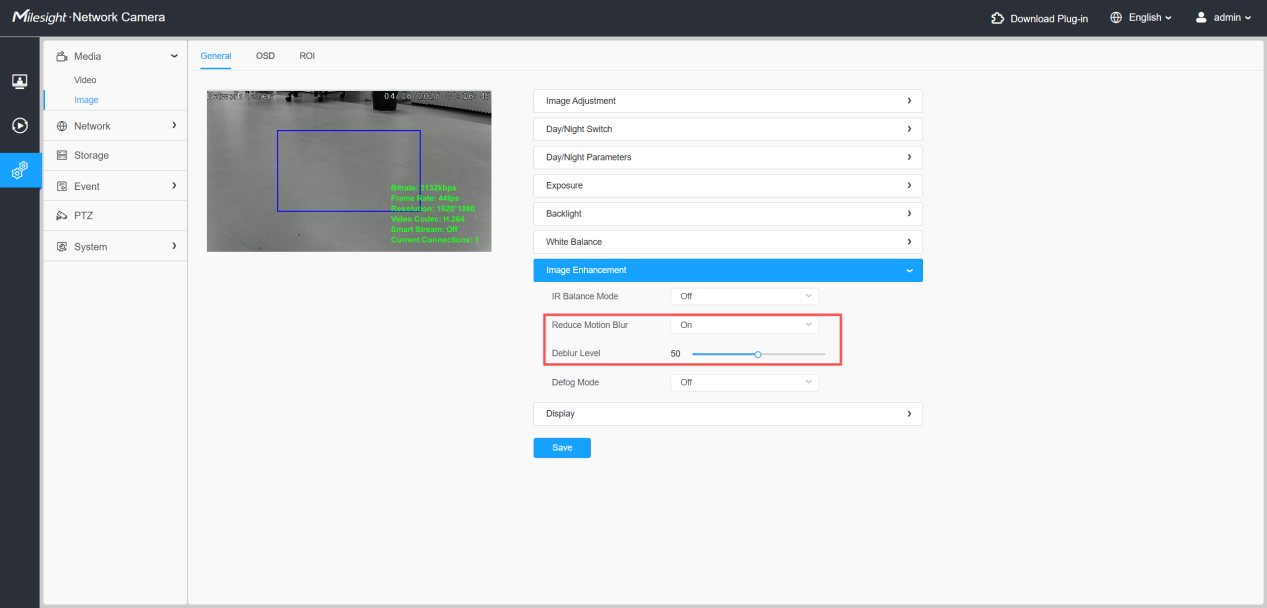
Note:
It’s better not to use this function in a low-light environment.
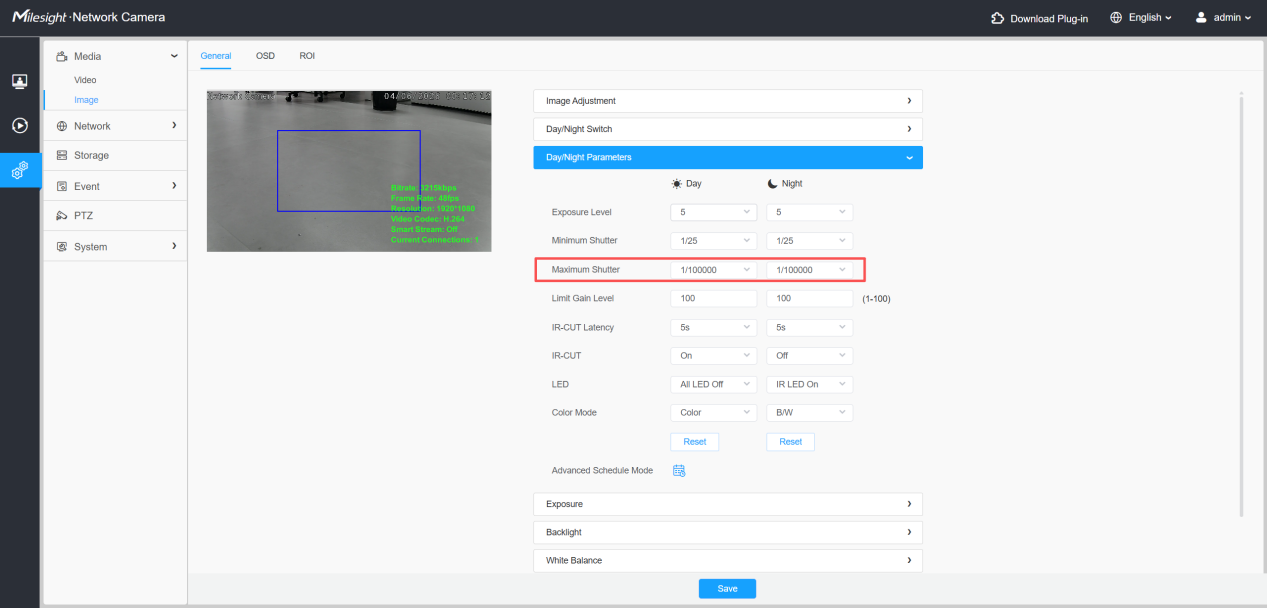
Or you can decrease the Shutter Time. (The value should be depended on actual environment. For example, you can try with 1/120 and some other smaller values to find a proper setting.)
2.6 Dark lines in the image
|
|
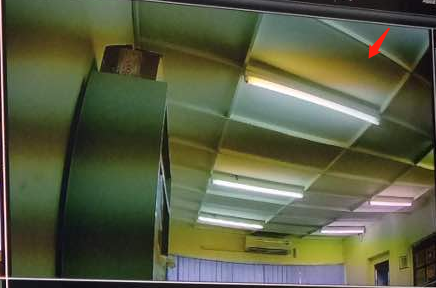
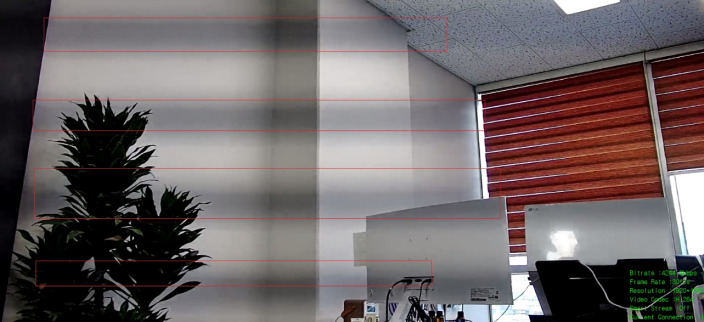
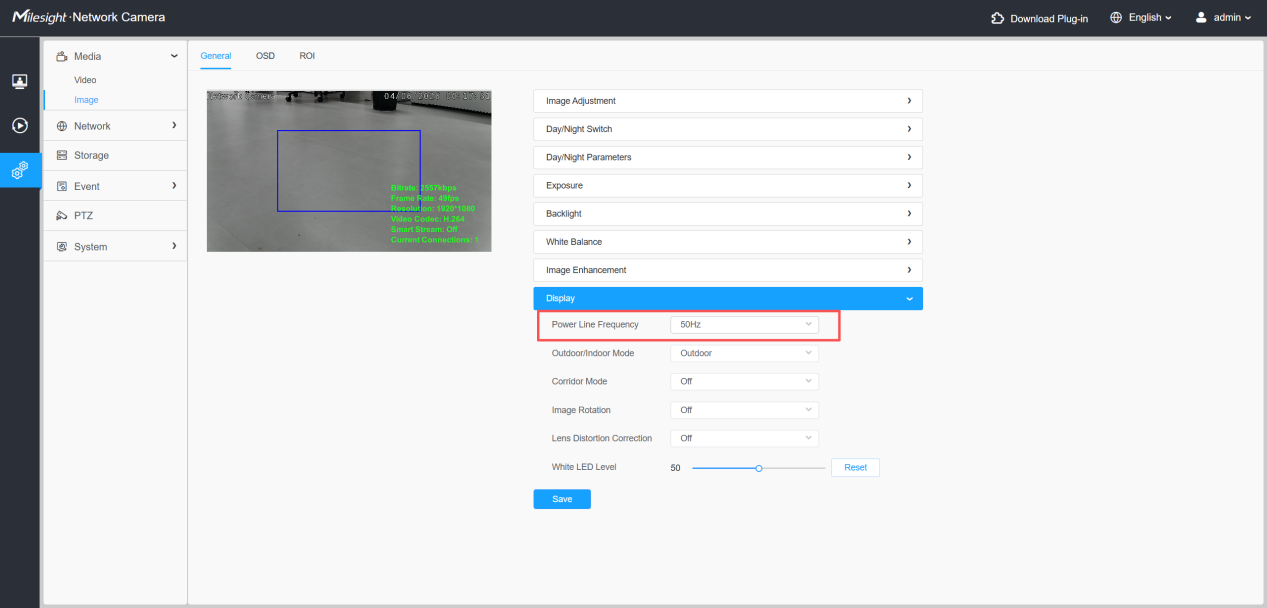
Firstly check the Power Line Frequency. (It’s based on your local frequency)
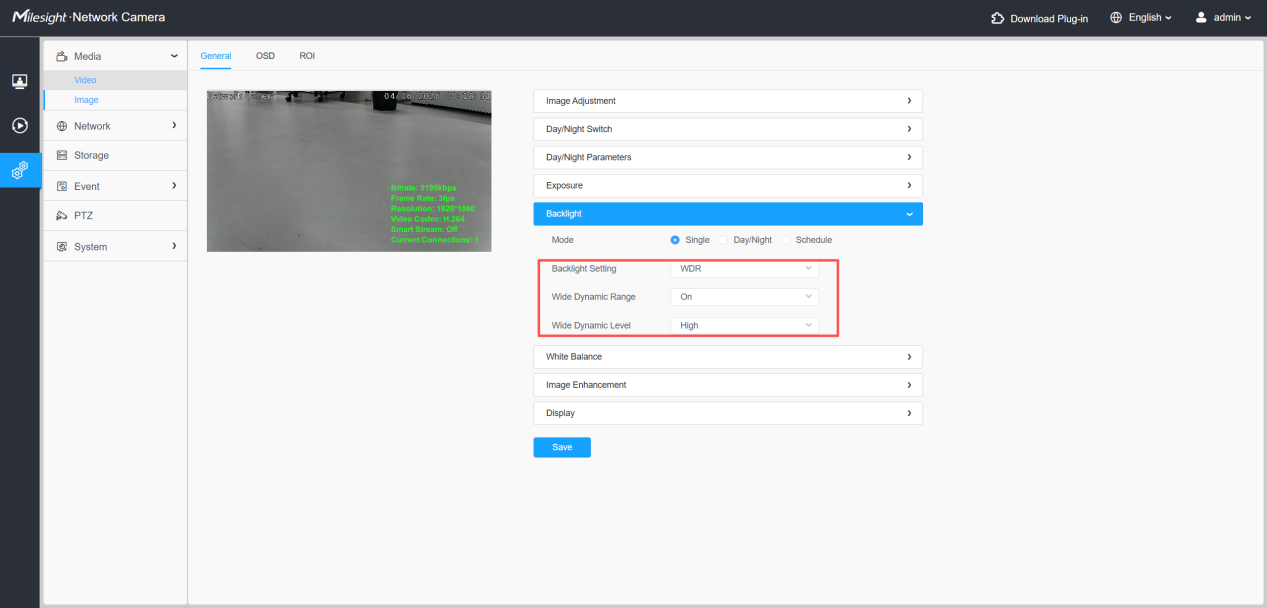
If the dark lines appear when you enable WDR, you can adjust the Anti-flicker level.
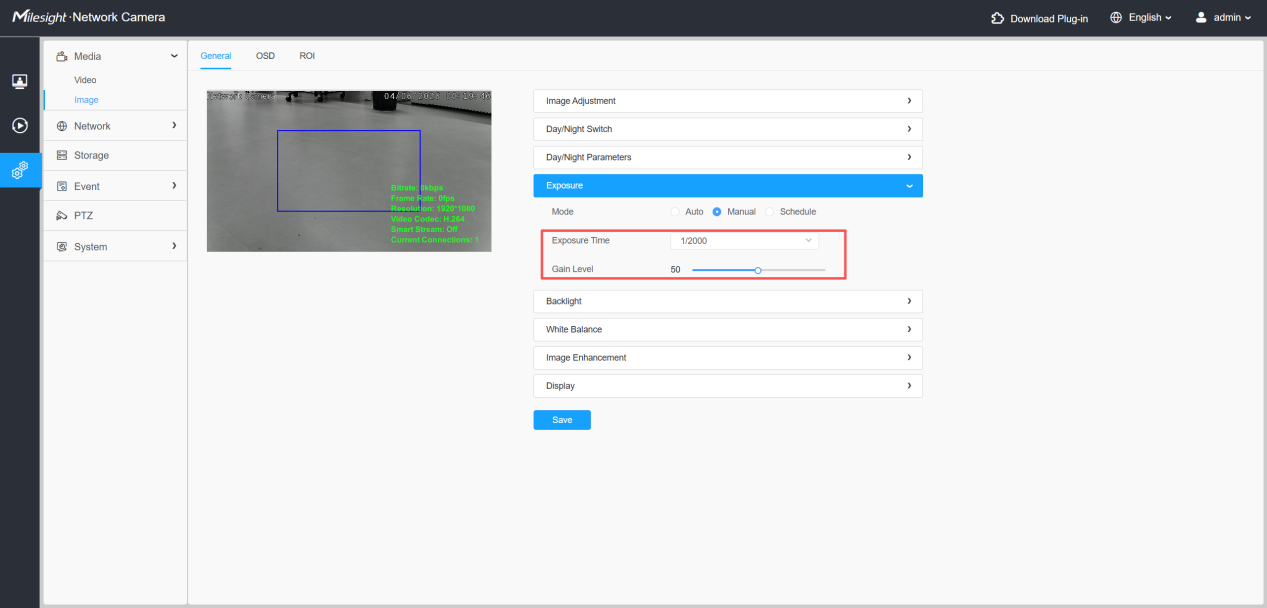
If the WDR is not enable but still has dark lines, you can increase the Exposure Time and level in Enhancement or Day/Night Mode.
2.7 Speckles on the image or image lose focus
|
|
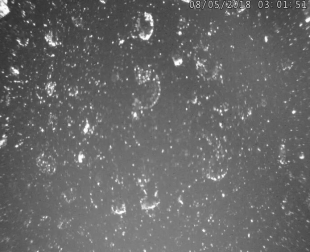
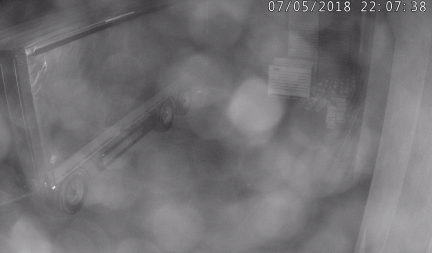
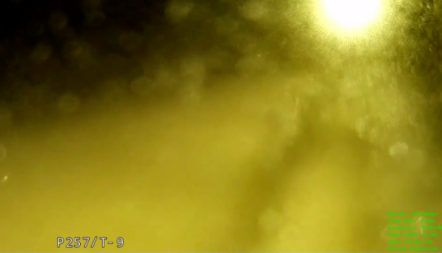
It generally happens on motorized lens. First you can adjust the focus manually. If it doesn’t work, you can clean the cover to check again.
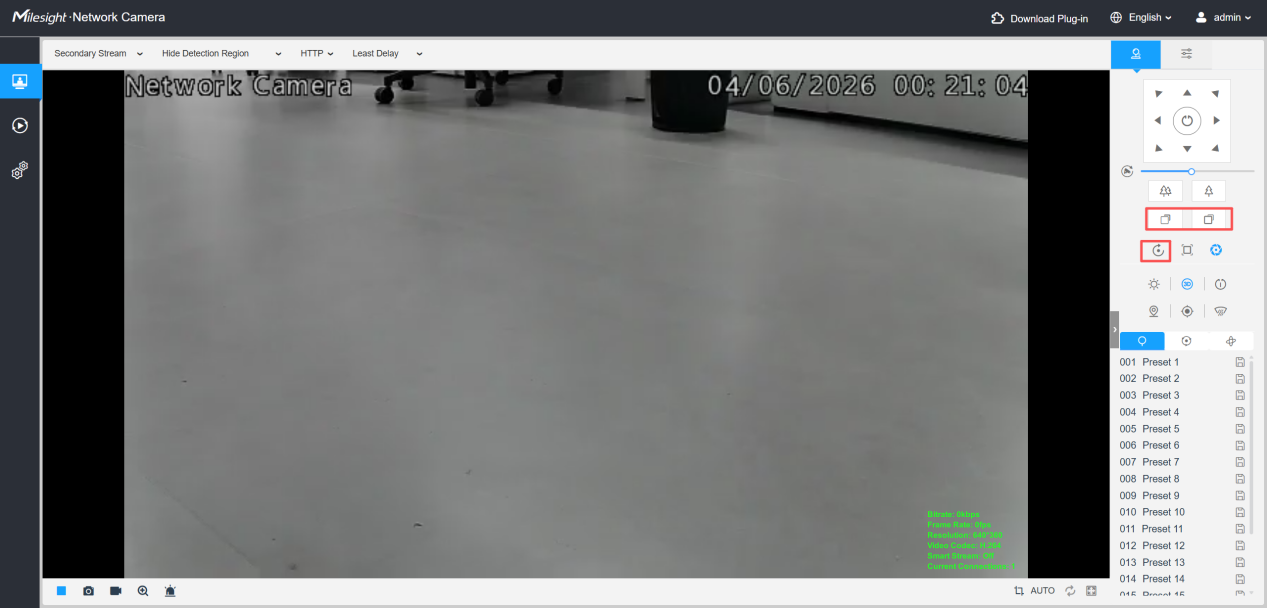
Note:
If the issue happens on fixed lens model, please contact Milesight Support for help.
2.8 Image edge turn to white at night (IR reflection)
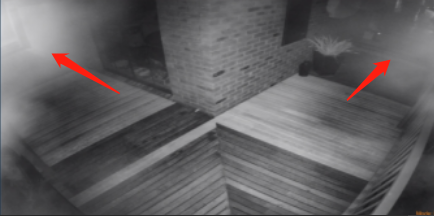
Please check the installation environment to confirm if there is any objects besides the camera which may cause reflection.
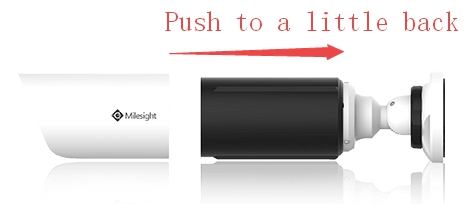
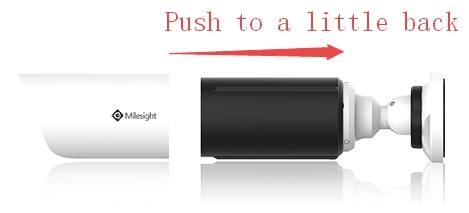
If the camera has sun-shield housing, you can push the housing a little back.
If you are using dome camera, you can check the installation angle of the dome. Please make sure the IR LED is not close to the bottom bracket which may cause reflection.
|
|
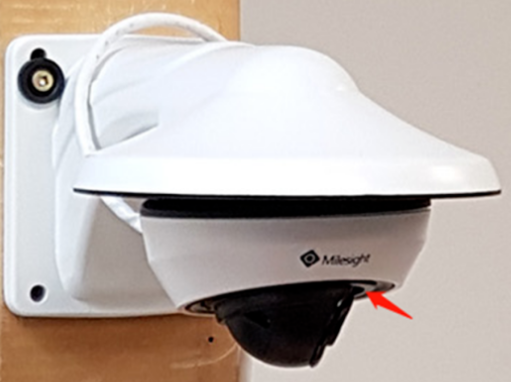
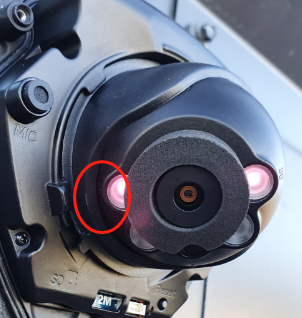
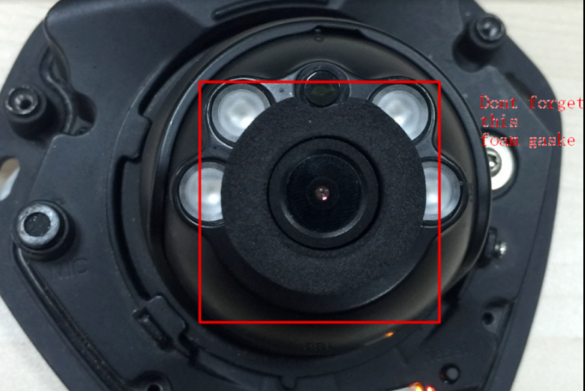
If it’s vandal-proof mini dome, you should also make sure the foam gasket is not lost since the foam gasket can prevent reflection.
2.9 Black image at night (IR reflection)
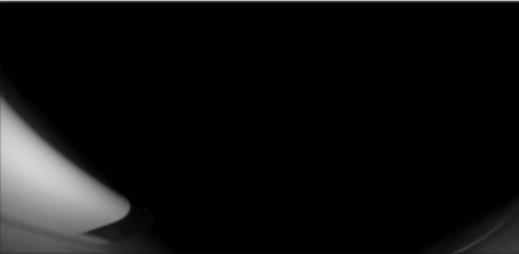
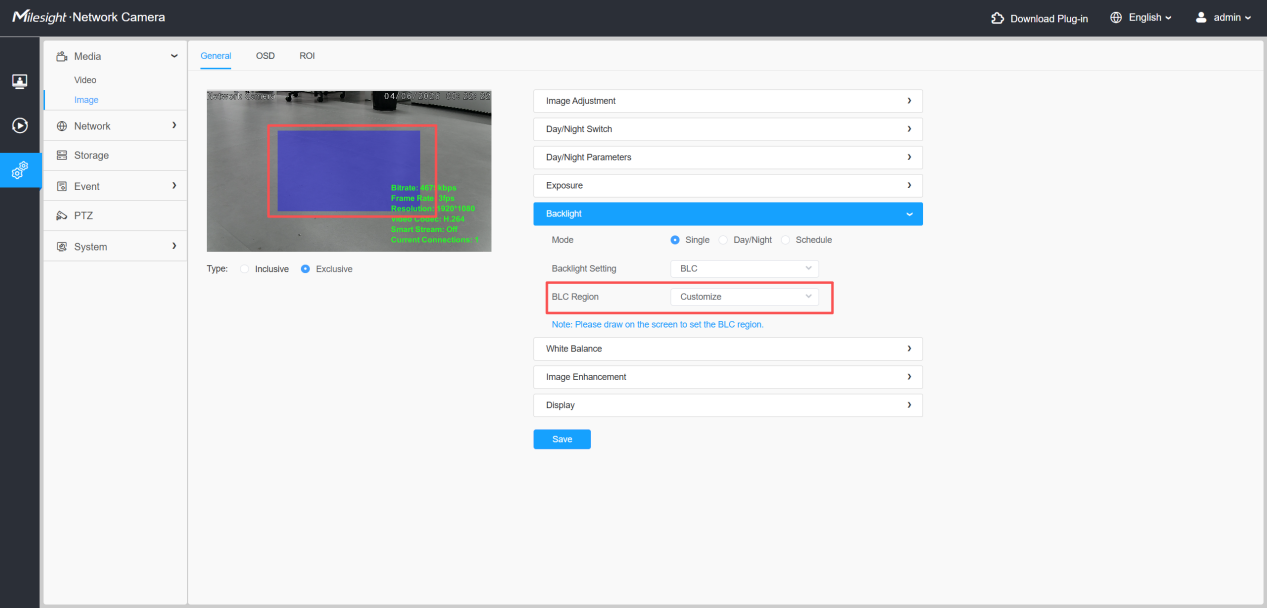
Generally it happens when the camera is installed at the corner of wall due to IR reflection. Please enable the BLC to check. You can use the customized mode to draw a region in the dark part, then it will become normal.
2.10 Image in foggy weather
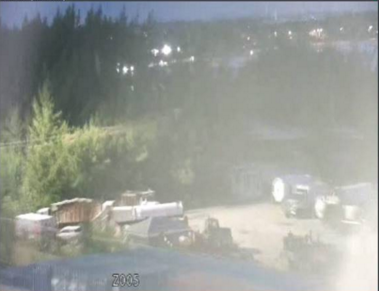
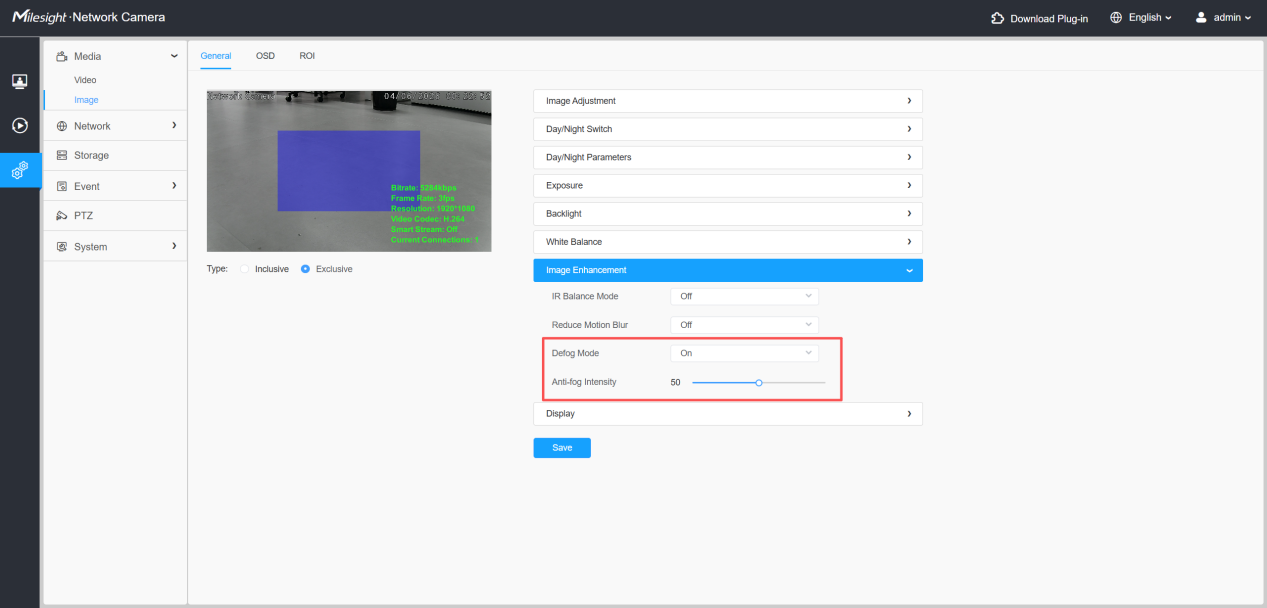
You can enable the Defog mode in a foggy weather.
Note:
If the fog is due to the moisture inside camera, you should turn on the IR LED to dry it. Or you can contact Milesight Support for more help.
2.11 Torch effect of image
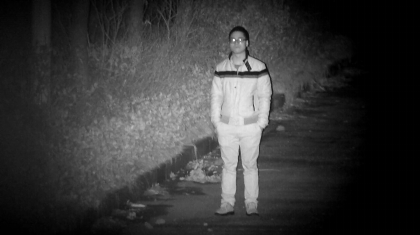
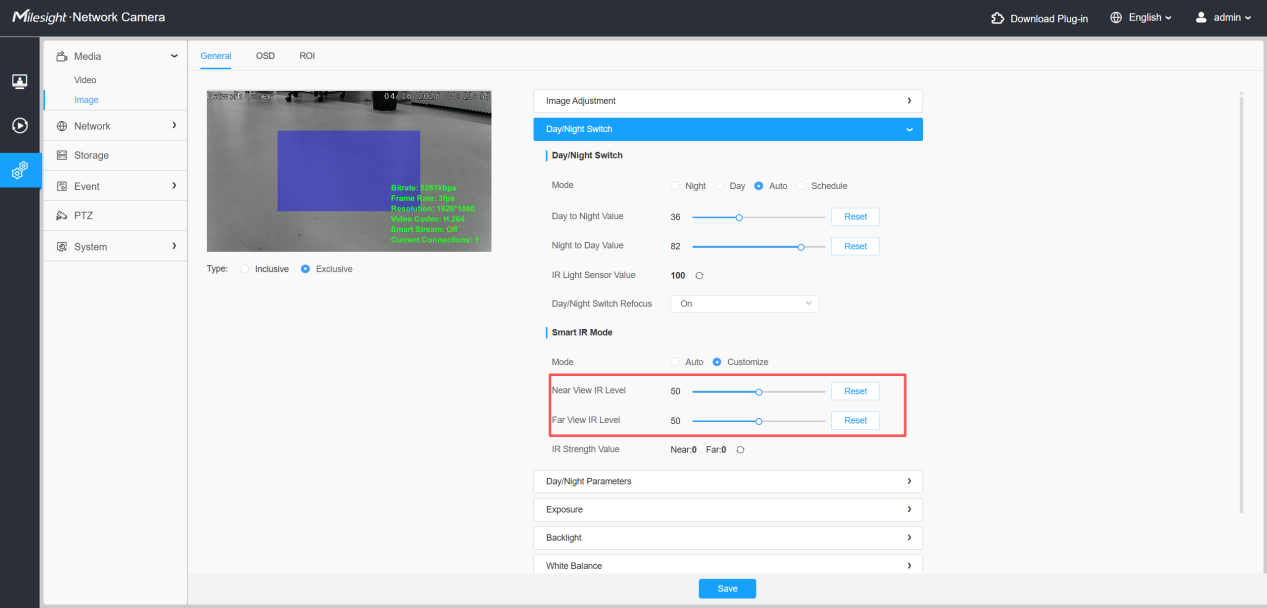
You can adjust the IR strength manually.
e.g. Lower down the level of Far View.
If the camera has sun-shield housing, you can also try to push the housing a little back.