IP Cameras of Milesight are compatible with Network Video Recorders of Dahua. By following the sequence of enabling IP Cameras’ motion detection function first, setting detection region and detection schedule next, and choosing alarm actions on the NVR last, you can have a better experience on security surveillance. The following are the detailed steps.
Note:
Please make sure the camera version is **.6.0.44 or above.
If your camera version is lower then version 44, please contact us (support@milesight.com) to get the latest firmware.
Step1: Log in web, and go to “Advanced Settings”→“Alarm”. Tick “Enable Motion Detection”;

Step2: Set motion region and choose the sensitivity;

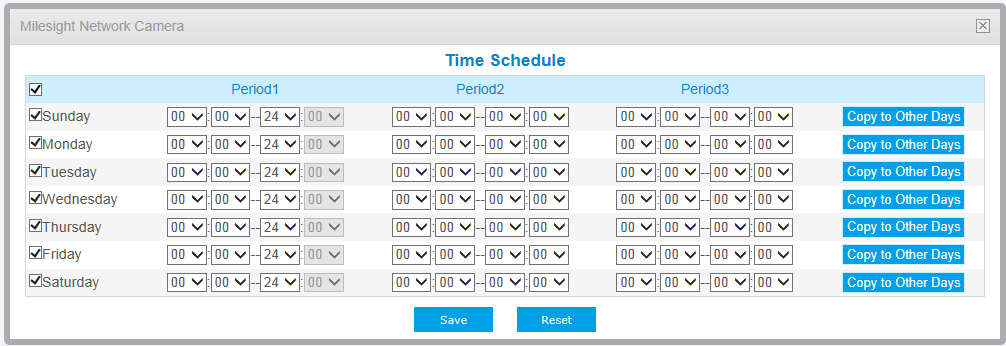
Step3: Set the schedule for motion detection;
Step4: Check settings of IP cameras. After setting motion detection successfully, you will see a red warning spot on the live video page;

Step5: Log in the NVR, and then go to “Main menu”-> “Setting”-> “Detect”. Select a channel from the drop-down list and then check the “Enable” button to enable motion detect function.

Step6: You do not need to set region and sensitivity on the NVR, just choose the alarm actions and the corresponding periods you want. Do remember to click “Save” button to complete motion detect setup;

Step7: Go to “Menu”→ “Setting”→ “Schedule”, select a channel from the drop-down list and highlight the recording type as “Motion” and edit the timetable according to your need. After that, device will record automatically if alarm is triggered;

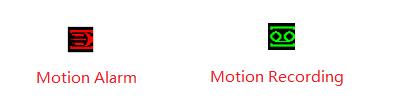
Step8: Check. If motion detection is set successfully, you will see icon for alarming and icon for motion recording on the live view when the alarm is triggered;