Ⅰ. Introduction
MIP Milesight plugin is a software plugin developed by Milesight for using Milesight VCA on Milestone VMS. It provides you a better experience on security surveillance.
The plugin allows you to configure your Milesight Network Cameras and Milesight VCA from Management Client.
On Smart Client, the plugin allows you to receive the real-time VCA alarms, view the event and alarm details, and search for the triggered VCA alarms and events.
Ⅱ. Milesight Video Content Analysis
Milesight VCA provides advanced video analysis for Milesight Network Cameras. It enhances the performance of network cameras through 10 detection modes, enabling the comprehensive surveillance function and quicker response of the whole VCA solution to different monitoring scenes. In addition, Milesight Network Cameras support independent function settings for convenient user experience. The Milesight VCA solution ensures that video surveillance is more accurate and cost-effective.

Ⅲ. How to Install Plugin
Precondition
Make sure you have stopped Event Server service and Management Server service.Here you can download the MIP Plugin:
https://www.milesight.com/support/download/software#auxiliary-software
 Step 1: Double click MIP_Milesight_Plugin_X64_en.msi to enter the welcome page of the Setup Wizard.
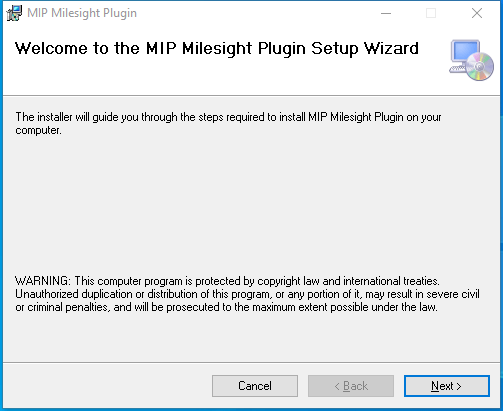
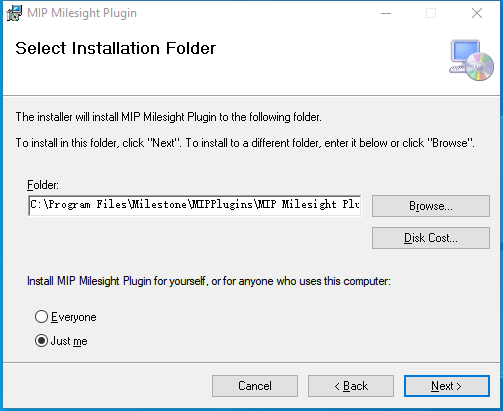
Step 2: Click "Next" to select the installation folder.
 Note:
Note:
By default, the plugin is installed in C:\Program Files\Milestone\MIPPlugins\MIP Milesight Plugin\ (It must be on Disk C, and you can set the folder you want.)
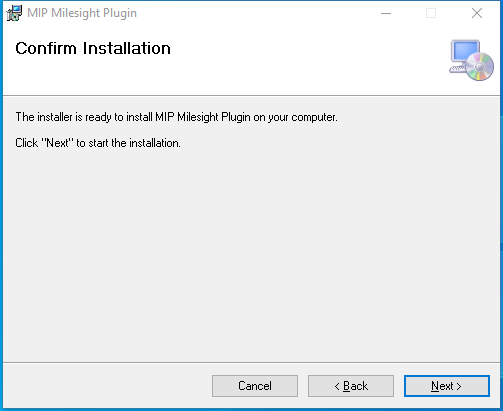
Step 3: Click "Next" to start the installation.
Step 4: The installation complete. Click "Close" to exit.
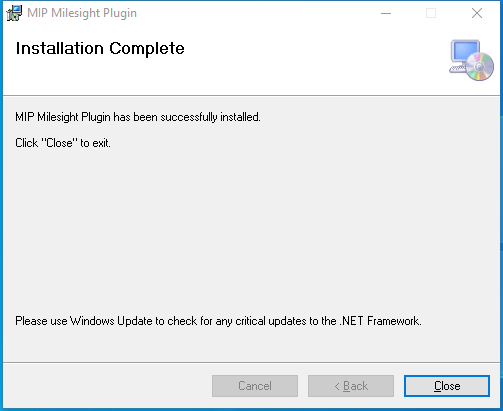
Start Event Server service and Management Server service, then you can use the plugin.
Ⅳ. How to Add Milesight Network Cameras to the Milestone XProtect
Step 1: Log in to Milestone XProtect Management Client.
Step 2: Click "Servers" -> "Recording Servers" in the Site Navigation panel to show the list of Recording Server. Right click a server and click "Add Hardware..." .

Step 3: Select "Manual" and click "Next" .

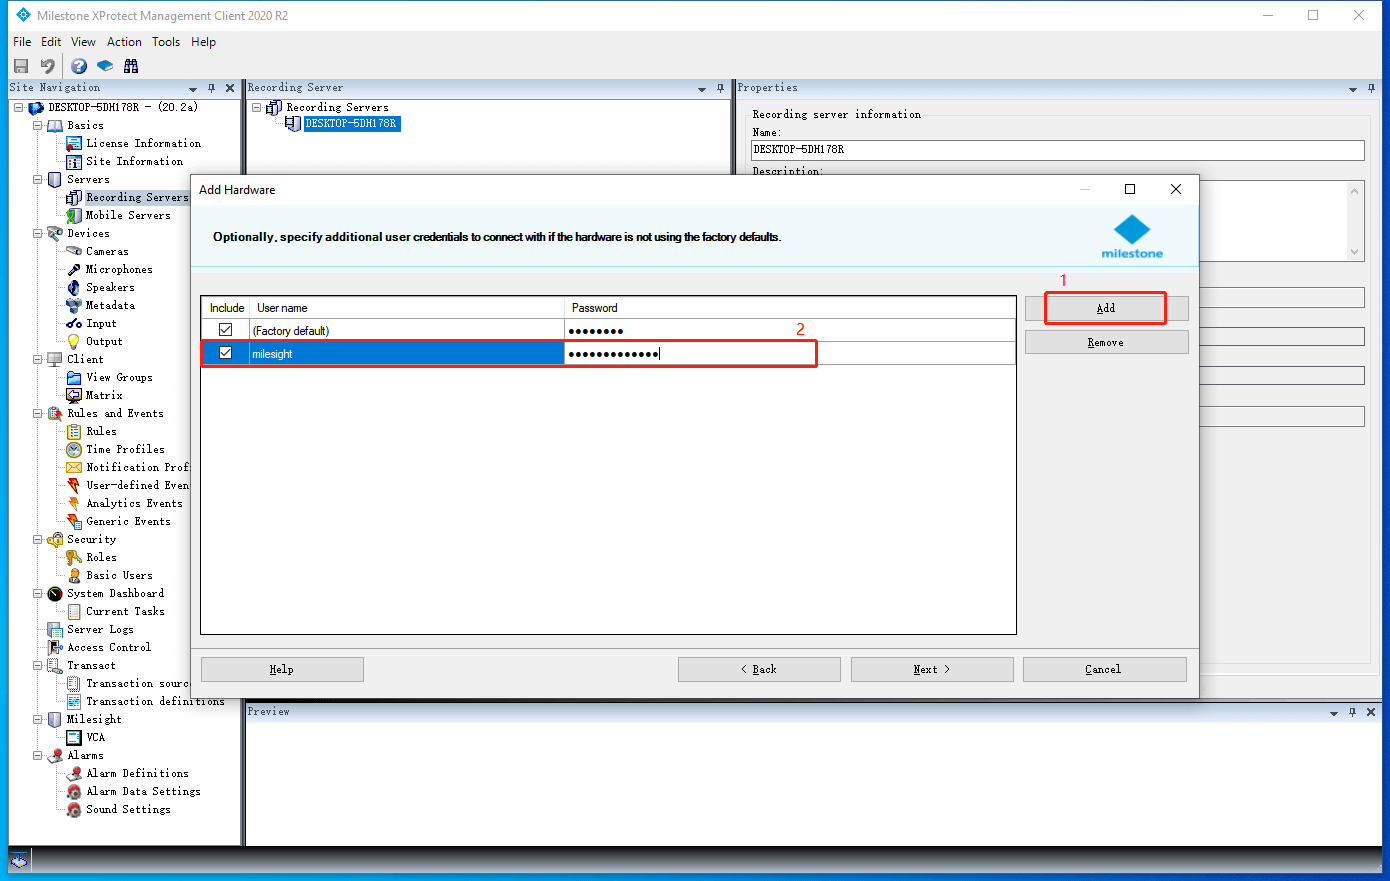
Step 4: Click "Add" , input user name and password of the camera, and click "Next" .
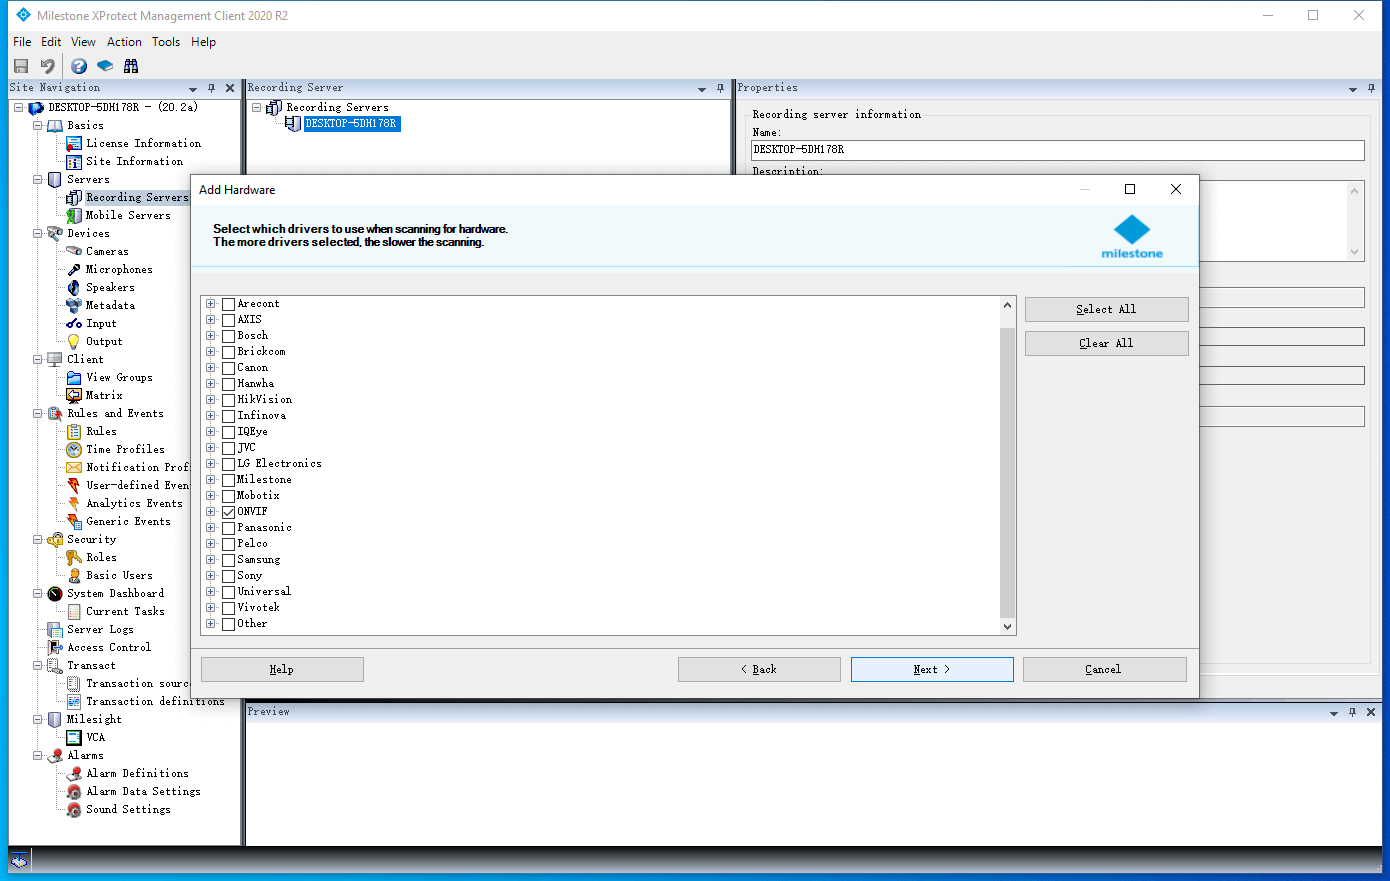
Step 5: Select "ONVIF" and click "Next" .
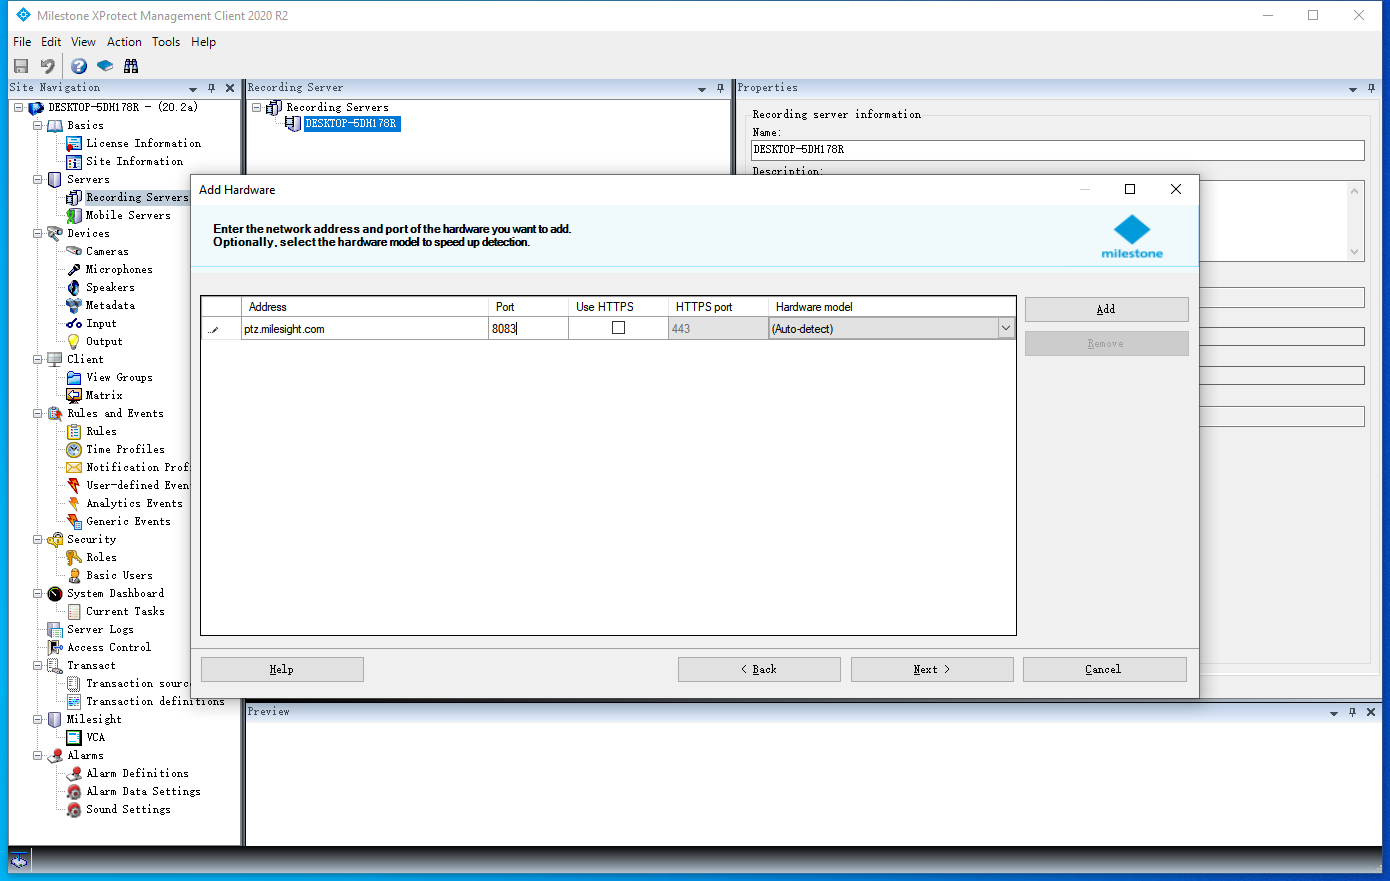
Step 6: Input address and port of the camera and click "Next" .
Step 7: Select cameras that you want to add and click "Next" .

Step 8: Click "Next" .

Step 9: Select the devices to enable, set the name template, and click "Next" .

Step 10: Select a group for each added devices, and click "Finish" .
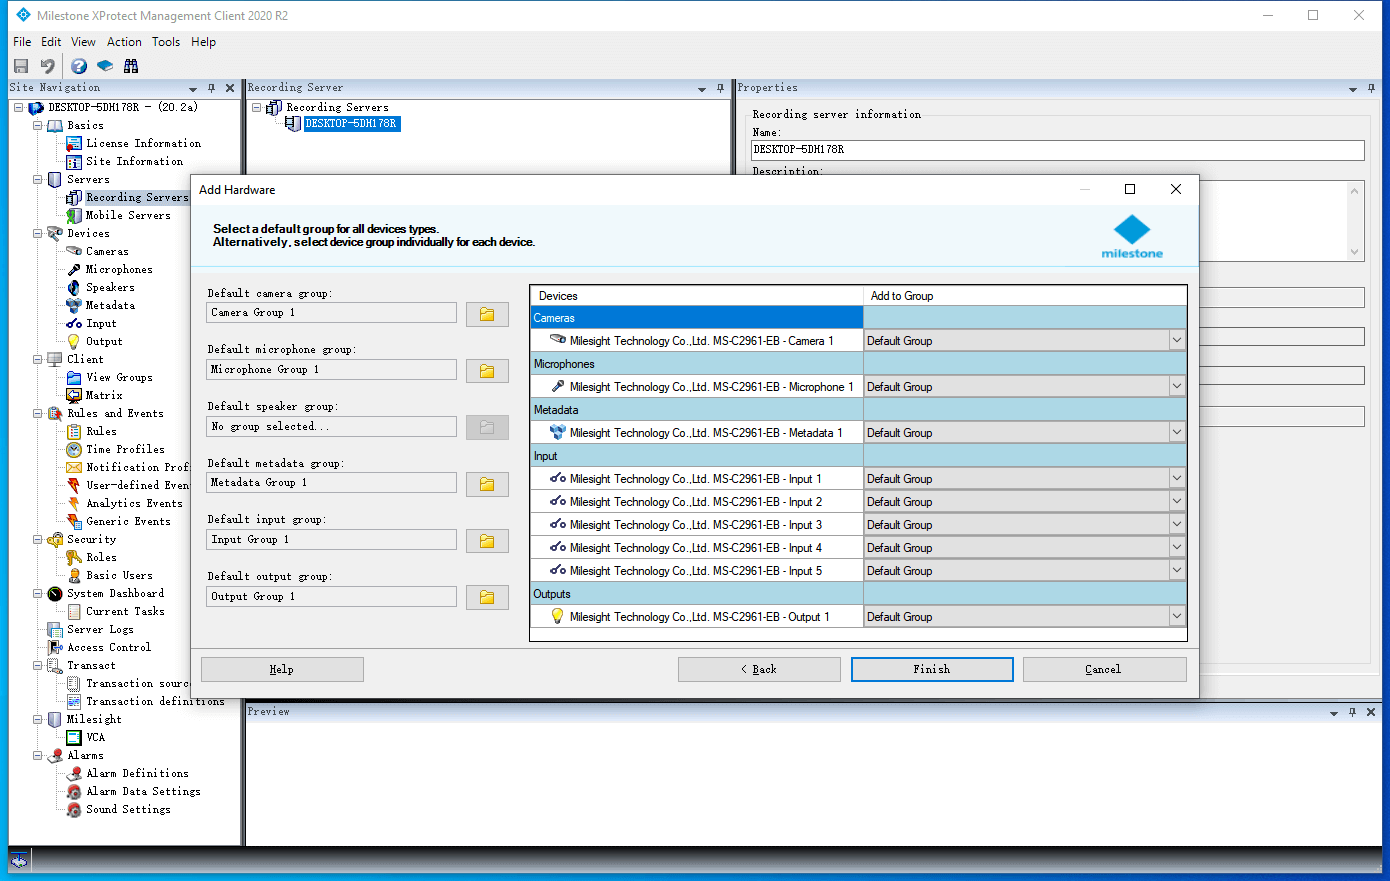
The added devices will be listed in the recording server list. You can view the properties and preview of the cameras.

Ⅴ. How to Use Plugin on Management Client
Precondition
Make sure you have added a camera, If not, please add a camera first.
The plugin is marked in red box. "Milesight" is the instruction about the plugin. "VCA" is the plugin for using VCA.

Note:
You need to click "VCA" after you add or delete cameras, so the plugin can take the updates.
Display of the VCA Plugin is as Below:
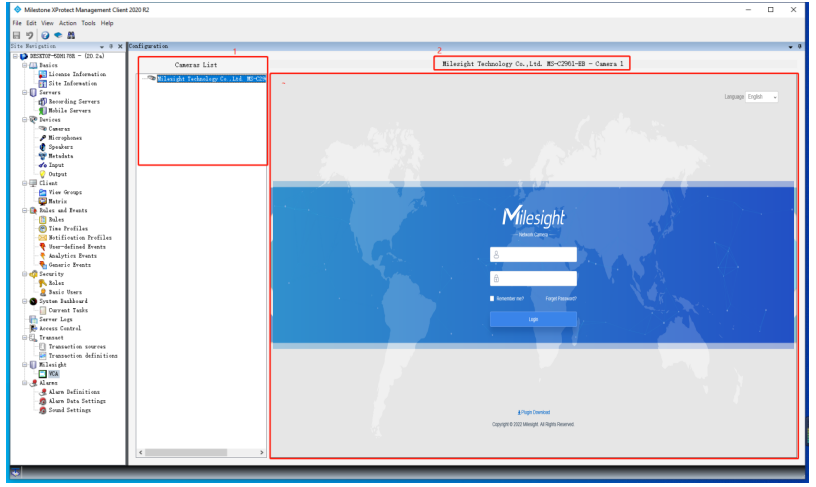
Interface Description:

How to Set "Rule" and "Alarm" about VCA Event
Set "Rule" (Take Advanced Motion Detection for example)
Step 1: Right click "Rules and Events" -> "Rules" in the Site Navigation Panel and click "Add rule..." .

Step 2: Set type of rule.
①Click "event" to open the Select an Event dialog, click "Milesight" --> "Milesight VCA" and select one of VCA events, click "OK" to save selection and close the dialog.

②Click "devices/recording server/management server" to open the Select Sources dialog, select "All VCA" and click "Add" to add the selected option to the right panel, click "OK" to save the selection and close the dialog.

③Click "Next" .

Step 3: Set conditions.
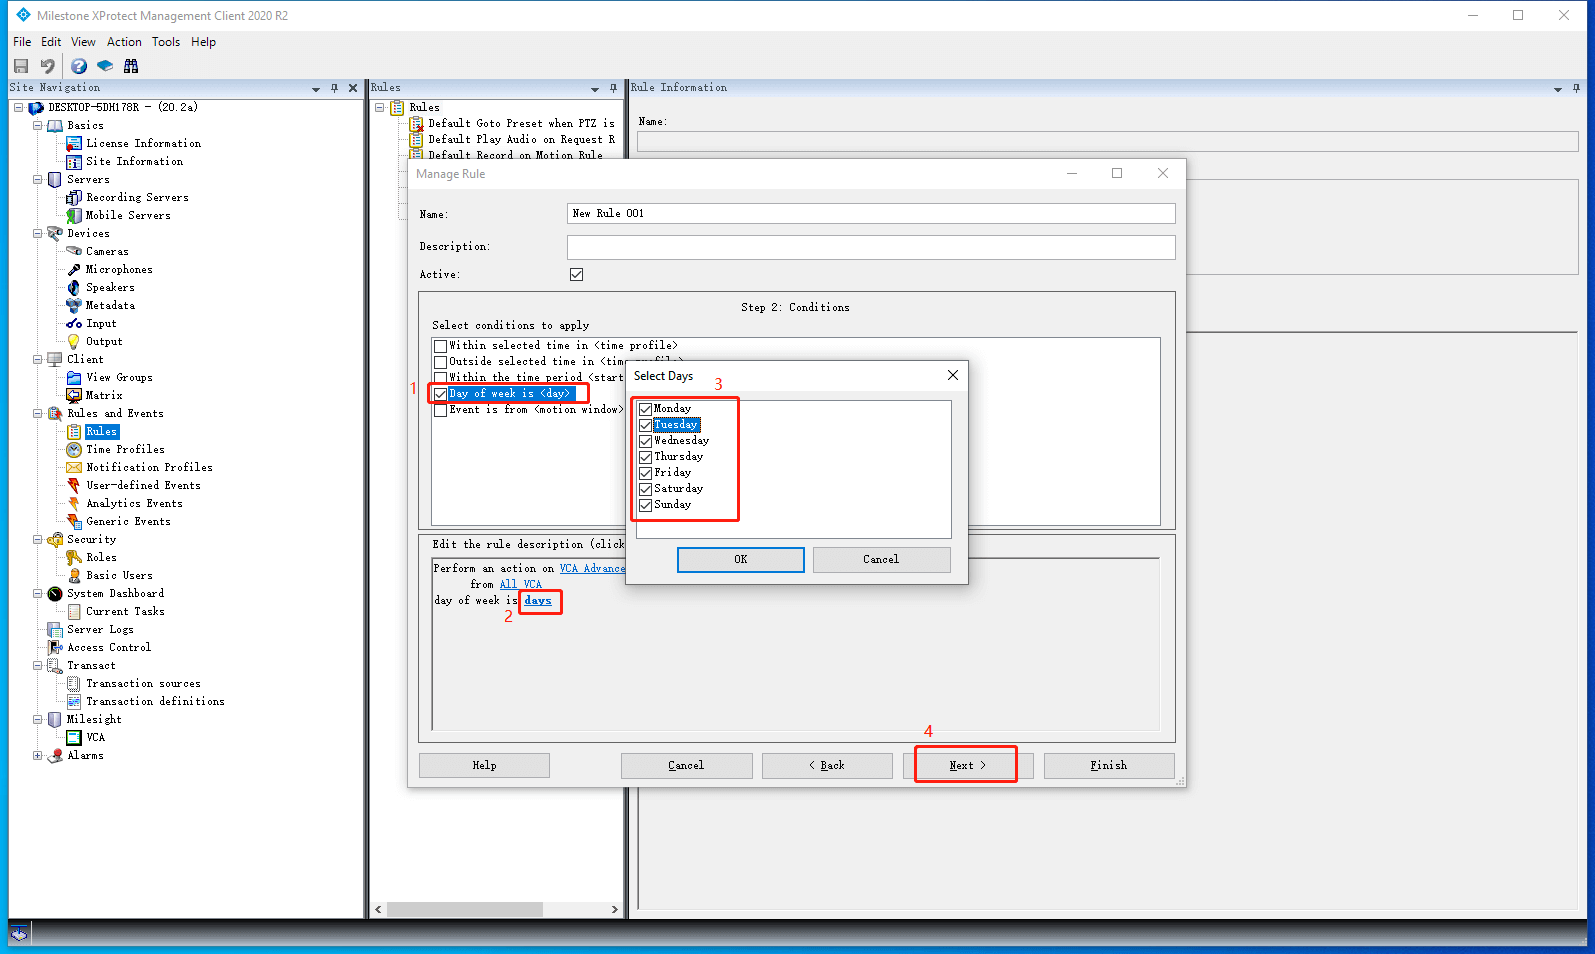
Step 4: Set actions.

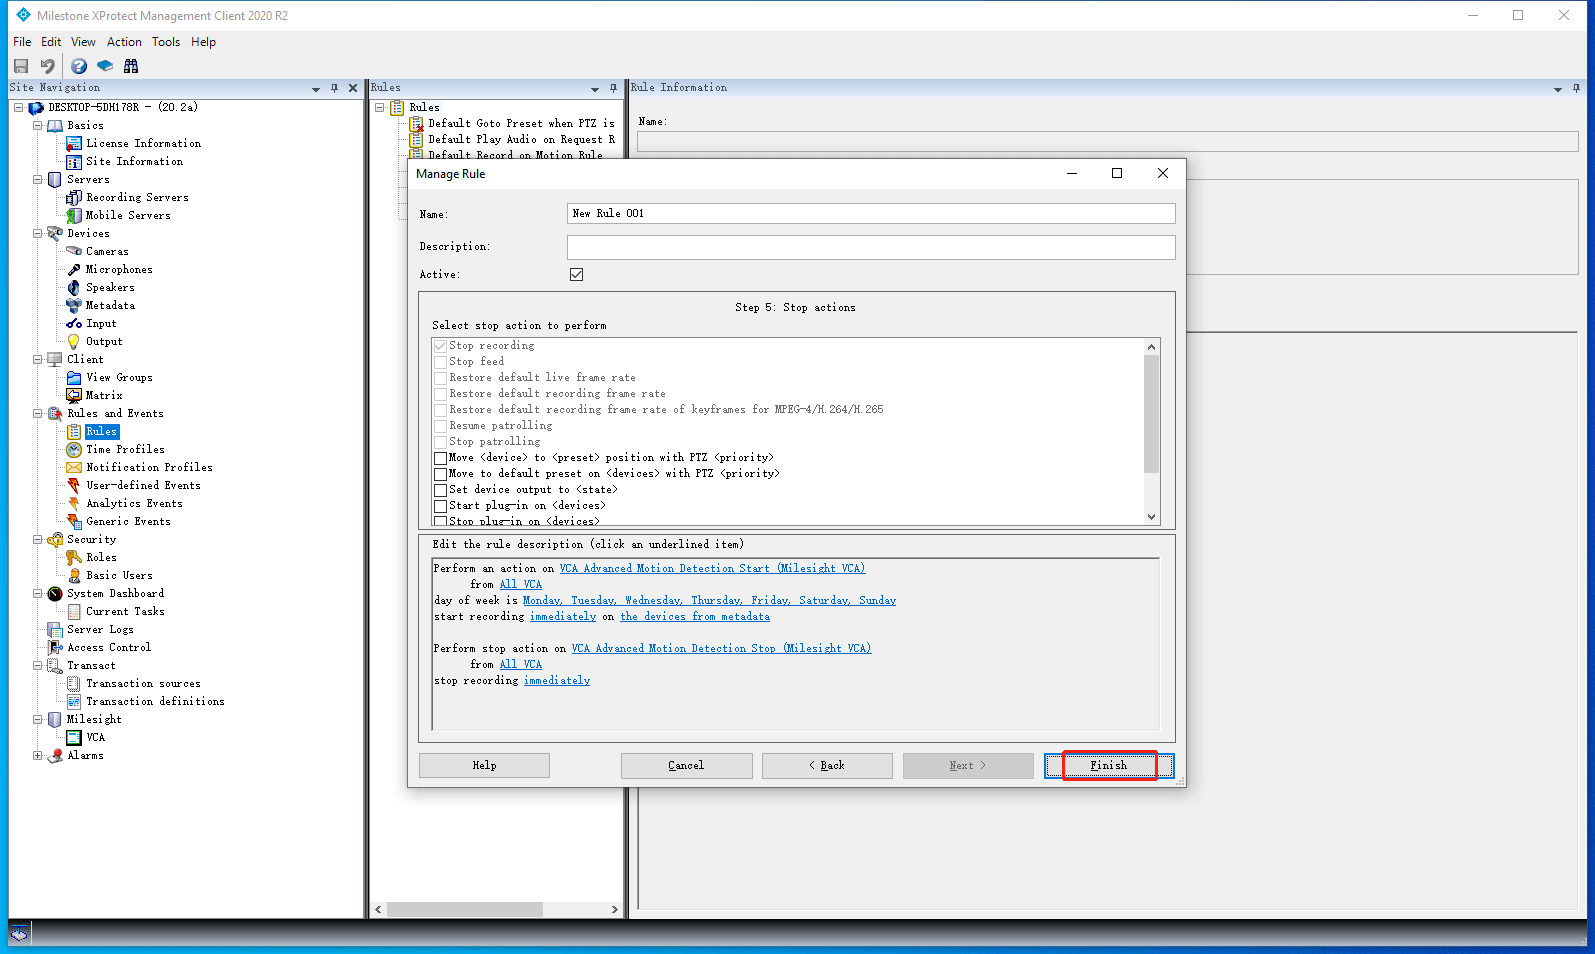
Step 5: Set stop criteria.


Step 6: Set stop actions. After all is done, click "Finish" .
2.Set "Alarm Definitions"
Step 1: Right click "Alarms" -> "Alarm Definitions" , click "Add New..." .
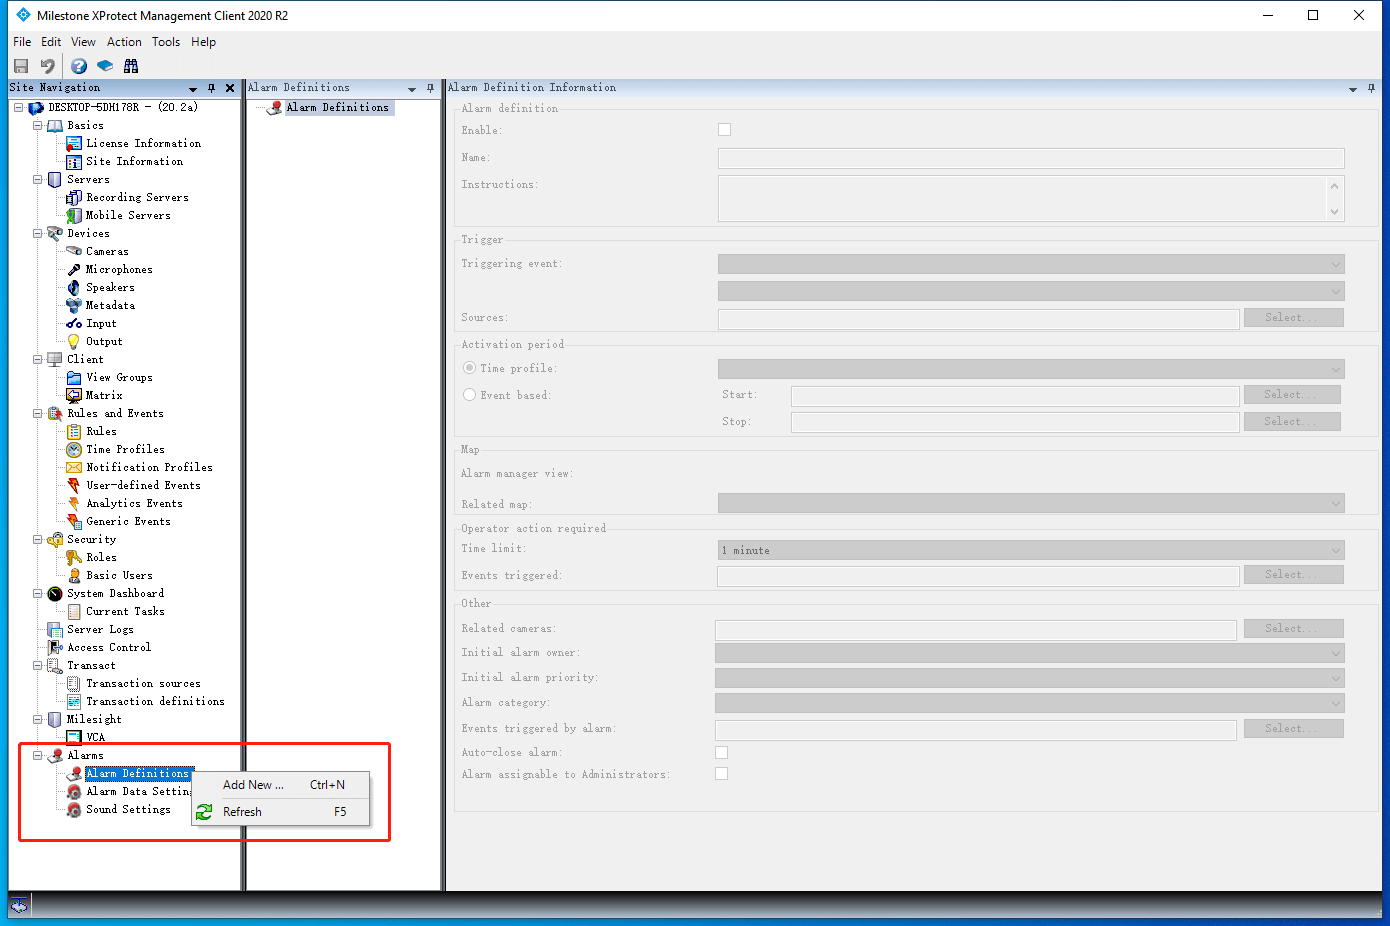
Step 2: Select "Milesight VCA" and one of VCA events in the "Triggering event" field.

Step 3: Click "select..." to open the Select Sources dialog, select "All VCA" or "MS VCA" and click "Add" to add the selected option to the right panel, click "OK" to save the selection and close the dialog.

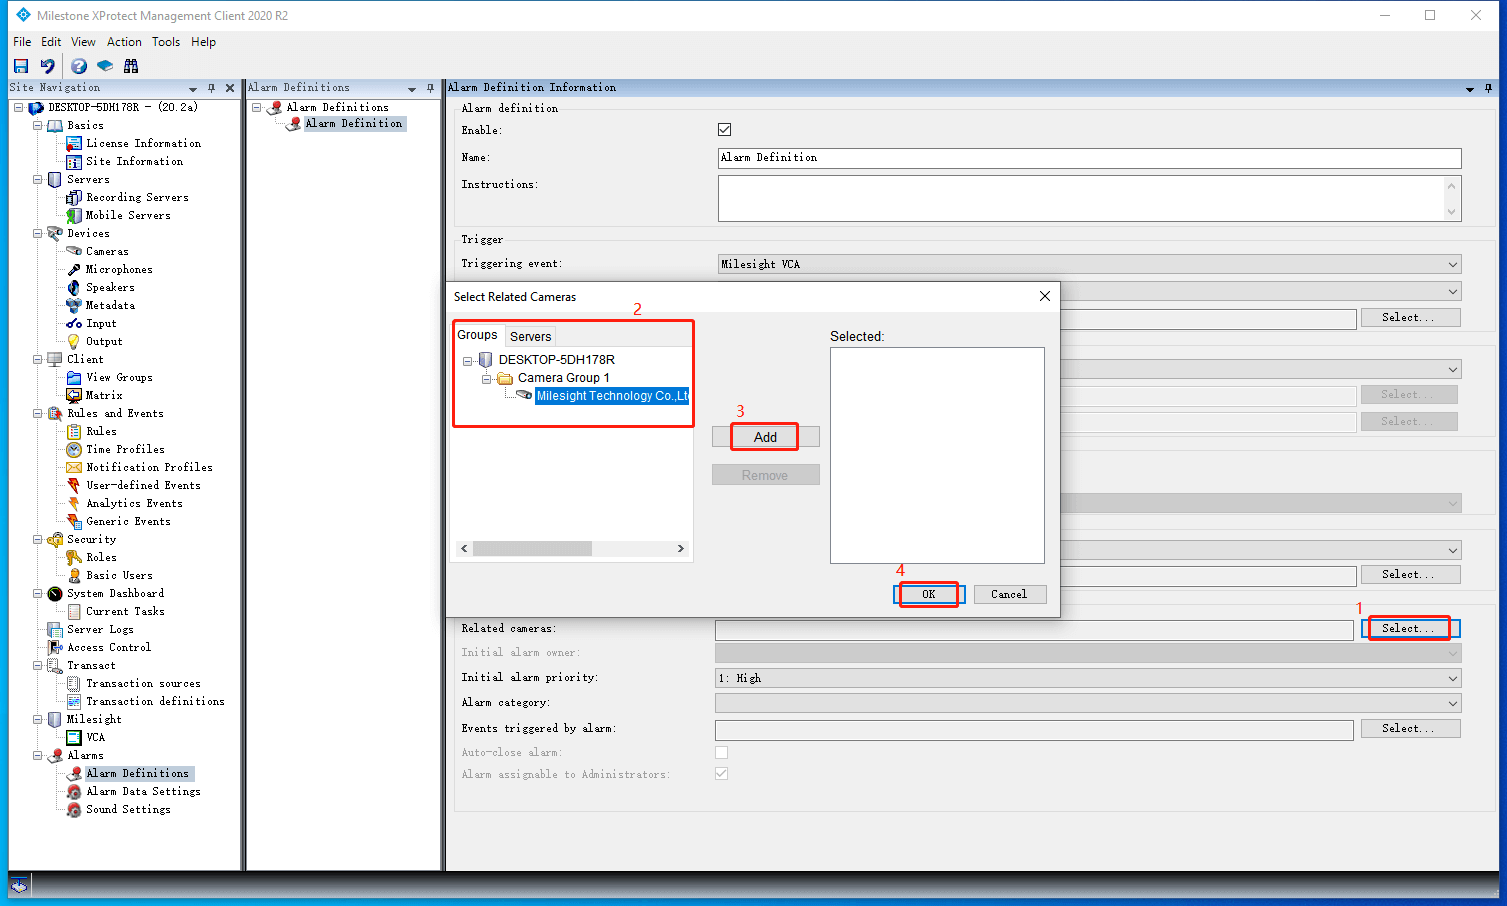
Step 4: Click "select..." to open the Select Related Cameras dialog, select an added camera in the list and click "Add" to add the selected camera to the right panel, click "OK" to save the selection and close the dialog.
Step5(Optional): Click "select..." to open the Select Events Triggered dialog, select "User-Defined Events" and click "Add" to add the selected option to the right panel, click "OK" to save the selection and close the dialog.

Step 6: Click " " at the top of the Site Navigation panel to save the settings.
Ⅵ. How to Use Plugin on Smart Client
Step 1: Click "Setup" at the top right of homepage, in setup mode, the plugin is under the System Overview menu.
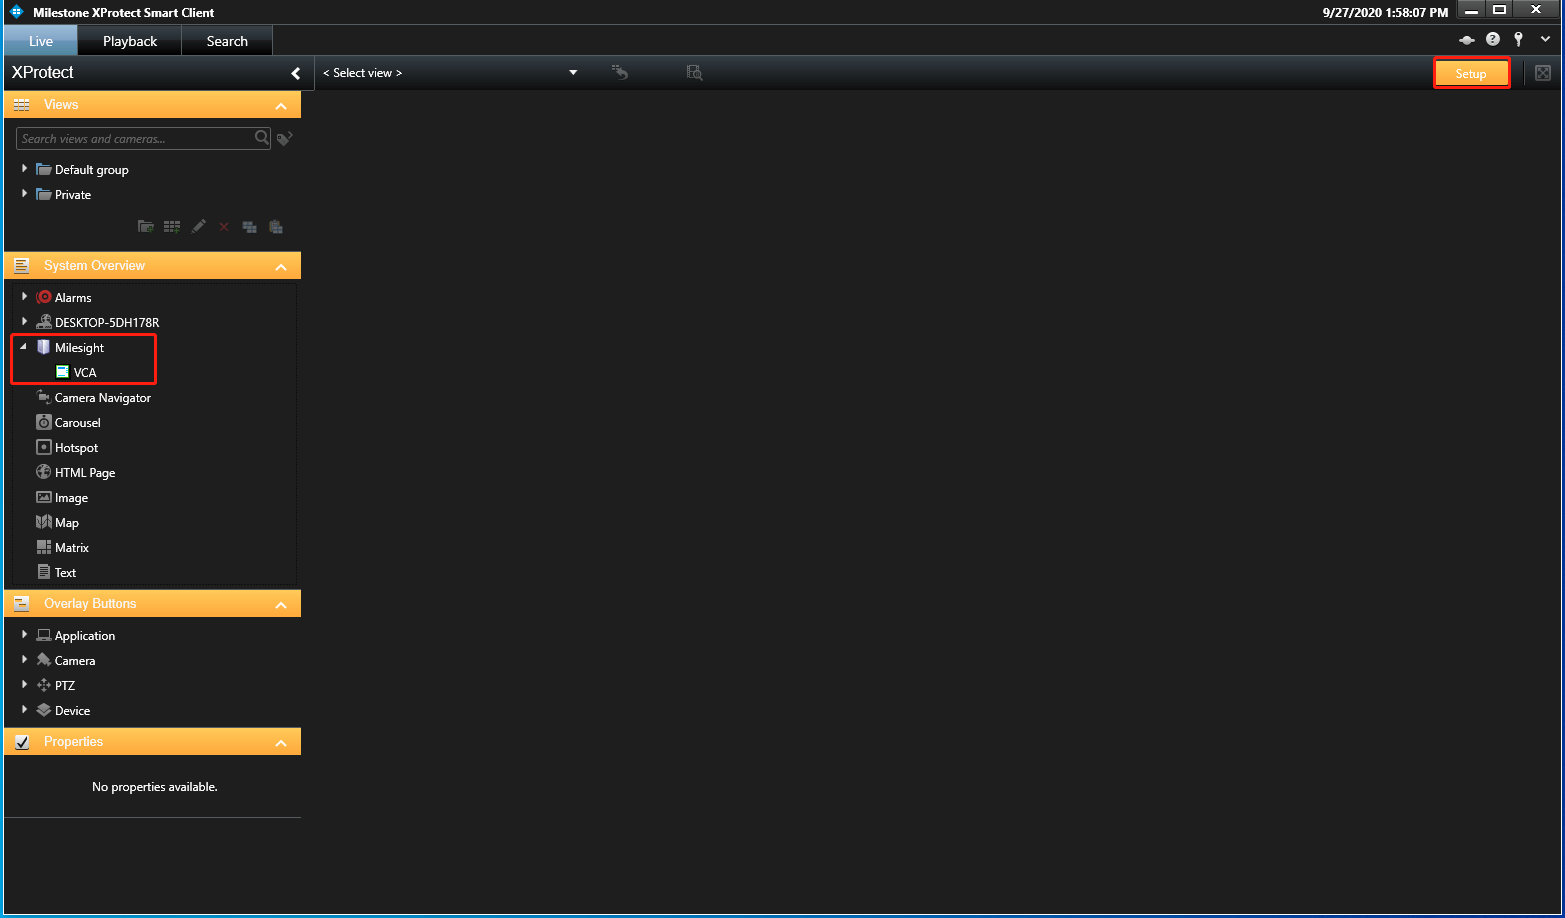
Step 2: Click and drag "VCA" to the selected view. It can be displayed in multiple views.
Display of the VCA Plugin is as Below:
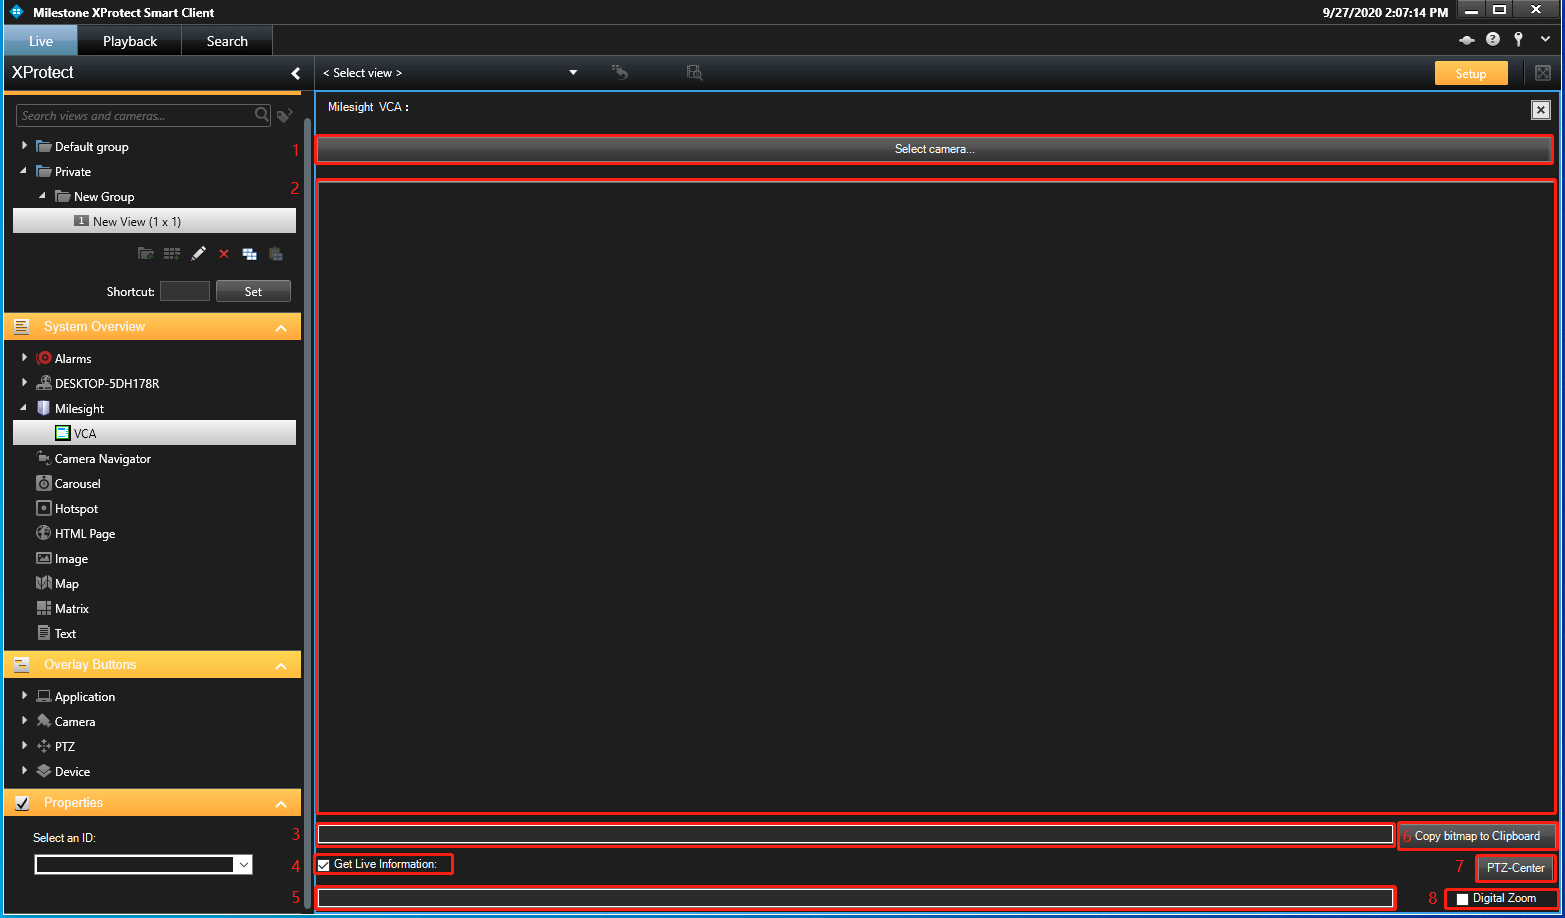
Interface Description:

 Note:
Note:
After you add or delete cameras on Management Client, you need to click "VCA" and then reopen Smart Client, so the Smart Client can synchronize the updates.
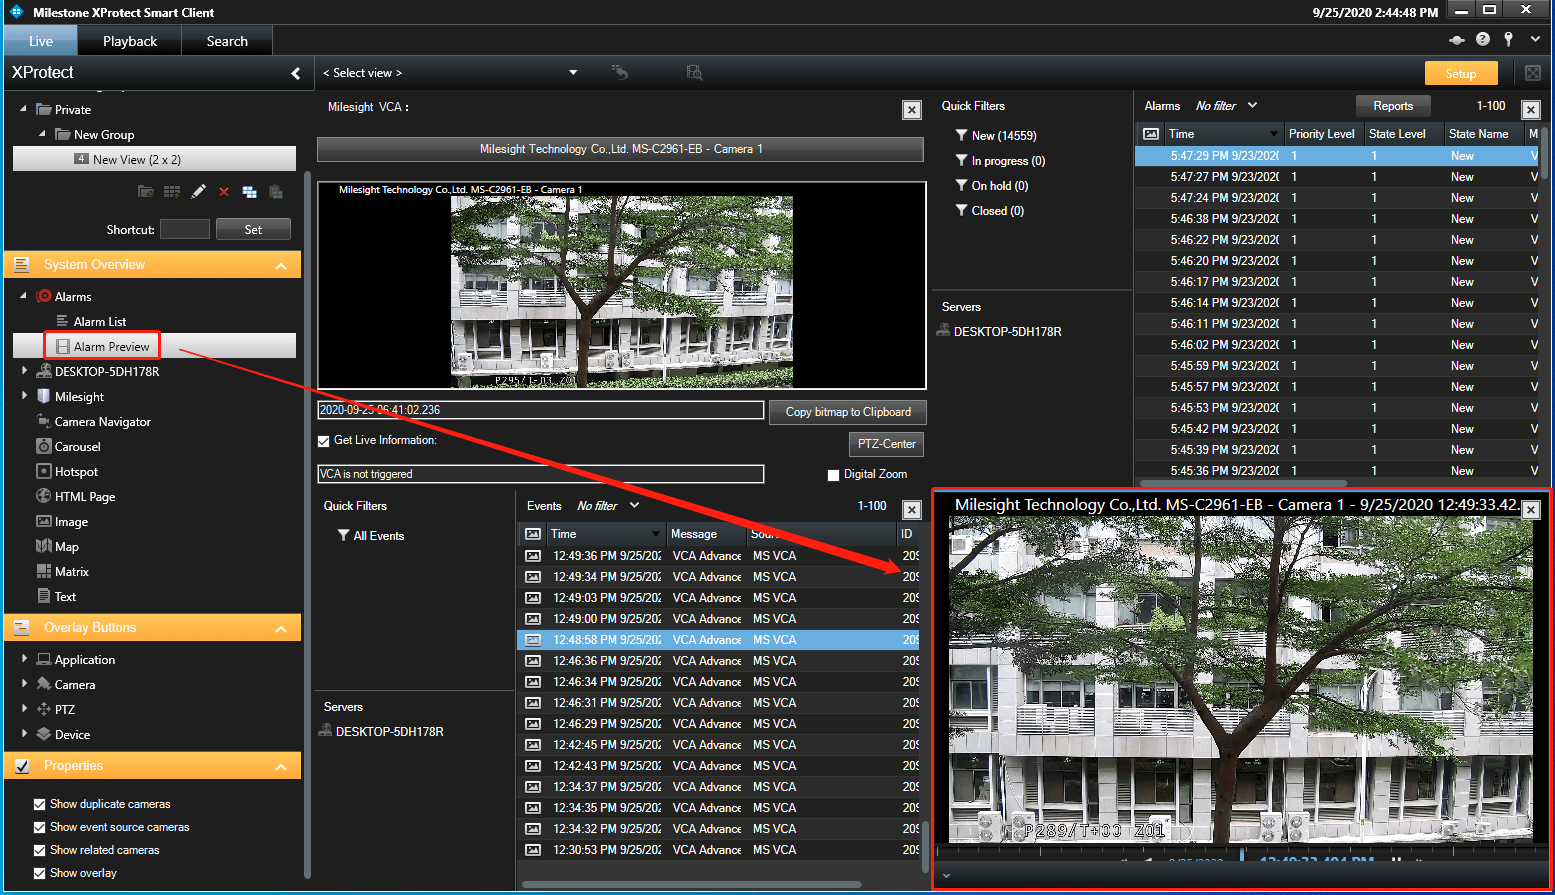
Step 3: Alarm List, Event List and Alarm Preview can be also dragged to views.


Ⅶ. Example
Camera: Milesight Technology Co.,Ltd. MS-C2961-EB - Camera 1
Event: VCA Region_Entrance_Start
Alarm: Trigger External Event 1
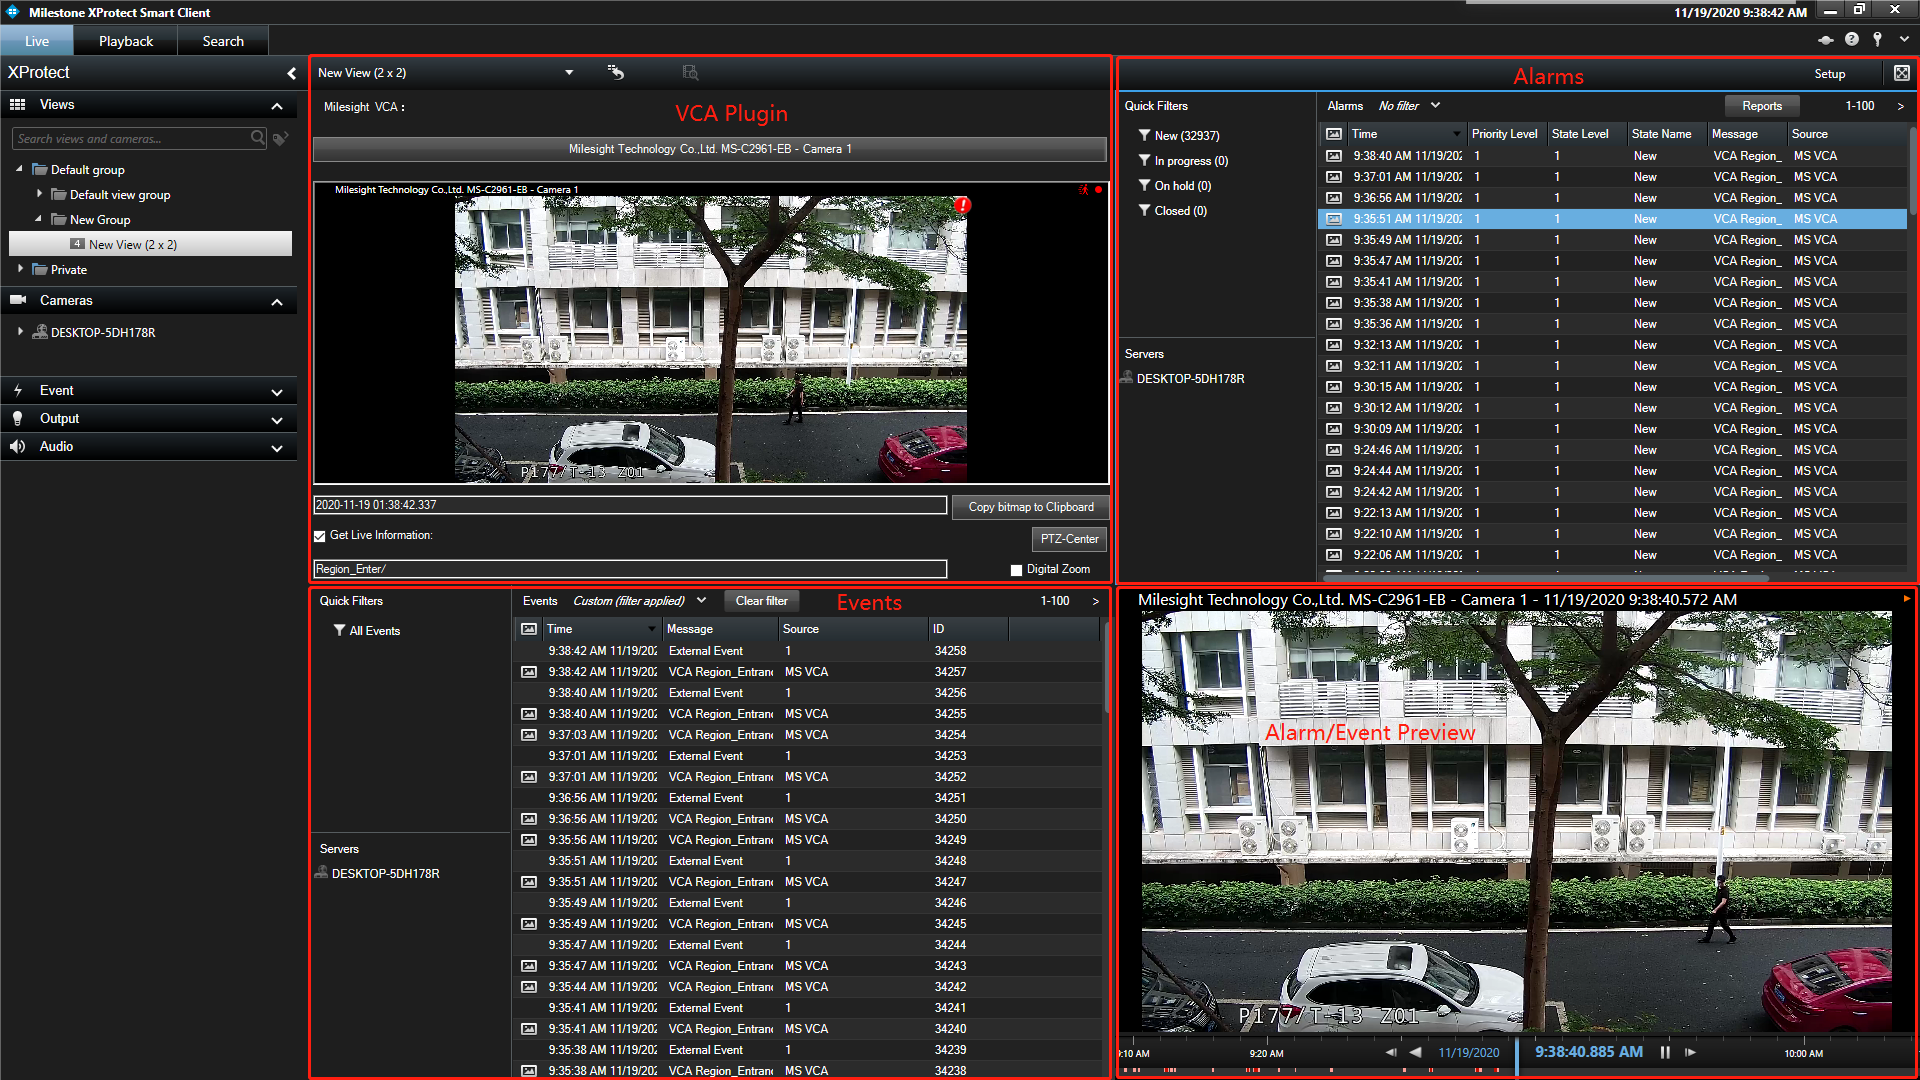
Description:
Region Entrance function is enabled. When Region Entrance event happens in the Camera:
The icon " " reminds and the text box shows "Region_Enter/" in "VCA plugin" view .
The corresponding event-- "VCA Region_Entrance_Start" shows in "Events" view.
In "Alarm Definition" , the event is set to trigger the external event 1 when happens. The corresponding alarm shows in "Alarms" view. Right click one of records, you can do "confirm" and so on.
Details of the alarm or event shows in "Alarm/Event Preview" view.
——————END——————